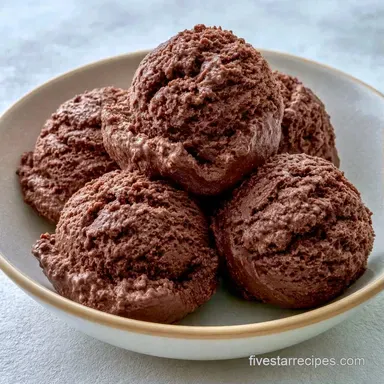
Homemade Chocolate Ice Cream: Rich and Dense
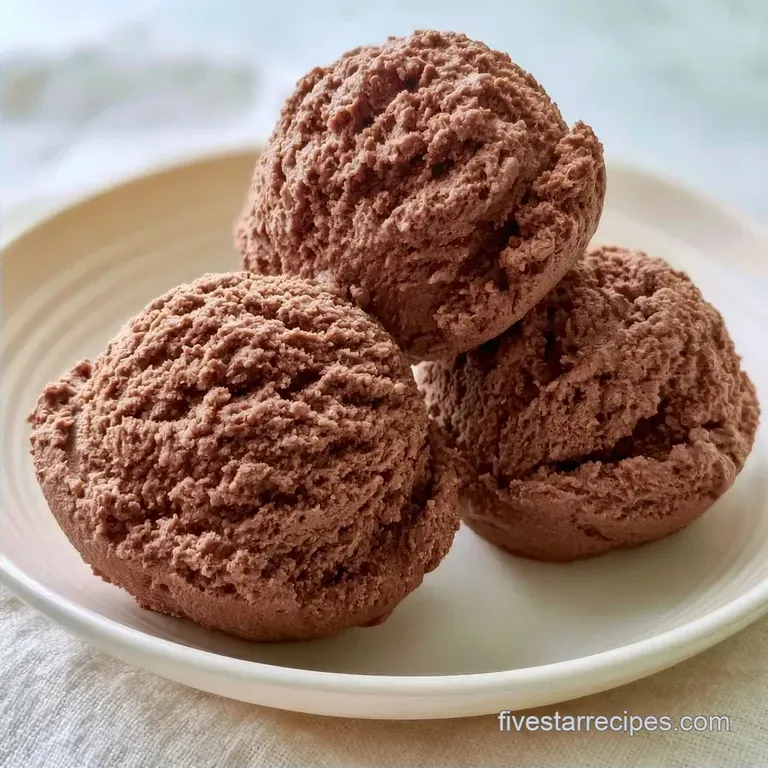
- Time: 15 min active + 4 hours chilling
- Flavor/Texture Hook: Deep mahogany color with a rich, dense scoop
- Perfect for: Dinner parties or a high end weekend treat
That smell of simmering cocoa hitting a hot pan is honestly one of the best parts of the whole process. It fills the kitchen with this heavy, dark chocolate aroma that lets you know the base is actually working.
You don't need a professional shop to get that dense, professional grade scoop. This Chocolate Ice Cream gives you that heavy, rich mouthfeel without the artificial stabilizers found in cartons.
Expect a deep, dark color and a texture that holds its shape. We'll focus on a few specific temperature checkpoints to make sure you don't end up with scrambled eggs in your dessert.
Rich Homemade Chocolate Ice Cream
Sugar Ratios: Sugar is about more than just sweetness. It prevents the formation of large ice crystals, which Serious Eats notes is essential for a smooth, rather than crunchy, scoop.
Fat Content: Combining egg yolks and heavy cream creates a stable emulsion. This traps air and coats the palate, making the chocolate flavor last longer.
Tempering: Gradually stirring hot liquid into the eggs prevents the proteins from tightening too quickly. Adding the heat too fast will result in sweet chocolate scrambled eggs.
| Method | Time | Texture | Best For |
|---|---|---|---|
| Custard Base | 4+ hours | Dense, rich | Gourmet results |
| Condensed Milk | 2 hours | Airy, soft | Quick cravings |
| No Churn | 6 hours | Slightly grainy | No equipment |
The Ingredient Breakdown
The Dutch processed cocoa is the heavy lifter here. It's treated with alkali to neutralize the acidity, which gives the Chocolate Ice Cream that dark mahogany color and a smoother, less tangy taste than natural cocoa.
The egg yolks provide the structure. They act as an emulsifier, binding the water from the milk and the fats from the cream. Without them, the ice cream would separate and feel thin.
Heavy cream adds the necessary fat to block ice crystal growth. If you use a lower fat version, you'll notice a "sandier" texture once it freezes.
Recipe Specs
For those who like precision, here are the checkpoints to watch. The base must reach a glossy sheen when simmering, the custard should coat the back of a spoon, and the final chilled base needs to hit about 40°F (4°C) before it touches the ice cream maker.
Chef: Use a digital thermometer for the base. If it goes over 185°F during the thickening stage, the eggs might curdle.
Equipment Needed
To begin the infusion, you will need a medium saucepan and a whisk. A fine mesh metal strainer is essential for removing any stray bits of cooked egg.
A standard ice cream machine, such as a Cuisinart or a KitchenAid attachment, is recommended. You can also hand-churn the mixture every 30 minutes if you lack a machine, though the final texture will be a bit less smooth.
The Churning Process
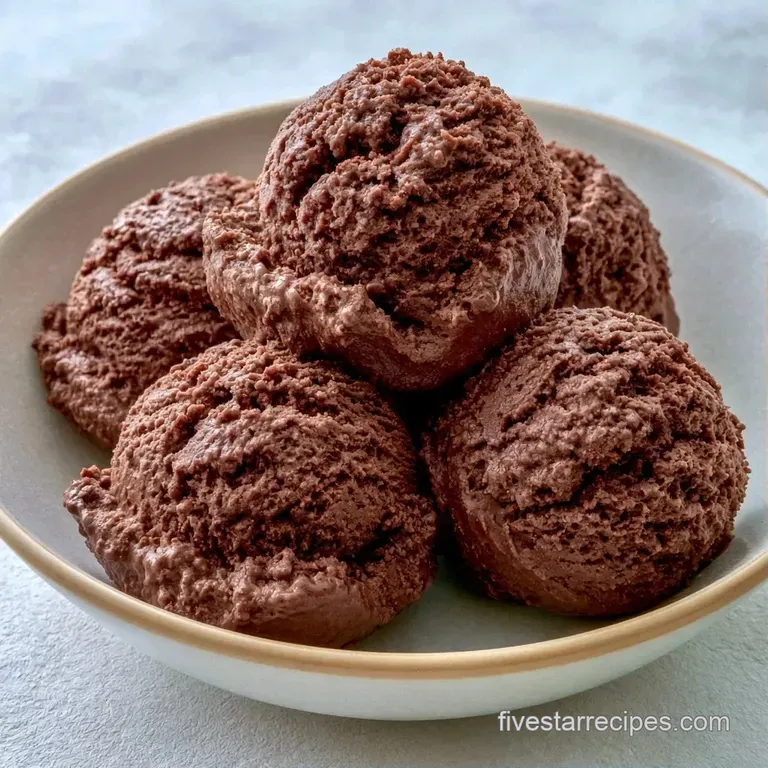
- Whisk cocoa powder, sugar, and salt in a medium saucepan. Slowly pour in whole milk over medium heat, whisking constantly until the mixture is glossy and mahogany colored.
- Lightly beat egg yolks in a separate bowl.
- Drizzle ½ cup (120ml) of the hot chocolate mixture into the yolks while whisking vigorously. Note: This prevents the eggs from cooking instantly.
- Pour the egg mixture back into the saucepan. Cook on low heat for 2-3 mins until the liquid slightly thickens.
- Stir in heavy cream and vanilla extract.
- Pour the base through a fine mesh metal strainer into a bowl. Note: This removes any egg solids for a silky finish.
- Cover and refrigerate for 4 hours until chilled to 40°F (4°C).
- Pour the chilled base into your ice cream maker. Churn according to the manual until it reaches a soft serve consistency.
Solving Texture Issues
When the base isn't cold enough, the ice cream maker can't freeze the mixture quickly. This leads to larger ice crystals and a grainy feel.
If you see small clumps of egg, it usually means the tempering process was too fast. The strainer catches most of these, but the best fix is a slower drizzle next time.
If the final result is too hard to scoop, you might have over reduced the base or used too much cocoa powder, which can absorb too much moisture.
Grainy Texture
This happens when the sugar isn't fully dissolved or the freezing process is too slow.
Egg Clumps
Caused by overheating the custard or skipping the tempering step.
Hard Scooping
Often a result of too much cocoa or not enough fat to keep the structure flexible.
| Problem | Root Cause | Solution |
|---|---|---|
| Icy crystals | Base was too warm | Chill base for full 4 hours |
| Grainy feel | Sugar didn't dissolve | Whisk longer during simmer |
| Lumpy base | Eggs curdled | Use a fine mesh strainer |
For a different base style, you might like my Creamy Custard Ice Cream which uses a similar tempering method but different flavors.
Storage and Waste Tips
Place the churned Chocolate Ice Cream into an airtight container. Press a piece of plastic wrap or parchment paper directly onto the surface before sealing the lid to block air and prevent freezer burn. It will stay fresh for roughly 8 weeks while frozen.
Don't let a small amount of remaining cocoa powder go to waste; stir it into your morning coffee or a brownie batter. If you have leftover egg whites from this recipe, freeze them in an ice cube tray for future macarons or meringues.
Serving and Pairing Ideas
The bitterness of this Chocolate Ice Cream pairs well with something salty. Try serving it with a sprinkle of flaky sea salt or a side of warm, salted pretzels.
For a fruit contrast, fresh raspberries or a tart cherry compote cut through the richness. The acidity of the berries balances the heavy cream.
If you want a full dessert spread, serve a scoop alongside a slice of warm flourless chocolate cake. The temperature difference between the hot cake and frozen cream is a great contrast.
Customizing Your Batch
To make a more decadent version, mix in ¼ cup of melted dark chocolate along with the vanilla extract. This increases the cocoa butter content for an even denser scoop.
For a refreshing mint flavor, stir in a drop of peppermint extract. This works beautifully if you also fold in mini chocolate chips during the final 2 minutes of churning.
You can also substitute coconut milk for whole milk to achieve a nuttier profile. This will slightly alter the taste while maintaining a high fat content.
| Goal | What to change |
|---|---|
| Darker flavor | Use 100% cocoa powder |
| Softer scoop | Add 1 extra tbsp sugar |
| Extra richness | Add 2 more egg yolks |
If you prefer a lighter option, my Ice Cream for 8 recipe is a wonderful alternative that utilizes a similar base.
Now you are all set. Just remember to be patient during the chilling phase. Attempting to churn a warm base is the fastest way to spoil a batch of Chocolate Ice Cream. Trust the process, monitor your temperatures, and enjoy the results.
Recipe FAQs
How to make chocolate ice cream at home?
Whisk cocoa, sugar, and salt in a saucepan. Slowly add milk over medium heat, temper in the egg yolks, thicken the mixture on low heat, and stir in heavy cream and vanilla before churning.
What chocolate is best for homemade ice cream?
Dutch-processed cocoa powder is the ideal choice. It provides a deeper, smoother chocolate flavor and a darker mahogany color compared to natural cocoa powder.
Is it true you can skip the egg tempering process?
No, and here's why. Pouring hot liquid directly into cold yolks causes them to scramble, which creates a lumpy texture rather than a smooth custard.
Which flavor base creates a denser texture?
Chocolate often has a denser feel thanks to the cocoa solids. If you've enjoyed perfecting the custard's thickness, you can apply that same technique to our creamy vanilla bean ice cream.
Why does the surface often develop freezer burn?
Exposure to air causes ice crystals. Place a layer of parchment paper or plastic wrap flush against the ice cream before sealing the lid to keep air out.
Chocolate Ice Cream in 25 Minutes