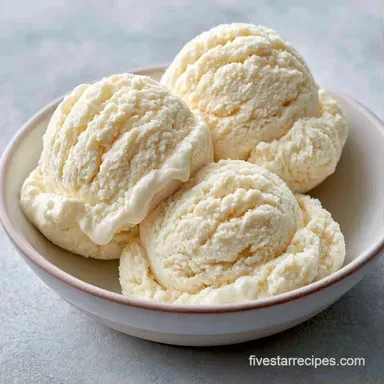
Simple Vanilla Extract Ice Cream
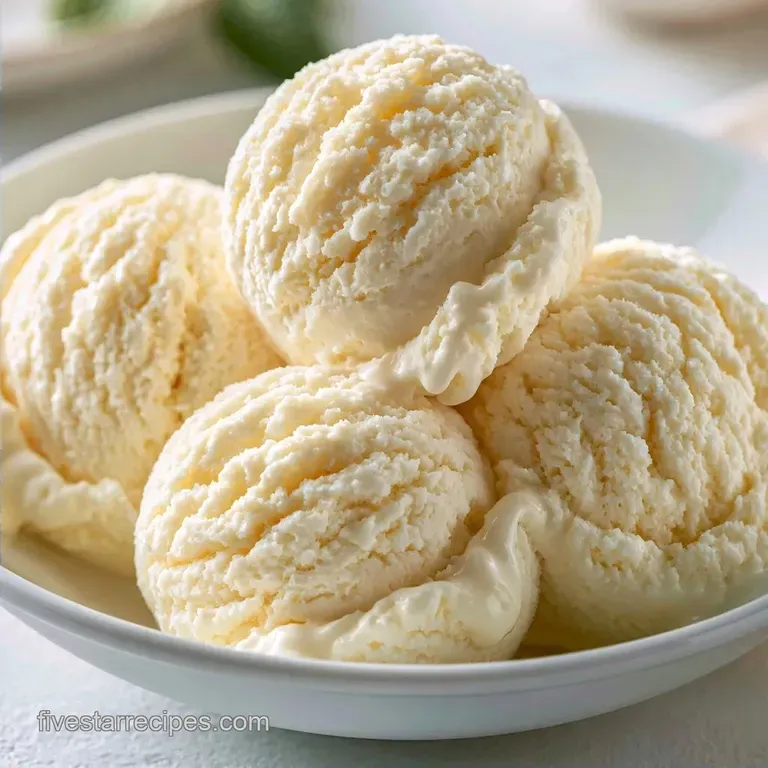
- Time: 10 min active + 10 hours 40 mins chilling/freezing
- Flavor/Texture Hook: Dense, creamy, and clean vanilla taste
- Perfect for: Summer dessert or a base for sundaes
That scent of vanilla hitting a hot pan is enough to make anyone crave a scoop. For a long time, I thought you needed a professional custard base with egg yolks to get that dense, store-bought feel. I figured without the eggs, you just ended up with frozen milk.
Forget that. You don't need to temper eggs or worry about curdling your base to get a gourmet result. By focusing on the temperature and the fat content, you can get a result that's just as rich.
This Vanilla Ice Cream focuses on a clean profile. We use a specific chilling method to make sure the texture stays velvety and doesn't turn into a block of ice in your freezer.
Making It Work
Fat Crystallization: Chilling the base for 6 hours ensures fat molecules align, which prevents a grainy feel. Sugar Balance: The sugar lowers the freezing point, so the treat stays scoopable rather than rock hard.
| Method | Time | Texture | Best For |
|---|---|---|---|
| Ice Cream Maker | 25 mins | Aerated & Light | Classic feel |
| Hand Whisking | 4 hours | Dense & Heavy | No machine homes |
I've found that using a high-quality extract makes a massive difference. According to King Arthur Baking, the purity of your vanilla determines whether the flavor tastes floral or artificial.
Ingredient Deep Dive
| Ingredient | What It Does | Best Swap |
|---|---|---|
| Heavy Cream | Provides fat for creaminess | Mascarpone (adds tang) |
| Whole Milk | Balances the fat ratio | Full fat coconut milk |
| Granulated Sugar | Sweetens and lowers freezing point | Maple syrup (adds woody notes) |
| Vanilla Extract | Primary flavor profile | Vanilla bean paste |
Shopping List Breakdown
- 2 cups heavy whipping cream, chilled Why this? High fat is non negotiable for texture.
- 1 cup whole milk Why this? Adds necessary fluid without too much heaviness.
- 1/2 cup granulated sugar Why this? Dissolves quickly and cleans the palate.
- 1 tbsp vanilla extract Why this? Gives that classic, nostalgic aroma.
- 1/4 tsp fine sea salt Why this? Cuts through the fat and boosts the vanilla.
Essential Gear List
You'll need a medium saucepan and a whisk for the base. A large mixing bowl is necessary for the chilling phase. If you have an ice cream maker, make sure the bowl has been in the freezer for 24 hours. For the no machine route, a shallow plastic container works best because it freezes more evenly.
The Mixing Process
- Combine the whole milk, sugar, and salt in the saucepan.
- Heat over medium low heat. Stir continuously until the sugar disappears and the liquid steams. Note: Don't let it boil or the milk might separate.
- Remove the pan from heat.
- Stir in the vanilla extract.
- Pour the warm liquid into a large bowl.
- Stir in the chilled heavy whipping cream.
- Press plastic wrap directly onto the surface of the liquid. Refrigerate for 6 hours. Note: This prevents a skin from forming.
- Pour the cold base into your ice cream maker. Churn for 20-25 minutes until it looks like soft serve.
- Transfer the mixture to an airtight container.
- Press parchment paper onto the top and freeze for 4 hours.
Fixing Texture Issues
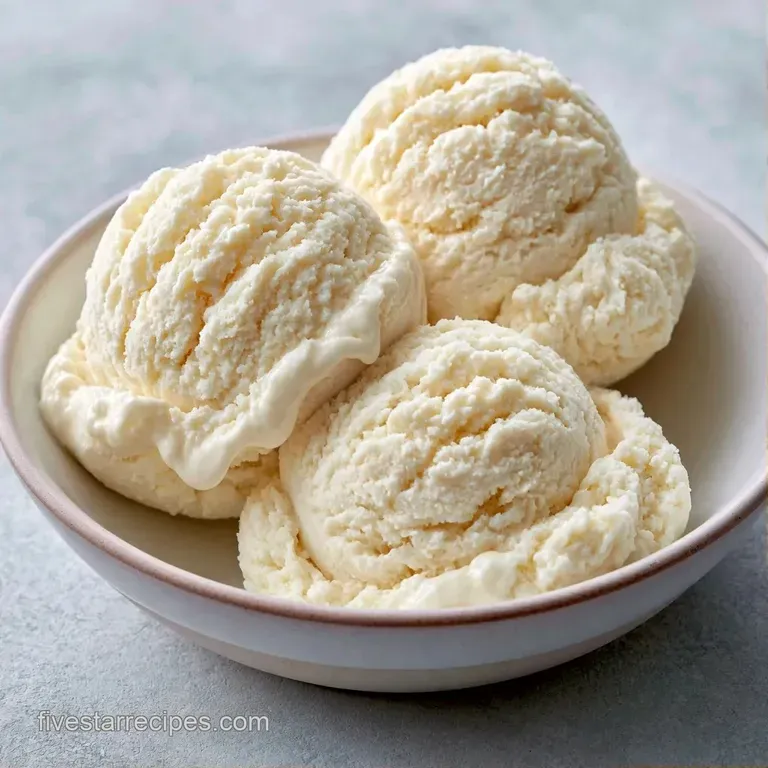
If you notice your ice cream feels a bit like a popsicle, it's usually an issue with how the water in the milk froze. This often happens if the base wasn't cold enough before it hit the churner. For a different base approach, check out Vanilla Bean Ice Cream recipe for more tips on infusion.
Gritty Sugar Crystals
This happens when the sugar doesn't fully dissolve during the heating phase. You can fix it by briefly reheating the base and whisking again before the final chill.
Icy Pockets
Air pockets allow ice crystals to grow. Pressing parchment paper directly on the surface during the final freeze stops this.
Hard Scoops
Too little fat or sugar can make the dessert freeze solid. Use full fat dairy to ensure a softer result.
| Problem | Root Cause | Solution |
|---|---|---|
| Grainy texture | Undissolved sugar | Heat milk longer |
| Icy crystals | Warm base churned | Chill for full 6 hours |
| Rock hard | low fat content | Use heavy whipping cream |
Fun Flavor Twists
You can easily turn this Vanilla Extract Ice Cream into something new. Stir in a swirl of salted caramel or a handful of crushed Oreos during the last 5 minutes of churning. If you want something even richer, try this Condensed Milk Ice Cream.
For a Simple Vanilla Extract Ice Cream variation, try adding a pinch of cinnamon to the saucepan. If you're using this Extract Ice Cream as a base for a cake, keep the vanilla at 1 tablespoon to ensure the flavor doesn't get lost in the bake.
Storage and Scrap Tips
Keep your treat in an airtight container in the back of the freezer, away from the door. It stays fresh for about 2 weeks. After that, it might start to develop freezer burn.
If you have leftover cream or milk, don't toss it. Use the remaining cream to make a quick whipped topping. If you have a bit of the vanilla base left over but not enough to freeze, stir it into your morning oatmeal for a treat.
Serving Your Treat
The best way to enjoy this is to let the container sit on the counter for 3-5 minutes. This softens the edges just enough for a clean scoop. Serve in chilled bowls to keep it from melting too fast. It pairs well with fresh berries or a warm brownie.
Making It Work
The real trick here is the "Deep Chill." When the mixture stays cold for 6 hours, the fats solidify into tiny particles. This is what prevents the Extract Ice Cream from feeling coarse.
Also, the salt is a precision tool. A quarter teaspoon doesn't make it salty, but it changes how your taste buds perceive the sugar, making the Vanilla Ice Cream taste more complex.
Goal | What to change
|-------|-------------------| | More air | Churn 5 mins longer | | Denser | Skip the machine, whisk by hand | | Sweeter | Add 2 tbsp more sugar |
Recipe FAQs
Can I use vanilla extract to make vanilla ice cream?
Yes, it works perfectly. Extract provides a consistent, punchy flavor without the effort of scraping fresh bean pods.
Is it true that eggs are required for a creamy texture?
Actually, no. This recipe relies on the fat content of heavy cream and whole milk for richness. If you enjoyed mastering this creamy base, see how the same principle works in our Vanilla Bean Panna Cotta.
How to make homemade vanilla ice cream?
Simmer milk, sugar, and salt over medium-low heat until dissolved. Stir in vanilla, combine with chilled cream, and churn per manufacturer directions.
Which technique prevents ice crystals from forming?
Press parchment paper directly onto the surface before the final freeze. This seals out air to ensure a dense, professional consistency.
Where to store the dessert for maximum freshness?
Place the container in the back of the freezer. Keeping it away from the door prevents temperature fluctuations that cause freezer burn.
Is it possible to freeze this without an ice cream maker?
Yes, use a shallow container. Whisk the mixture every 30 minutes for 3–4 hours to break up ice crystals manually.
Homemade Vanilla Ice Cream for 8