Creamy Vanilla Bean Ice Cream
- Time: 15 min active + 6 hours 25 mins total (includes chilling)
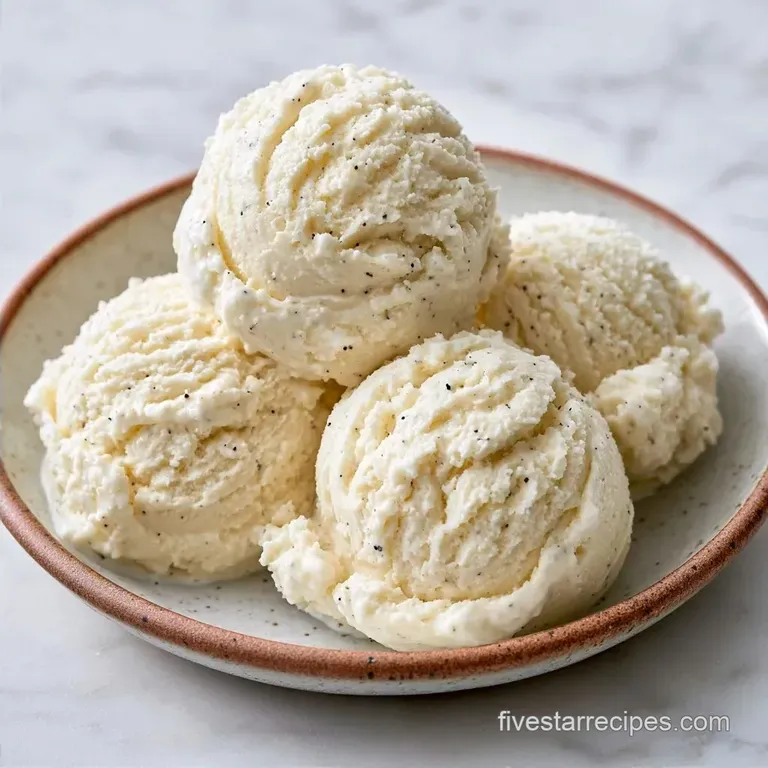
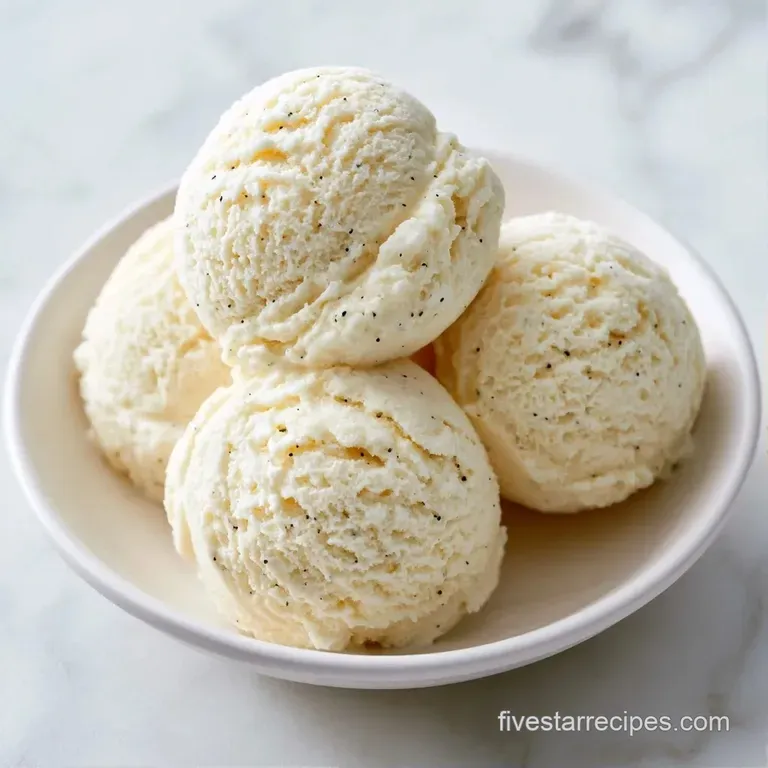
- Flavor/Texture Hook: Rich, creamy, and speckled with real vanilla seeds
- Perfect for: Gourmet dinner parties or a high end treat for guests
- Vanilla Bean Ice Cream
- Quick Recipe Specs
- Why This Custard Works
- What Each Ingredient Does
- Tools for the Job
- Step-by-Step Churning Guide
- Fixing Common Texture Issues
- Troubleshooting Common Issues
- Fun Flavor Variations
- Scaling Your Batch
- Busting Ice Cream Myths
- Storage and Waste Tips
- Serving and Presentation
- Recipe FAQs
- 📝 Recipe Card
Vanilla Bean Ice Cream
The smell of a vanilla bean pod hitting hot cream is something you just can't get from a bottle. It's a warm, floral aroma that fills the kitchen before the ice cream even hits the freezer.
I remember the first time I tried this; I was so worried about the eggs curdling that I practically hovered over the pot for ten minutes.
The payoff is a texture that's dense and smooth, far removed from the airy, whipped versions you find at the store. This recipe focuses on precision. If you get the temperature and the chilling time right, you end up with a five star dessert that makes everyone ask for the recipe.
We're going for a classic French style here, which means we use a cooked custard base. It takes a bit more effort than a no churn version, but the result is a professional grade mouthfeel that doesn't melt instantly.
Quick Recipe Specs
This process is all about patience. While the active work is minimal, the chilling phase is where the magic happens. If you rush the cooling, you'll end up with a grainy texture.
The total time of 6 hours 25 mins accounts for the prep, the quick cook, and the essential 6 hour freeze. I usually make the base in the morning so it's ready for the machine by dinner.
For those who don't have a machine, you can adapt this process using the "stir and freeze" method, though a churner provides that specific gourmet density. If you're looking for an even simpler approach, check out this Ice Cream Without Machine recipe guide.
Why This Custard Works
The goal here is to create a stable emulsion of fat, water, and air. By cooking the eggs and cream, we create a structure that resists large ice crystals.
- Egg Yolks
- These act as natural emulsifiers, binding the fat from the cream to the water in the milk.
- Slow Chilling
- Lowering the temperature gradually prevents the water molecules from forming large, crunchy shards.
- Fat Content
- The high ratio of heavy cream ensures the base stays soft even when frozen.
| Approach | Ingredient | Flavor Profile | Texture Result |
|---|---|---|---|
| Fresh Bean | Whole Vanilla Pod | Floral, complex, deep | Speckled, rich |
| Shortcut | Vanilla Extract | Sweet, one dimensional | Smooth, uniform |
What Each Ingredient Does
Precision with your ingredients is what separates a home attempt from a gourmet result. Using a real bean adds those tiny black specks and a depth of flavor that extract alone can't match.
| Ingredient | What It Does | Best Swap |
|---|---|---|
| Heavy Cream | Provides fat and air | Full fat coconut milk (adds tropical notes) |
| Egg Yolks | Thickens and emulsifies | Cornstarch slurry (makes it egg free) |
| Whole Milk | Balances the fat | Half and half (makes it even richer) |
| Vanilla Bean | Primary flavor source | Double fold vanilla paste |
Tools for the Job
You'll need a heavy bottomed saucepan to prevent the cream from scorching. A fine mesh strainer is also mandatory because no one likes a stray piece of cooked egg in their dessert.
A digital thermometer is helpful, but the "nappe" test (where the sauce coats the back of a spoon) is the old school way to check for thickness. If you have a stand mixer such as a KitchenAid with an ice cream attachment, it works perfectly for the churning phase.
Step-by-step Churning Guide
Let's crack on with the actual making. Follow these steps closely, especially the tempering part, to avoid making sweet scrambled eggs.
- Pour the heavy cream into a saucepan and stir in the scraped vanilla bean seeds and the empty pod.
- Heat over medium until the cream begins to simmer, then remove from heat, cover, and let steep for 15 minutes. Note: Steeping extracts the oils from the pod.
- In a large mixing bowl, whisk together the egg yolks and granulated sugar until the mixture turns a pale, creamy yellow.
- Slowly drizzle about 1/2 cup of the hot cream into the egg mixture while whisking constantly to temper the eggs, then continue adding the remaining hot cream in a steady stream. Note: This prevents the eggs from cooking instantly.
- Pour the mixture back into the saucepan over medium low heat and stir constantly until the custard thickens and coats the back of a spoon.
- Remove from heat and stir in the whole milk, salt, and vanilla extract.
- Pass the mixture through a fine mesh strainer into a clean bowl to remove the bean pod and any stray egg bits.
- Place the bowl in an ice bath or refrigerate until completely cold (at least 6 hours).
- Pour the chilled mixture into your ice cream maker and churn according to the manufacturer's directions until it reaches a soft serve consistency.
Chef's Note: If you want a more intense flavor, you can steep the pod in the milk and cream overnight in the fridge before heating it.
Fixing Common Texture Issues
Most failures in Vanilla Bean Ice Cream happen during the heating or cooling phases. If the base isn't cold enough when it hits the machine, it won't incorporate air properly.
Troubleshooting Common Issues
| Issue | Solution |
|---|---|
| Why Your Base Curdled | This usually happens if the heat is too high or the eggs weren't tempered properly. The proteins in the eggs tighten and separate from the fat. |
| Why the Texture is Icy | Ice crystals form when there's too much water or when the freezing process is too slow. This is why using heavy cream instead of just milk is important. |
| Why the Mixture Won't Thicken | If your custard stays liquid, it likely didn't reach the required temperature to activate the egg proteins. You may need to simmer it for another 2-3 minutes. |
Fun Flavor Variations
Once you have the base down, you can change the profile easily. The neutral, rich nature of this custard makes it a great canvas for other flavors.
If you want a bit of contrast, fold in some fresh raspberries or a swirl of salted caramel after the churning is done. For something truly gourmet, you can fold in toasted pecans or a pinch of cinnamon.
For an extra treat, top a scoop of this with homemade vanilla whipped cream for a cloud like dessert. If you prefer a more adult version, a tablespoon of bourbon stirred into the chilled base before churning adds a great warmth.
Quick Decision Guide: If you want it richer → add one extra egg yolk. If you want it faster → use an ice bath to cool the base. If you want it lighter → swap some heavy cream for whole milk.
Scaling Your Batch
Scaling a custard is mostly straightforward, but there are a few rules to keep the texture consistent.
Scaling Down (1/2 Batch): Use a smaller saucepan so the cream doesn't evaporate too quickly. When using 2 or 3 eggs, beat one egg and use half of it to get the ratio exact. Reduce the heating time by about 20%.
Scaling Up (2x Batch): Avoid quadrupling the recipe in one pot, as the center may not heat evenly. Work in two batches if necessary. I recommend only increasing the salt and vanilla to 1.5x rather than 2x, as these flavors can become overpowering.
Baking Adjustment: If you are using this base for a frozen custard cake, lower your freezer temperature by a few degrees and allow an extra 2 hours for it to set firmly.
Busting Ice Cream Myths
You don't actually need a $500 machine to make decent ice cream, though it helps. You can use the "hand churn" method by stirring the mixture every 30 minutes in the freezer, but it takes more work.
Another common myth is that adding more sugar makes the ice cream creamier. In reality, too much sugar lowers the freezing point, which can actually make the ice cream stay too soft or "soupy" rather than dense.
Finally, searing or boiling the cream doesn't "lock in" the flavor. The gentle simmer is all you need to release the vanilla oils without scorching the milk solids.
Storage and Waste Tips
Store your finished ice cream in an airtight container. I recommend placing a piece of parchment paper or plastic wrap directly on the surface of the ice cream before closing the lid. This prevents freezer burn from forming on the top layer.
It stays fresh in the freezer for about 2 weeks. After that, the texture can start to degrade as larger ice crystals form.
To avoid waste, don't throw away the vanilla bean pod if you have other recipes. You can dry out the empty pod and stick it in a jar of granulated sugar to make vanilla sugar for your morning coffee or cakes.
Serving and Presentation
For a five star look, use a warm ice cream scoop. Dip the scoop in hot water for 5 seconds between every serving. This creates a smooth, round curl that looks professional.
Serve the ice cream in chilled bowls to prevent the edges from melting too fast. A few fresh berries or a sprig of mint adds a pop of color that breaks up the creaminess.
If you're serving a crowd, pre scoop balls of ice cream onto a baking sheet and freeze them for an hour. When it's time to serve, you can just drop them into bowls without the struggle of digging through a frozen block.
Recipe FAQs
What is the difference between vanilla ice cream and vanilla bean ice cream?
Vanilla bean ice cream uses actual seeds from the pod. This creates a richer, more complex flavor and visible black specks compared to standard vanilla ice cream which typically uses only extract.
What ingredients are in vanilla bean ice cream?
It contains heavy cream, whole milk, egg yolks, sugar, a whole vanilla bean, vanilla extract, and sea salt. These ingredients combine to create a rich, traditional custard base.
What does vanilla bean ice cream taste like?
It tastes creamy and intensely aromatic. This deep, floral flavor pairs beautifully with the tartness of a warm apple crisp.
How to make homemade vanilla bean ice cream?
Simmer cream with vanilla bean and pod, then temper egg yolks and sugar into the mixture. Cook until it reaches nappe consistency, chill for at least 6 hours, and churn in an ice cream maker.
How to prevent the egg custard from curdling?
Drizzle hot cream slowly into the egg mixture while whisking constantly. This tempering process prevents the proteins in the eggs from tightening and separating from the fat.
How to store ice cream to avoid freezer burn?
Place parchment paper or plastic wrap directly on the surface of the ice cream. Store in an airtight container to block air and prevent ice crystals from forming on the top layer.
Is it true that you must throw away the vanilla bean pod after steeping?
No, this is a common misconception. You can dry the empty pod and store it in granulated sugar to create vanilla sugar for your coffee or cakes.
Vanilla Bean Ice Cream

