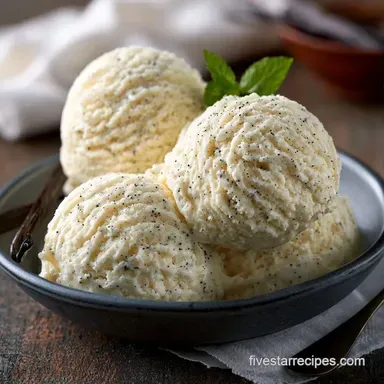
Rich Vanilla Ice Cream
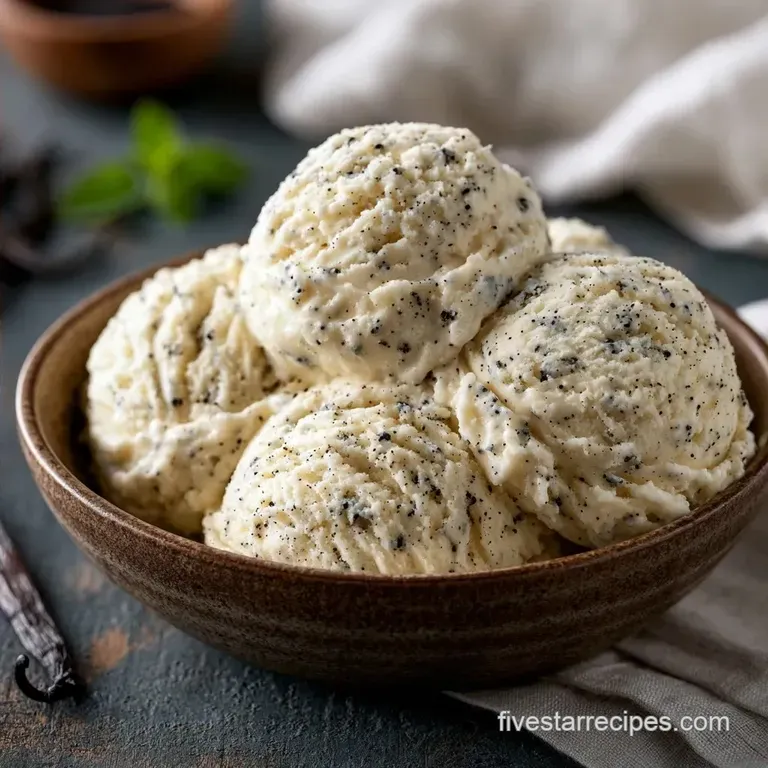
- Time: 15 min active + 6 hours 30 mins chilling/churning
- Flavor/Texture Hook: Rich, dense, and aromatic with real bean specks
- Perfect for: Dinner party desserts or a high end treat at home
The smell of simmering cream and vanilla bean seeds hitting a hot pan is basically my favorite scent in the world. You get this deep, aromatic sweetness that just hits different than store-bought pints. It feels like a luxury, but it's mostly just about managing your temperatures.
I used to rush the cooling process, which always left me with those annoying little ice shards. Now, I just let it sit in the fridge overnight. This Vanilla Ice Cream takes a few hours of waiting, but the actual work is minimal.
You can expect a treat that's thick enough to hold its shape but melts slowly on the tongue. No airy fillers here, just a heavy, cream forward base that lets the vanilla shine.
Making Rich Vanilla Ice Cream
The trick here is the ratio of fat to water and the way we introduce air.
Egg Yolks: These act as natural emulsifiers that bind the fat and water, creating a smooth structure. Cold Base: Chilling the custard for 6 hours ensures the fats are stable before they hit the churner, which keeps the crystals small.
| Method | Time | Texture | Best For |
|---|---|---|---|
| Custard (This) | 6+ hours | Dense & Rich | Gourmet quality |
| No Churn | 2 hours | Airy & Sweet | Quick cravings |
| Philadelphia | 4 hours | Icy & Clean | Light desserts |
Trust me, once you go the custard route, you won't want to go back to the shortcuts.
The Building Blocks
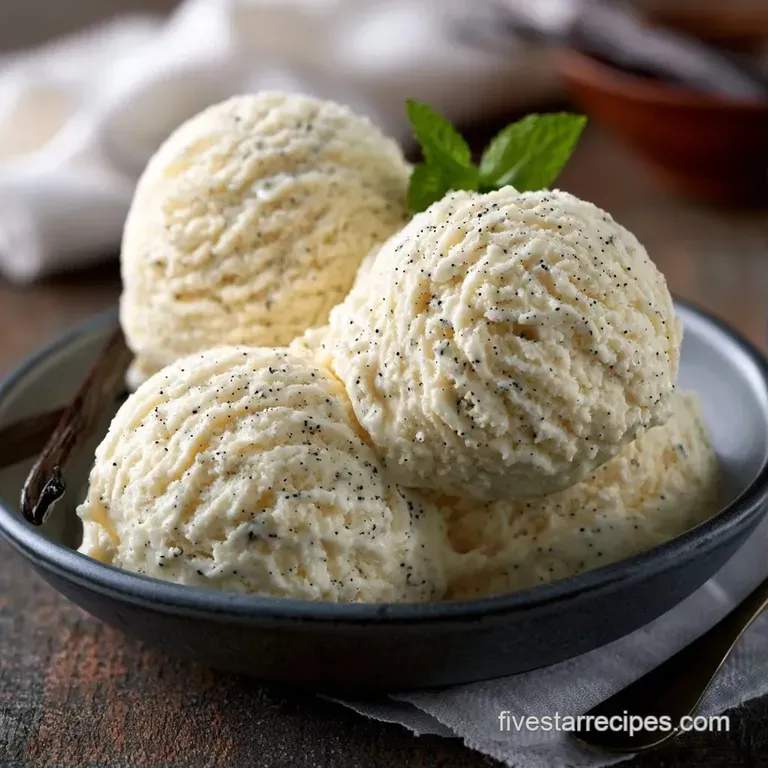
Most of this is standard dairy, but the quality of your vanilla makes the whole thing. I prefer a whole bean because you get those tiny black specks that signal "homemade" to anyone eating it.
The heavy cream provides the bulk of the fat, which is what gives us that mouthfeel. The milk thins it out just enough so it isn't like eating frozen butter. Then we have the egg yolks, which thicken the base into a custard.
If you use low-fat versions of these, the texture will be more like a granita than a creamy treat.
For the sugar, granulated works best because it dissolves quickly in the hot cream. Salt is a small addition, but it stops the sugar from being one dimensional.
Recipe Specs
Precision is everything when you're dealing with emulsions. If the custard gets too hot, the eggs scramble. If it doesn't get hot enough, it stays runny.
For the best results, use a digital thermometer to track your base. You're looking for a gentle simmer, not a rolling boil. The custard should thicken until it's a silky consistency that coats your spoon without dripping off instantly.
Check your freezer temperature too. It should be around -18°C. If your freezer is too warm, the ice cream will stay soft and lose its structure.
Equipment Needed
While you don't need a gourmet kitchen setup, certain tools will simplify the process.
Using a heavy-bottomed saucepan is essential, as thinner pans often develop hot spots that can curdle eggs instantly. A fine mesh strainer is also required to filter out the vanilla pod or any small pieces of cooked egg.
A basic ice cream maker is ideal for churning. If your model uses a freezer bowl, ensure it has chilled for at least 24 hours. If you shake the bowl and hear liquid moving inside, it is not yet ready.
Step-by-step Instructions
- In a saucepan, combine 480ml heavy whipping cream, 240ml whole milk, 100g granulated sugar, 1/4 tsp fine sea salt, and the pod and seeds of 1 vanilla bean.
- Heat over medium until the mixture reaches a gentle simmer. Remove from the heat and let steep for 10 minutes. Note: This ensures you extract the maximum flavor from the bean pod.
- In a bowl, whisk 6 large egg yolks until they are completely smooth.
- While whisking constantly, slowly drizzle one ladle of the hot cream into the yolks. Note: This process is known as tempering, which keeps the eggs from scrambling.
- Gradually stir in two additional ladles of hot cream.
- Return the egg mixture to the saucepan. Cook over low heat, stirring continuously, until the sauce has thickened significantly (usually about 10 minutes).
- Pass the custard through a fine mesh strainer into a bowl and stir in 1 tsp pure vanilla extract.
- Press plastic wrap directly onto the surface of the custard and chill in the refrigerator for at least 6 hours.
- Churn the chilled base in your ice cream maker for approximately 20 minutes until it reaches a dense, soft serve consistency.
- Transfer to a container and freeze for 4 hours to harden.
Troubleshooting Guide
Fixing Icy Textures
This usually happens if the base wasn't cold enough before churning. If the custard is still lukewarm, the machine takes longer to freeze it, which creates larger ice crystals. Always ensure the base is fully chilled.
You can also press a piece of parchment paper directly onto the surface of the frozen ice cream to block out air.
Handling Curdled Custard
If you see small clumps of egg, it means the heat was too high or you didn't temper the yolks enough. Don't toss it. Use a fine mesh strainer to remove the lumps, or give it a quick pulse with an immersion blender to smooth it out. According to Serious Eats, tempering is the most critical step for a stable emulsion.
Solving a Runny Consistency
If your Vanilla Ice Cream won't firm up, you might have too much sugar or not enough fat. Ensure you're using heavy whipping cream rather than half and half. If it's already churned, just leave it in the back of the freezer where it's coldest for another 2 hours.
How to Store and Keep Fresh
Store your ice cream in an airtight container. To prevent freezer burn, wrap the container in a plastic bag or put a layer of wax paper on top of the dessert before sealing the lid. It stays fresh in the freezer for about 2 weeks, though it's best in the first five days.
If you have leftovers from your custard base and didn't make a full batch, you can freeze the base for up to a month. Just thaw it in the fridge before churning. If you're looking for a different base style, you might enjoy vanilla bean ice cream for 6 which uses slightly different proportions.
To avoid waste, use the empty vanilla bean pod. Don't throw it away. Stick it in a jar of sugar for a week to make vanilla sugar for your morning coffee.
Pairing Ideas
This recipe is a blank canvas. Because it's a rich and creamy vanilla ice cream, it balances well with acidic or bitter flavors.
I love serving it with a tart raspberry coulis or fresh macerated strawberries. The acidity cuts through the fat of the cream. For something more decadent, a drizzle of warm salted caramel or a few chunks of dark chocolate work brilliantly.
If you're feeling fancy, serve it alongside a warm apple crisp or a slice of flourless chocolate cake. The contrast in temperatures makes the Vanilla Ice Cream feel like a gourmet treat.
Flavor Variations to Try
Now that you've mastered the basics, customizing the flavor is easy. For a richer profile, swap the vanilla extract for a tablespoon of almond extract or a pinch of cinnamon.
If you prefer a faster, egg-free version, try this Cream with Condensed Milk recipe, which offers similar density without the need for a stovetop.
To add some texture, fold in these ingredients during the final 5 minutes of churning: - 100g of toasted pecans - 1/2 cup of mini chocolate chips - A swirl of homemade strawberry jam
Dietary Substitutions
| Original Ingredient | Substitute | Why It Works |
|---|---|---|
| Heavy Cream (2 cups) | Full fat Coconut Milk (2 cups) | Similar fat content. Note: Adds a tropical flavor |
| Granulated Sugar (1/2 cup) | Honey (1/3 cup) | Natural sweetener. Note: Results in a softer, slightly stickier texture |
| Whole Milk (1 cup) | Cashew Milk (1 cup) | High creaminess for nut milk. Note: Slightly less rich than dairy |
When making substitutions, ensure the fat content remains high. Choosing low-fat alternatives will likely result in an icier texture, as there is less fat to prevent the development of water crystals.
Final Thoughts on Churning
The real magic happens in the final 20 minutes of churning. Don't be tempted to stop as soon as it looks frozen. Let the machine run until the mixture looks like thick soft serve. This ensures the air is evenly distributed, which is what makes it an and creamy vanilla ice cream experience.
If you don't have a machine, you can freeze the base in a shallow pan and whisk it vigorously every 30 minutes for 4 hours. It's a lot more work, but you'll still get a decent and creamy vanilla ice cream.
Just remember that the custard method is what keeps it from becoming a block of ice. Enjoy your homemade treats!
Recipe FAQs
How to make homemade vanilla ice cream?
Heat cream, milk, sugar, salt, and vanilla bean until simmering. Temper egg yolks with the hot mixture, cook until thick, chill for 6 hours, and churn for 20 minutes.
What makes the texture so rich and creamy?
The high fat content from six egg yolks and heavy whipping cream creates a dense mouthfeel. These ingredients emulsify during the cooking process to minimize ice crystals.
Is it true that you can just boil the milk and cream together without tempering the eggs?
No, and here's why. Adding hot cream directly to eggs without tempering causes them to scramble immediately. Slowly drizzling the liquid ensures the yolks incorporate smoothly.
Why should I strain the custard?
Pour the mixture through a fine-mesh strainer to remove any small bits of cooked egg. This step is essential for achieving a professional, silky-smooth consistency.
Which desserts pair well with this ice cream?
Pair this with warm brownies or a tart fruit crumble. If you enjoyed mastering the vanilla bean infusion, try using the same technique for our vanilla panna cotta.
Creamy Vanilla Ice Cream