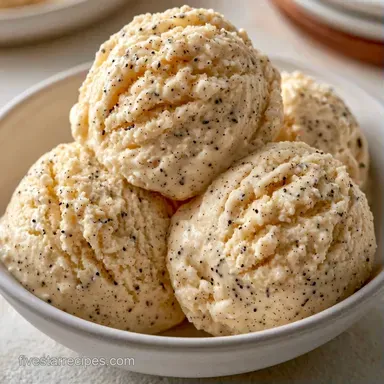
Extra Rich Vanilla Ice Cream: Custard Base
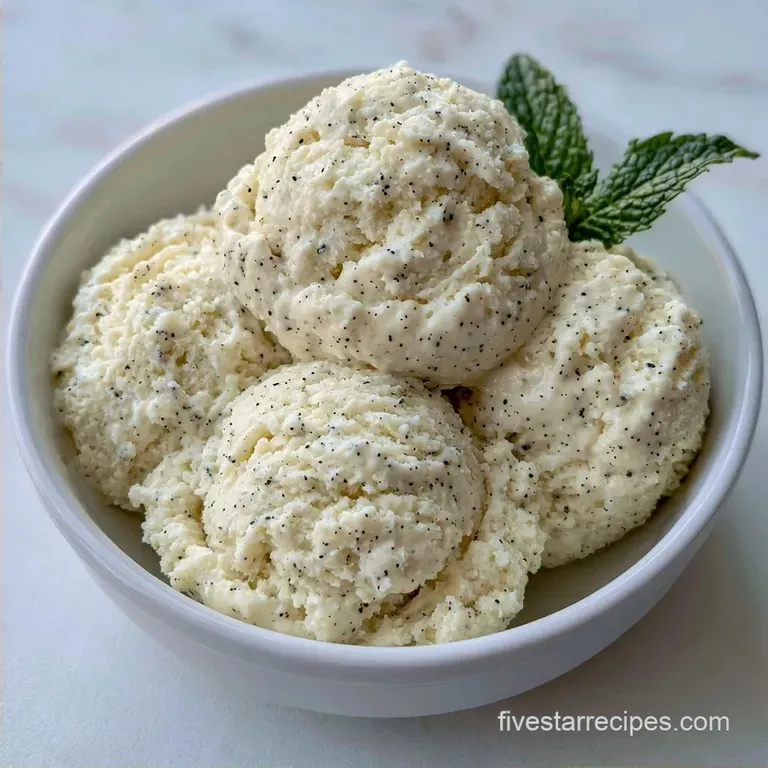
- Time: 15 min active + 6 hrs 50 mins total (including chill)
- Flavor/Texture Hook: Rich, dense, and smooth with visible vanilla specks
- Perfect for: Dinner party desserts or a gourmet weekend project
Vanilla Ice Cream That Actually Works
The smell of heating cream and vanilla bean paste fills the whole kitchen, a warm and sweet aroma that promises something special. I remember a batch I made years ago where I tried to skip the long chill. I thought four hours was enough, but the base was still slightly warm when it hit the machine. The result?
A gritty, icy mess that tasted like vanilla flavored slush. It was a harsh lesson in patience.
Since then, I've focused on the precision of the temperature. When you get the chill right, the texture changes from a simple frozen cream to something dense and luxurious. You can feel the weight of the scoop, and it melts slowly on the tongue instead of disappearing instantly.
This recipe isn't about shortcuts. It's about doing the few things that matter, like tempering eggs correctly and using a fine mesh strainer. If you follow the timing, you'll get a Rich Vanilla Ice Cream that rivals any high end creamery.
What Makes This Base Work
- Fat Ratios: Using a mix of heavy cream and egg yolks lowers the freezing point. This prevents large ice crystals from forming, which is why the texture stays smooth.
- The Deep Chill: Cooling the custard for 6 hours allows the fat globules to crystallize and the flavors to marry. This ensures a faster churn and a denser final product.
- Sugar Balance: The granulated sugar doesn't just sweeten. It interferes with the water molecules, keeping the scoop pliable even after days in the freezer.
According to the experts at Serious Eats, the ratio of solids to liquids is what determines if your dessert feels airy or dense.
| Approach | Churn Time | Texture | Best For |
|---|---|---|---|
| Custard Base | 25 mins | Dense & Rich | Gourmet desserts |
| No Churn | 0 mins | Airy & Sweet | Quick cravings |
| Philadelphia Style | 20 mins | Light & Clean | Fruit pairings |
Ingredient Deep Dive
The quality of your Vanilla Ice Cream depends entirely on the quality of the fats. I always use full fat cream because low-fat versions introduce too much water, which leads to iciness.
| Ingredient | Role | If You Don't Have It |
|---|---|---|
| Heavy Cream | Provides structure and richness | Mascarpone (thinned with milk) |
| Egg Yolks | Emulsifies fat and water | Cornstarch slurry (less rich) |
| Vanilla Bean Paste | Intense flavor and visual specks | Pure vanilla extract |
| Whole Milk | Adjusts the final density | Evaporated milk (for extra richness) |
Essential Recipe Specs
Precision is everything here. If the custard gets too hot, you'll have sweet scrambled eggs. If it's too cold, it won't thicken.
- Precision Checkpoint 1: The custard must hit 170°F (77°C) to thicken without curdling.
- Precision Checkpoint 2: The base needs exactly 6 hours in the fridge to stabilize.
- Precision Checkpoint 3: Churn for roughly 25 minutes until it looks like soft serve.
Tools For The Job
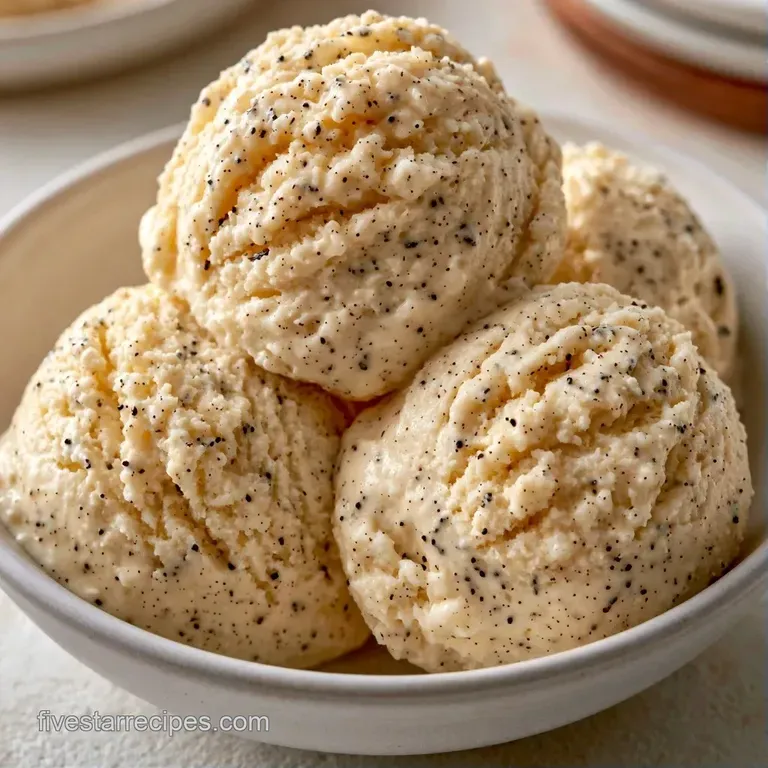
While you don't need an industrial kitchen, having a few key pieces of equipment will streamline the work.
- Digital Thermometer: Absolutely essential for tempering the custard.
- Fine Mesh Strainer: Ensures any small pieces of cooked egg are removed.
- Heavy Bottomed Saucepan: Stops the milk from scorching on the base.
- Ice Cream Maker: Either a compressor-style or a canister machine.
The step-by-step Process
Let's dive in. Ensure your bowl is chilled before you begin heating the ingredients.
- Combine the heavy cream, whole milk, sugar, and salt in a medium saucepan. Heat over medium, stirring now and then, until the sugar has dissolved and the liquid is steaming. Note: Avoid letting it reach a rolling boil.
- Take the pan off the heat and stir in the vanilla bean paste.
- In a separate bowl, whisk the 5 large egg yolks until smooth.
- Slowly whisk about 1/2 cup of the hot cream into the yolks. Note: This tempering process prevents the eggs from scrambling.
- Gradually pour the warmed egg mixture back into the saucepan with the remaining cream.
- Return the pan to low heat. Stir constantly for 3-5 minutes until the custard is creamy and slightly thickened (about 170°F/77°C).
- Immediately strain the mixture through a fine mesh strainer into a bowl. Stir in the vanilla extract.
- Press plastic wrap directly against the surface of the custard to prevent a skin from forming.
- Refrigerate for 6 hours.
- Churn the chilled custard in your machine for about 25 minutes until thickened and frozen.
Handling Common Pitfalls
Rushing often leads to mistakes, typically stemming from poor temperature control or excessive agitation.
Correcting a Grainy Consistency
Small lumps usually mean the eggs were overheated. While a strainer often catches these, you can also use an immersion blender for a quick pulse before chilling to ensure a smooth texture.
Preventing Ice Crystals
This occurs when the base is too warm or the freezer isn't cold enough. Adhere strictly to the 6 hour chill. For a truly velvety result, keep your freezer at its coldest setting.
Avoiding Over-Churning
Churning for too long can cause the fats to separate, effectively turning your ice cream into vanilla butter. Stop the machine as soon as the mixture holds its shape.
| Problem | Fix |
|---|---|
| Lumpy Custard | Strain through a fine mesh sieve |
| Icy Texture | Lengthen chill time or verify freezer temp |
| Too Soft to Scoop | Freeze for 2 more hours after churning |
| Butter-like Bits | Lower churn time by 5 minutes |
Chef's Note: The 6 hour chill cannot be skipped, but transferring the custard to a wide, shallow bowl will help it cool more quickly.
Storage and Waste Tips
After churning your Vanilla Ice Cream, move it into an airtight container. A plastic tub with a secure lid works best. To stop freezer burn, lay a sheet of parchment paper against the ice cream's top before sealing the lid.
Place the container at the back of the freezer where the temperature is most consistent. It will remain fresh for roughly 2 weeks; after that, the flavor begins to fade and ice crystals start to form.
To avoid waste, don't throw away any small amount of custard base left over from the machine. Instead, stir it into your morning oatmeal or use it as a creamy foundation for vanilla panna cotta.
Serving Your Dessert
The best way to enjoy this is to let the container sit on the counter for 3-5 minutes. This softens the edges and makes the scoop much cleaner.
For a classic presentation, pair a large scoop with fresh berries and a drizzle of warm chocolate ganache. If you want to go all out, top it with Homemade Vanilla Whipped Cream for a double dose of vanilla.
The warm contrast of a freshly baked brownie topped with a cold scoop of Rich Vanilla Ice Cream is a winner every time.
| Serving Style | Suggested Pairing | Vibe |
|---|---|---|
| Simple Scoop | Fresh Mint Leaf | Clean & Classic |
| Warm Brownie | Salted Caramel | Decadent |
| Fruit Parfait | Macerated Strawberries | Summer Refreshing |
Ways to Swap Ingredients
This base is highly versatile. To introduce new flavors, simply mix in your additions during the last stir before the chilling process begins.
- Bean Pod Method: Swap the paste for the seeds of two vanilla beans; infuse the cream with the pods while heating, then discard the pods before you temper the eggs.
- French Style: Incorporate a pinch of nutmeg for a classic, sophisticated taste.
- No Machine Version: If you lack an ice cream maker, a condensed milk version is a great alternative as it doesn't require the same aeration.
Decision Shortcut: More depth? → Opt for vanilla bean pods over paste Softer scoop? → Mix in 1 tbsp of corn syrup or vodka Nuttier flavor? → Replace 1/2 cup of milk with almond milk
Avoid using low-fat milk in this recipe. It interferes with the freezing process, resulting in a texture more like a popsicle than a rich dessert. To ensure a five-star finish, always use full-fat ingredients.
Recipe FAQs
How do I make vanilla ice cream at home?
Combine cream, milk, sugar, and salt in a saucepan, heat until steaming, and stir in vanilla bean paste. Temper in egg yolks, thicken to 170°F, chill for 6 hours, and churn in an ice cream maker.
What is the secret to achieving such a rich texture?
Combining egg yolks and heavy cream produces a lush, velvety mouthfeel. For another great example of this rich texture, check out our Vanilla Bean Panna Cotta.
Can I use vanilla extract instead of paste?
Use extract if you don't have paste, though you will lose the characteristic black specks. The final flavor remains strong if you follow the mixing steps.
Is it true that I can skip the tempering process for the yolks?
Surprisingly, no. Skipping this step will cause the eggs to scramble when they hit the hot cream.
Why should I press plastic wrap onto the custard?
Pressing the wrap directly onto the surface prevents a skin from forming during refrigeration. This ensures the base stays perfectly smooth before churning.
Which ingredients make this a high-quality dessert?
Pure vanilla bean paste and high-fat heavy cream provide a professional flavor profile. The inclusion of five egg yolks ensures a stable and creamy consistency.
Creamy Vanilla Ice Cream in 25 Minutes