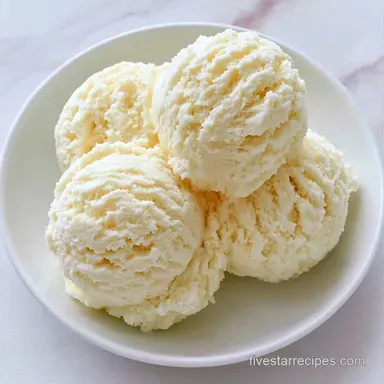
Quick Vanilla Extract Ice Cream with 10 Min Prep
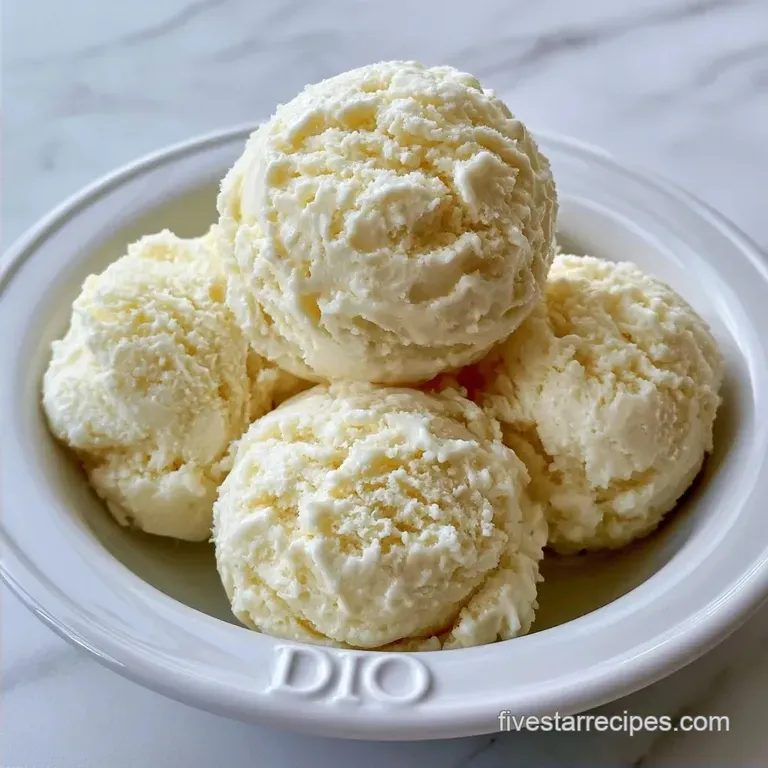
- Time: 10 min active + 6 hours chilling/freezing
- Flavor/Texture Hook: Rich, creamy, and aromatic
- Perfect for: Easy desserts, summer treats, or beginner friendly hosting
The scent of pure vanilla hitting a cold bowl is one of my favorite kitchen smells. It's clean and sweet, and it reminds me of those old school parlors where the scoops were huge and the cream was thick. For a long time, I thought you needed a fancy, expensive machine to get that texture, but I was wrong.
I once tried to rush a batch by skipping the four hour chill, and it turned into a grainy, icy mess that felt like eating frozen slush. That mistake taught me that patience is actually an ingredient. This Quick Vanilla Extract Ice Cream depends on the base being ice cold before it ever sees the freezer.
Trust me on this: don't skip the resting phase. When you give the cream time to settle and cool, you get a result that is velvety and dense. It’s a simple process, but the precision in the timing makes all the difference.
Quick Recipe Specs
This recipe is designed for a standard home freezer. It produces a dense, scoopable treat without the need for stabilizers.
The total time is 6 hours 10 mins, but most of that is hands off waiting. You'll spend only 10 minutes of active prep time whisking the base together. This is a great option if you want a treat that feels gourmet but doesn't require you to stand over a stove.
Essential Ingredients List
| Ingredient | Role | If You Don't Have It |
|---|---|---|
| Heavy Cream | Provides fat for a creamy feel | Full fat coconut milk (adds coconut flavor) |
| Whole Milk | Balances the richness | Half and half (makes it even denser) |
| Granulated Sugar | Sweetens and lowers freeze point | Maple syrup (adds a woody taste) |
| Vanilla Extract | Primary aromatic flavor | Vanilla bean paste (more intense) |
| Fine Sea Salt | Enhances flavor and softens set | Table salt (works just as well) |
The Shopping List
- 1.5 cups heavy cream Why this? Essential for a thick, rich mouthfeel
- 1 cup whole milk Why this? Prevents the ice cream from being too buttery
- 0.5 cup granulated sugar Why this? Keeps the mixture from freezing rock hard
- 1 tablespoon pure vanilla extract Why this? Gives that classic, aromatic floral note
- 0.25 teaspoon fine sea salt Why this? Cuts through the fat to sharpen the flavor
Kitchen Tools Needed
You don't need a professional lab here, just a few basics. A large mixing bowl and a sturdy whisk are the main tools for the base.
If you have a stand mixer such as KitchenAid, you can use it to whisk the sugar in faster, but a hand whisk works perfectly. You'll also need a shallow container for freezing if you're going the manual route. Plastic wrap is a must to prevent a skin from forming on the cream.
The Cooking Process
- Combine the granulated sugar and fine sea salt in a mixing bowl.
- Slowly whisk in the whole milk and heavy cream. Note: Do this slowly to avoid splashing.
- Whisk until the sugar is completely dissolved and the mixture is smooth.
- Stir in the pure vanilla extract until fully incorporated.
- Pour the mixture into a bowl and cover tightly with plastic wrap, pressing it directly onto the surface of the liquid.
- Refrigerate for 4 hours until the base is ice cold to the touch.
- If using an ice cream maker, churn according to the manufacturer's directions. If making without a machine, pour into a shallow container and vigorously beat with a fork or whisk every 30 minutes until thick and frozen.
- Transfer to a final container and freeze for an additional 2 hours until firm and scoopable.
How the Texture Works
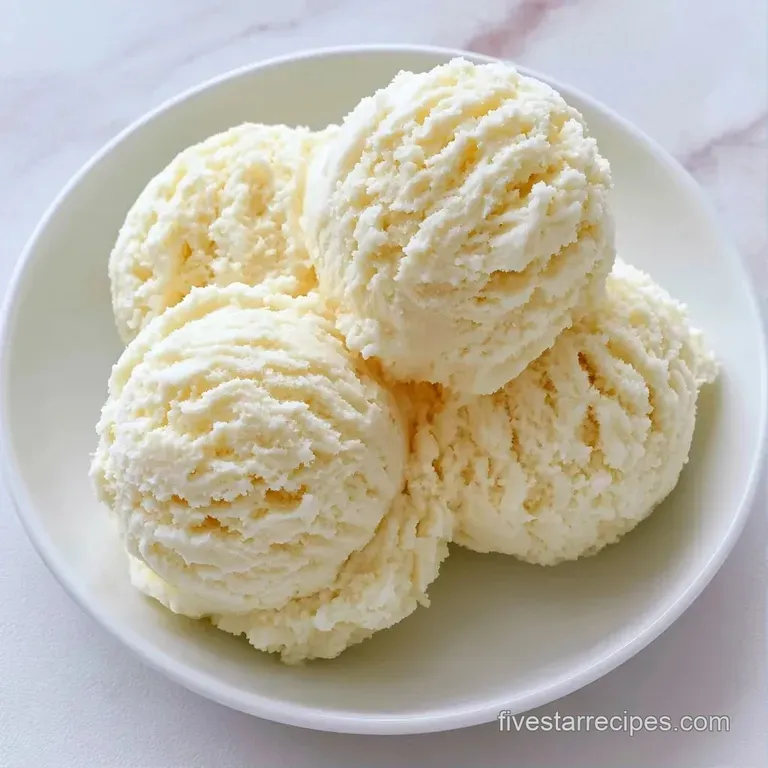
The physics of freezing is what makes or breaks this dessert. According to Serious Eats, the goal is to keep ice crystals as small as possible.
- The Deep Chill: Starting with an ice cold base means the mixture freezes faster, which stops large ice crystals from forming.
- The Salt Factor: Salt lowers the freezing point of the water in the milk, which keeps the ice cream from becoming a solid block of ice.
Method Comparison
| Method | Time | Texture | Best For |
|---|---|---|---|
| Machine Churn | 20-30 mins | Very airy and smooth | Classic parlor style |
| Manual Whisk | 3-4 hours | Denser and richer | No equipment homes |
Fixing Common Issues
Fixing Icy Textures
This happens when too much air is missing or the temperature fluctuated. If you're making Vanilla Extract Ice Cream without a machine, you must stir it every 30 minutes. This breaks up the ice crystals as they form, ensuring a smoother bite.
Managing Hard Freezes
If the Vanilla Ice Cream is too hard to scoop, it's usually because the freezer is set too cold or there wasn't enough fat. Let the container sit on the counter for 5 minutes before scooping. You can also try adding a tablespoon of vodka to the base, which lowers the freezing point further.
Solving Grainy Sugar
Sugar grains are usually a sign that the sugar didn't dissolve in the milk. Make sure to whisk the base thoroughly before chilling. If it's already frozen, you can't fix it easily, but next time, whisk for an extra minute.
Storage and Scraps
Store your ice cream in an airtight container in the back of the freezer, away from the door where the temperature shifts. It stays fresh for about 2 weeks. After that, you might notice freezer burn or ice crystals forming on top.
If you have leftover heavy cream from this recipe, don't let it go to waste. You can whip it up into my Homemade Vanilla Whipped Cream to top your scoops.
Simple Flavor Swaps
You can easily tweak this Extract Ice Cream to change the vibe. For a more intense flavor, try replacing the extract with a scraped vanilla bean.
Budget vs. Premium
| Ingredient | Budget Choice | Premium Choice | Impact |
|---|---|---|---|
| Vanilla | Pure Extract | Vanilla Bean Pod | Bean adds black specks and deeper aroma |
| Milk | 2% Milk | Whole Milk | Whole milk provides a creamier mouthfeel |
For those who want something different, you can follow the steps for Cream with Condensed Milk recipe for an even denser result.
Customization Guide
- For a firmer set: freeze for 3 hours instead of 2.
- For a softer scoop: add 1 extra tablespoon of sugar.
- For a lighter taste: swap 0.5 cup of heavy cream for more whole milk.
Serving and Pairing
The best way to enjoy this is in a chilled bowl to stop the edges from melting too fast. This Vanilla Ice Cream is a blank canvas, so don't be afraid to go wild with toppings.
Warm brownies or a slice of apple pie are the classic pairings here. If you want something simpler, a drizzle of honey and a pinch of sea salt bring out the floral notes of the vanilla. Right then, grab your scoop and enjoy.
Recipe FAQs
Can I use vanilla extract instead of pods?
Yes, it works perfectly. Use one tablespoon of pure vanilla extract to ensure a consistent, aromatic flavor throughout the batch.
How to churn this without a machine?
Pour the chilled mixture into a shallow container. Vigorously beat it with a fork or whisk every 30 minutes until thick and frozen.
Is it true that homemade ice cream needs eggs to be creamy?
Surprisingly, no. This recipe relies on the high fat content of heavy cream and whole milk to create a rich texture without a custard base.
Which process yields the most professional texture?
Machine churning produces the airiest result. If you enjoyed mastering the smooth consistency here, the same dairy-balancing principle works in our Vanilla Bean Panna Cotta.
Vanilla Ice Cream with 10 Min Prep