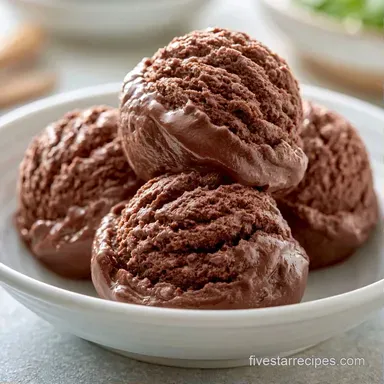
Creamy Chocolate Ice Cream
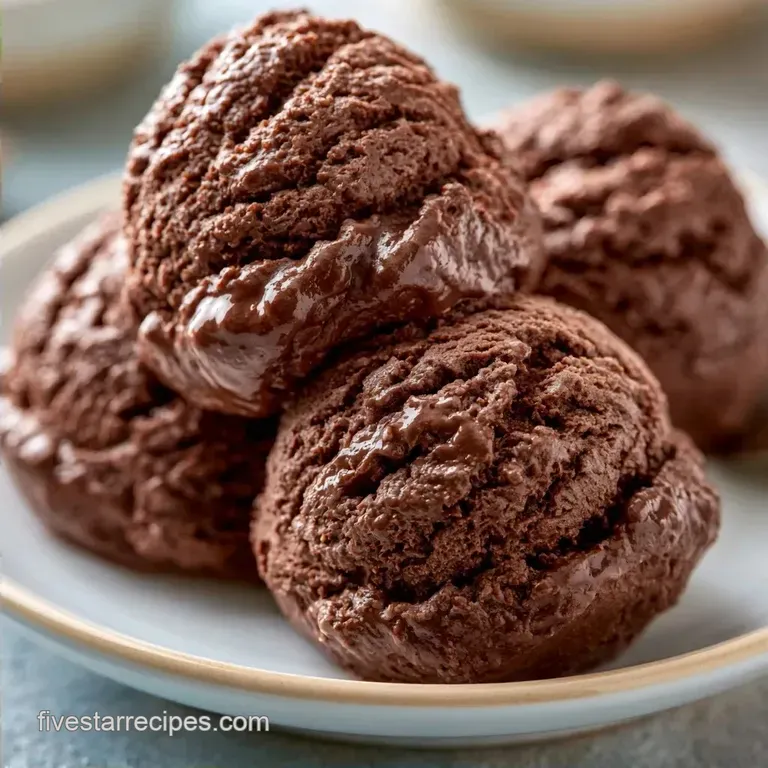
- Time: 10 min active + 4 hours 25 mins chilling
- Flavor/Texture Hook: Deep mahogany color with a smooth, dense scoop
- Perfect for: High end dessert nights or a comforting weekend treat
Creamy Homemade Chocolate Ice Cream
The smell of cocoa powder hitting cold milk is a scent I can't get enough of. Most people think you have to spend an entire afternoon simmering egg yolks and tempering cream to get a professional result. I used to think that too, until I realized that a cold emulsion base actually produces a cleaner chocolate taste.
You don't need a cooked custard to get a rich result. By skipping the heat, we keep the cocoa flavor bright and punchy. This Chocolate Ice Cream relies on the right fat ratio rather than eggs to create that heavy, parlor style feel.
Expect a treat that feels dense and opulent. It doesn't have the airy, whipped quality of soft serve, but instead hits like a frozen truffle. It's the kind of dessert that makes you want to ignore everything else in the room.
Quick Recipe Overview
This approach prioritizes precision over complexity. We use a specific blend of fats to ensure the mix doesn't turn into a block of ice. The result is a high density scoop that melts slowly.
The difference between a great scoop and a mediocre one comes down to how the sugar dissolves. If you feel grit on your tongue, the sugar didn't integrate. We solve this by blending the milk and sugar first into a syrup before adding the cream.
If you enjoy this style of dessert, you might also like my vanilla ice cream recipe which uses a similar logic for a classic flavor.
Why This Texture Works
Fat Content: High fat from the heavy cream blocks large ice crystals from forming. This keeps the mix smooth.
Sugar Saturation: Dissolving sugar in milk first lowers the freezing point. It prevents the mix from becoming a solid brick.
The Building Blocks
The cocoa is the heart of this recipe. Sifting it is non negotiable, or you'll find tiny bitter bombs of powder in your first few bites. I prefer using a Dutch processed cocoa for a darker, more mellow profile.
Espresso powder doesn't make it taste like coffee. Instead, it acts like a highlighter for the chocolate, making the cocoa taste more intense. It's a small addition that changes the whole profile of the Chocolate Ice Cream.
Ingredients
- 2 cups heavy whipping cream Why this? Provides the necessary fat for a smooth scoop (Substitute: Full fat coconut milk)
- 1 cup whole milk Why this? Balances the richness so it's not too heavy (Substitute: Oat milk)
- 3/4 cup granulated sugar Why this? Controls the freezing point and adds sweetness (Substitute: Maple syrup)
- 1 tsp vanilla extract Why this? Rounds out the bitterness of the cocoa (Substitute: Vanilla bean paste)
- 1/4 tsp salt Why this? Cuts through the sugar for a balanced taste (Substitute: Fine sea salt)
- 1/2 cup unsweetened cocoa powder Why this? The primary flavor source (Substitute: Melted dark chocolate)
- 1 tbsp espresso powder Why this? Deepens the chocolate notes (Substitute: Strong brewed coffee)
| Original Ingredient | Substitute | Why It Works |
|---|---|---|
| Heavy Cream (2 cups) | Coconut Milk (full fat, 2 cups) | Similar fat content. Note: Adds tropical notes |
| Whole Milk (1 cup) | Oat Milk (1 cup) | Creamy consistency. Note: Slightly more earthy flavor |
| Granulated Sugar | Maple Syrup (1/2 cup) | Natural sweetener. Note: Makes the base thinner |
Essential Tools Needed
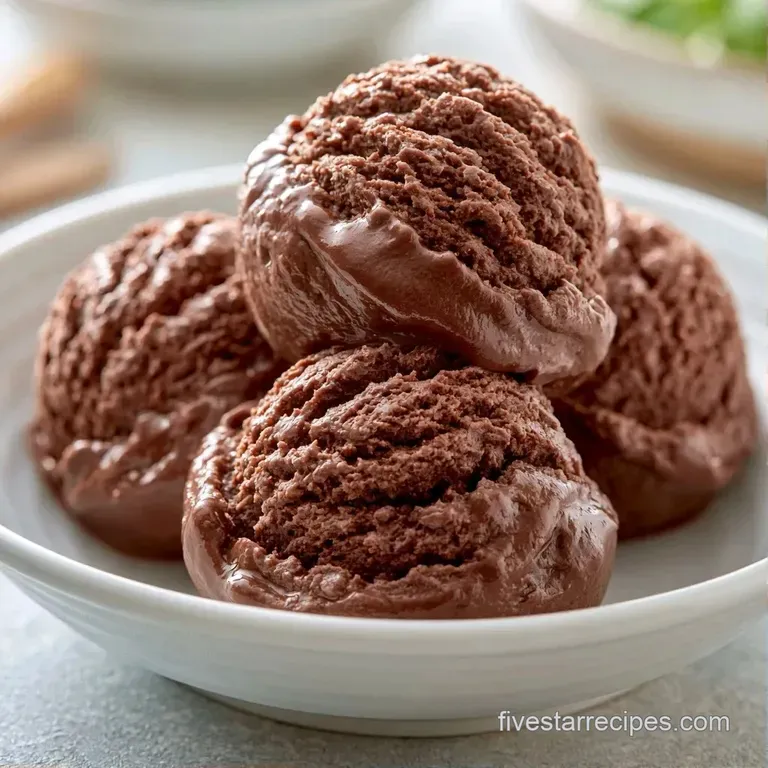
You'll need a blender or a very sturdy whisk. A blender is better for getting that cocoa powder fully integrated without any lumps.
The ice cream maker bowl is the most critical piece. It needs to be frozen solid, or the mixture will just spin around without ever thickening. I always keep mine in the back of the freezer where it's coldest.
A shallow, airtight container works best for the final freeze. The more surface area the ice cream has, the more evenly it sets.
Making the Ice Cream
- Sift the cocoa powder into a blender to remove lumps. Note: This prevents bitter streaks in the final product
- Add the chilled whole milk, sugar, salt, and espresso powder to the blender.
- Blend on medium speed for 30 seconds until the sugar has dissolved and the mix looks like a dark syrup.
- Slowly stream in the heavy cream and vanilla extract.
- Pulse the blender a few times until just combined. Note: Over blending the cream can create unwanted butter pockets
- Pour the mixture into your pre frozen ice cream maker bowl.
- Churn for 20-30 minutes until it reaches a thick, soft serve consistency.
- Transfer the Chocolate Ice Cream into a container.
- Press parchment paper directly onto the surface. Note: This blocks air and prevents ice crystals from forming
- Freeze for 4 hours until firm and scoopable.
Chef's Note: For a more intense hit, stir in 100g of mini chocolate chips during the last 2 minutes of churning.
Solving Texture Problems
Icy Texture
If you notice ice shards in your scoop, the base was likely too warm or the bowl wasn't cold enough. Use milk and cream directly from the refrigerator. Additionally, confirm your freezer bowl has chilled for a full 24 hours.
Cocoa Clumps
Dry powder pockets occur when cocoa is not properly sifted or blended. If this happens after churning, you cannot fix it without melting the entire batch. To prevent this, blend the milk and cocoa for a full 30 seconds before stirring in the cream.
Hard Consistency
When the ice cream is too firm to scoop, it usually indicates a lack of sugar or fat. Leave the pint out for 5-10 minutes before serving. For future batches, make sure to use full fat heavy cream instead of a lower fat alternative.
Flavor Twists to Try
For a quicker alternative, try this fast chocolate version to reduce the waiting period.
If you don't have a machine, a no-churn approach works great. Use a blend of whipped cream and condensed milk; while this 3-ingredient chocolate ice cream is delicious, it is denser and lacks the aeration of a churned batch.
For a "Midnight" twist, swap the cocoa powder for 150g of melted 70% dark chocolate to achieve a richer, fudgier profile. For Ninja Creami owners, freeze the base in the pint container for 24 hours and select the "Ice Cream" setting.
Decision Shortcut
- More intense dark? → Add 1 tbsp extra cocoa
- Nutty flavor? → Swap milk for almond milk
- Salty contrast? → Fold in 1 tsp flaky sea salt
| Method | Texture | Effort |
|---|---|---|
| Churned | Airier, smooth | Higher (requires machine) |
| No Churn | Dense, fudgy | Lower (stir and freeze) |
Storage and Waste Tips
Keep your Chocolate Ice Cream in the coldest part of your freezer. It stays fresh for about 2 weeks. After that, the flavor starts to fade and the texture can become grainy.
To avoid waste, use any leftover base as a chocolate milkshake. Just blend the unchurned mix with a few ice cubes and a splash of extra milk. If you have leftover cream, you can whip it with a bit of sugar to top your scoops.
Serving Suggestions
Warm the scoop slightly by dipping your metal scoop in hot water. This gives you those clean, rounded edges you see in shops.
Since this is a rich dessert, pair it with something tart. Fresh raspberries or a drizzle of raspberry coulis cut through the fat of the cream. For a bit of crunch, toasted hazelnuts or crushed pretzels add a great contrast.
Precision Checkpoints
- Bowl freeze: 24 hours minimum.
- Base blend: 30 seconds exact.
- Final set: 4 hours minimum.
Recipe FAQs
How to make chocolate ice cream at home?
Combine chilled whole milk, sugar, salt, and sifted cocoa powder in a blender. Blend on medium for 30 seconds before stirring in heavy cream and vanilla.
Is it true that you must use a professional churner?
Actually, no. A standard home ice cream maker with a pre-frozen bowl works perfectly for this recipe.
What is the best way to avoid ice crystals?
Lay parchment paper or plastic film against the ice cream. This creates a seal that prevents air from causing freezer burn.
Can the mixture be used for other desserts?
Blend any leftover unchurned base with ice cubes and a splash of milk to make a rich milkshake. It is a great way to use up the syrup.
Why include espresso powder in the mix?
It deepens the chocolate profile and makes the cocoa taste more intense. You won't taste the coffee, just a richer chocolate flavor.
How do you reach a soft-serve consistency?
Churn the mixture for 20 to 30 minutes according to the manufacturer's directions. Stop once it thickens to a smooth, creamy texture.
Which ingredients create the richest texture?
The blend of heavy whipping cream and whole milk provides the necessary fat for a velvety mouthfeel. If you enjoyed this result, you can use a similar creamy base in our condensed milk version.
Creamy Chocolate Ice Cream