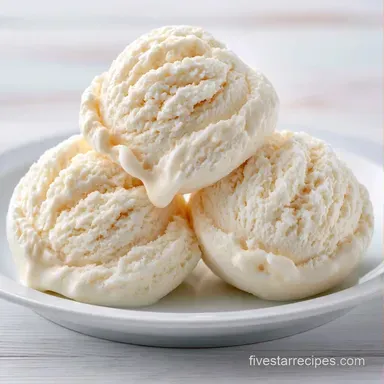
Creamy Custard Ice Cream
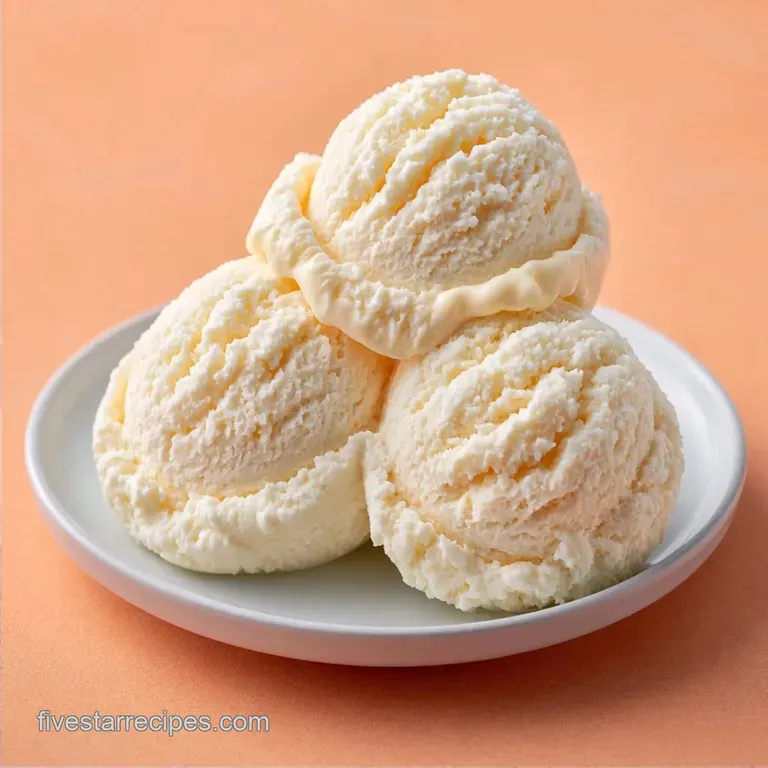
- Time: 15 min active + 4 hours chilling
- Flavor/Texture Hook: Dense and buttery with a smooth glide
- Perfect for: Five star dinner parties or weekend projects
Custard Ice Cream for a Pro Finish
The smell of heating cream and vanilla fills the kitchen, and there is something so satisfying about the sound of a whisk hitting a stainless steel pot. I used to think any frozen cream was "ice cream," but then I tried my first real French style base. The difference is immediate.
It is denser, richer, and feels like something you would buy at a high end creamery.
But it isn't always easy. I once tried to rush a batch by cranking the heat to high. The result looked more like sweet curdled eggs than a base for Custard Ice Cream. It was a total mess, but it taught me that the thermometer is my best friend in the kitchen.
Once you get the temp right, the texture becomes velvety and consistent every single time.
This recipe gives you that old school, gourmet result without the stress. You get a stable base that holds its shape and resists that grainy, icy texture that ruins homemade desserts. It takes a bit of patience, but the payoff is a professional grade treat that puts store-bought pints to shame.
What Makes it Work
- Egg Yolks: These act as a natural emulsifier. They bind the water in the milk to the fats in the cream, which stops large ice crystals from forming.
- The Chill: Cooling the mix rapidly in an ice bath prevents bacteria growth and ensures the fat molecules stabilize before they hit the churner.
| Cooking Method | Time | Texture | Best For |
|---|---|---|---|
| Direct Heat | 15 mins | Dense & Rich | Maximum flavor and speed |
| Double Boiler | 25 mins | Very Smooth | Beginners fearing curdled eggs |
Gear for the Job
You don't need professional gear, though certain items make the work much smoother. For total precision, a digital thermometer is essential; I use a basic probe thermometer to hit the required markers.
You'll also need a medium saucepan and a fine mesh strainer, which is the only way to keep small cooked egg fragments out of your final scoop. Lastly, a sturdy whisk and a bowl that fits inside a larger bowl of ice are required for the rapid chilling phase.
Equipment Needed
- Digital thermometer (probe style)
- Medium saucepan
- Fine mesh strainer
- Whisk
- Stainless steel bowl (for ice bath)
- Ice cream maker (churner)
Shopping List Breakdown
The quality of your dairy dictates the final result. Using whole milk and heavy cream provides the necessary fat to keep the scoop smooth. Sugar doesn't just add sweetness, it actually lowers the freezing point, which keeps the dessert from turning into a solid block of ice.
Egg yolks are the engine here. They provide the structure and that characteristic buttery taste. Salt is a small addition, but it cuts through the richness so the vanilla can actually shine.
Recipe Specs
- Heavy Cream (2 cups): High fat for a dense scoop. Substitute: Full fat coconut cream for a dairy-free twist. Why this? Provides the primary structure and creaminess.
- Whole Milk (1 cup): Balances the fat. Substitute: Half and half. Why this? Adds liquid without making it too heavy.
- Granulated Sugar (3/4 cup): Sweetens and softens. Substitute: Caster sugar for faster dissolving. Why this? Controls the freezing point.
- Egg Yolks (5 large): The emulsifier. Substitute: None for this style. Why this? Creates the custard thickness.
- Vanilla Extract (1 tbsp): The aromatic. Substitute: Vanilla bean paste. Why this? Adds the classic gourmet flavor.
- Salt (1/4 tsp): The flavor enhancer. Substitute: Fine sea salt. Why this? Balances the sugar.
Step-by-step Process
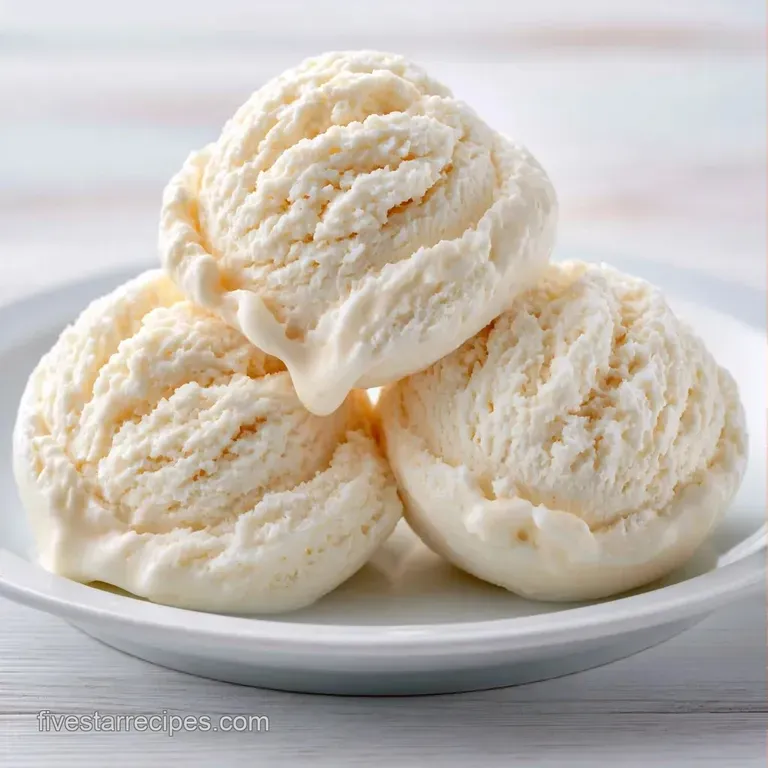
Phase 1: Infusing the Dairy
In a medium saucepan, combine the heavy cream, whole milk, sugar, and salt. Using medium-low heat, stir every so often until a gentle simmer is reached at 170°F (77°C). Avoid letting the mixture reach a rolling boil to prevent moisture loss.
Take the pan off the heat.
Phase 2: Tempering the Yolks
Beat the egg yolks in a separate bowl until smooth. While whisking constantly, slowly pour in one ladle of the heated cream. Repeat this process with a second ladle. This gradual warming prevents the eggs from curdling when integrated into the main pot.
Phase 3: The Thickening Process
Return the yolk mixture to the saucepan. Set the heat back to medium-low. Stir steadily with your whisk until the custard thickens and reaches 175°F (80°C).
You are aiming for the "nappe" stage, where the liquid coats the back of a spoon and leaves a clear trail when you swipe your finger through it.
Phase 4: The Rapid Chill
Immediately strain the hot custard into a bowl. Set the bowl atop an ice bath. Stir occasionally until chilled, then refrigerate for 4 hours. This quick cooling process is essential for a smooth final texture.
Phase 5: Churning and Setting
Transfer the cold base into your ice cream maker. Churn according to the manufacturer's instructions. This typically takes 20-25 minutes until it reaches a soft-serve consistency. Move the mixture to a container and freeze for an additional 2-4 hours to firm up.
Solving Texture Issues
Fixing a Grainy Texture
If you see small clumps of egg, don't toss the batch. Pour the mix through a fine mesh strainer again. If that doesn't work, use an immersion blender for 30 seconds. This forces the fats and proteins to re bond, creating a smooth Base Ice Cream.
Dealing with Icy Crystals
Icy pockets usually happen if the base wasn't cold enough before churning. Ensure the mix is fully chilled for 4 hours. According to Serious Eats, minimizing the air bubbles and keeping the temperature low is the best way to prevent crystallization.
When the Mix Won't Thicken
If you hit 175°F but it's still runny, you might have under whisked the yolks. Keep stirring over low heat for another 2-3 minutes. Just be careful not to exceed 185°F, or you will end up with sweet scrambled eggs in your Custard Ice Cream.
| Goal | What to change |
|---|---|
| Denser Scoop | Add 1 extra egg yolk |
| Sweeter Taste | Increase sugar by 2 tbsp |
| Lighter Feel | Swap 1/2 cup cream for milk |
Adjusting the Batch Size
If you are making a smaller batch (1/2 or 1/4), use a smaller saucepan to prevent the dairy from evaporating too quickly. Reduce the cooking time by about 20%. For the eggs, beat one yolk and measure out half by weight or volume.
For larger batches (2x or 4x), don't just multiply everything. Keep salt and vanilla at about 1.5x the original amount to avoid overpowering the cream. Work in batches if your pot is too small, as overcrowding the pan makes it harder to maintain a steady 175°F.
Ice Cream Myths
Myth: You must use a machine for custard. Not true. You can make a no churn custard ice cream by folding the chilled base into whipped cream, though the texture is airier and less dense than a churned version.
Myth: More sugar means a softer scoop. While sugar does lower the freezing point, too much will prevent the ice cream from setting entirely. Balance is key for a professional finish.
Keeping it Frozen
Place your Custard Ice Cream in a tightly sealed container. Lay a sheet of wax paper or cling film against the top of the dessert before closing the lid to stop freezer burn and prevent unwanted ice crystals from developing. It will remain fresh in the freezer for around 2 weeks.
Put your extra egg whites to good use rather than tossing them. Try freezing them in ice cube molds or whipping them up into meringue cookies. Any unchurned custard base is also delicious when drizzled over pancakes as a decadent topping.
Fun Flavor Twists
The beauty of this best ice cream base recipe is its versatility. For a chocolate version, whisk in 1/2 cup of cocoa powder during the heating phase. For a fruity twist, swirl in a homemade raspberry jam after the churning is complete.
If you prefer something without eggs, a Vanilla Ice Cream is a great alternative. For those who like a bit of a kick, you can stir in a tablespoon of Homemade Irish Cream right before the final freeze. Just remember that adding alcohol lowers the freezing point, so it might stay softer.
Ways to Serve
To achieve an elegant presentation, dish out a few scoops into a chilled glass bowl. For a richer finish, garnish with a dollop of Vanilla Whipped Cream and some fresh berries.
This custard-based ice cream is also a wonderful accompaniment to a warm apple tart or a piece of flourless chocolate cake. For an extra treat, pour some warm salted caramel over the top. The interplay between the frozen, thick scoop and the hot sauce is fantastic.
Believe me, that temperature difference is exactly what creates a professional restaurant-style dessert.
Recipe FAQs
What exactly is a custard base for ice cream?
It is a mixture of dairy and egg yolks cooked together to create a thick, creamy texture.
Tip: Strain the mixture through a fine-mesh sieve to remove any small egg clumps.
What distinguishes custard ice cream from standard versions?
Custard ice cream uses egg yolks as an emulsifier, resulting in a denser and smoother mouthfeel.
Tip: Use a digital thermometer to ensure the eggs don't scramble during the heating process.
How do you prepare the frozen custard base?
Simmer heavy cream, whole milk, sugar, and salt, then temper egg yolks before cooking the mixture to 175°F.
Tip: Whisk constantly while heating to prevent the bottom from scorching.
How long should the custard base be cooked?
Continue heating until the mixture hits 175°F or achieves a thick, glossy consistency.
Tip: Once it reaches the correct temperature, take the pan off the heat right away.
Is it possible to make this without eggs?
Omit the egg yolks for a lighter, Philadelphia-style result.
Tip: Since this is a lighter treat, it pairs well with a refreshing classic margarita for a party platter.
What is the final step for homemade vanilla ice cream?
Stir vanilla extract into the chilled custard base before churning in your ice cream maker.
Tip: Chill the base for at least 4 hours to ensure a smoother churn.
Does the base need to reach a rolling boil to thicken?
No, this is a common misconception. The mixture only needs to reach 175°F to thicken without curdling the eggs.
Tip: Keep the heat at medium-low to avoid overheating the dairy.
Creamy Custard Ice Cream for 8 Servings