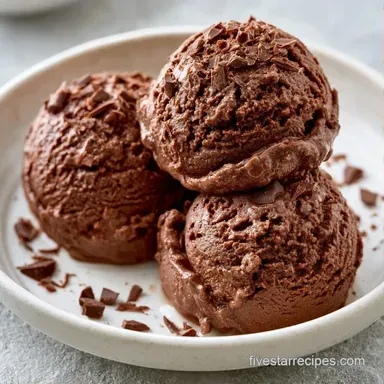
Rich Dark Chocolate Ice Cream
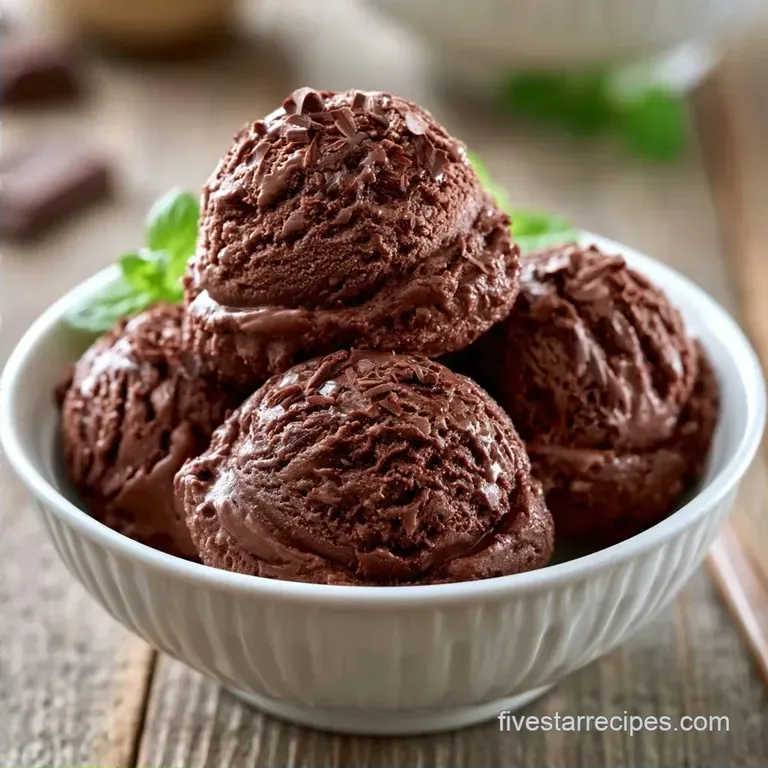
- Time: 20 min active + 10 hr 20 min chilling/freezing
- Flavor/Texture Hook: Dense, mahogany colored, and bittersweet
- Perfect for: Gourmet dinner parties or deep chocolate cravings
The smell of simmering cocoa fills the kitchen the second the milk hits the pan. It is a heavy, warm scent that reminds me of old school candy shops. I used to make a version that was just cocoa and cream, but it always felt one dimensional, like it was missing that "bite" you get from a high end gelato.
Then I started adding chopped bittersweet chocolate directly into the hot base. The difference is massive. The result is a Dark Chocolate Ice Cream that feels dense and weighty on the spoon, with a color so dark it almost looks black.
You can expect a treat that doesn't just taste like sugar. It balances the bitterness of 60% cacao with a rich, fatty finish. It takes some patience because of the chilling time, but the texture is worth the wait.
How to Actually Nail This
Cocoa Butter: Using chopped chocolate instead of just powder adds cocoa butter, which melts at body temperature and creates a slow, smooth melt on your tongue.
The Cold Soak: Chilling the base to 40°F for 6 hours lets the fats stabilize and prevents large ice crystals from forming.
Air Incorporation: Folding in lightly whipped cream before churning adds tiny air pockets, making the final scoop feel lighter and less like a frozen block.
According to Serious Eats, using Dutch processed cocoa is key here because it neutralizes the natural acidity of the chocolate, leading to a darker color and a smoother taste.
| Method | Time | Texture | Best For |
|---|---|---|---|
| Classic Churn | 10 hrs 30 mins | Dense & Smooth | Gourmet results |
| No Churn | 6 hours | Airy & Sweet | Quick cravings |
What Each Ingredient Does
| Component | Purpose | Substitute Notes |
|---|---|---|
| Bittersweet Chocolate | Depth & Body | Semi sweet: Sweeter, less "dark" profile |
| Dutch Cocoa Powder | Intense Color | Natural cocoa: More acidic, lighter color |
| Heavy Cream | Fat & Air | Full fat coconut milk: Nutty flavor, dairy-free |
| Whole Milk | Liquid Base | Oat milk (full fat): Creamy, slightly grainier |
Shopping List Breakdown
- 2 cups whole milk Reason: Creates a neutral liquid foundation for the cocoa.
- 3/4 cup granulated sugar Reason: Lowers the freezing point to ensure a softer scoop.
- 1/2 cup Dutch processed cocoa powder Reason: Produces a rich, mahogany hue.
- 1/4 tsp fine sea salt Reason: Cuts through the richness and intensifies the chocolate.
- 4 oz bittersweet chocolate (60% cacao), finely chopped Reason: Adds cocoa butter for a professional-grade mouthfeel.
- 2 cups heavy whipping cream, chilled Reason: Key to achieving a creamy, aerated structure.
- 1 tsp pure vanilla extract Reason: Rounds out the dark chocolate's bitterness.
- 4 oz dark chocolate chips Reason: Contributes a distinct, fudgy crunch.
Essential Gear for Churning
Specialized equipment isn't required, though a few key tools make the job easier. A heavy-bottomed saucepan is essential to prevent the milk from scorching. I also suggest using a fine mesh strainer to filter out any stubborn cocoa clumps.
Any standard ice cream maker is perfect for the churning. A KitchenAid or similar stand mixer can be used to lightly whisk the cream before folding. To avoid freezer burn, store the final product in a freezer-safe container with a tight lid.
Steps for a Smooth Base
- In a medium heavy-bottomed saucepan, blend the sugar, cocoa powder, and salt. Use a whisk to mix them thoroughly, breaking up any large clumps of cocoa.
- Slowly incorporate the whole milk while heating over medium, stirring continuously until the mixture reaches a gentle simmer and the cocoa is completely dissolved.
- Take the saucepan off the heat and add the chopped bittersweet chocolate. Allow it to rest for 2 minutes, then whisk vigorously until the chocolate melts completely and the mixture is glossy.
- Transfer the chocolate blend to a bowl using a fine mesh strainer. Note: This step prevents any undissolved cocoa particles from affecting the final texture.
- Mix in the vanilla extract. Set the bowl in an ice bath or refrigerate it immediately.
- Cover the bowl with plastic wrap, pressing it directly onto the liquid's surface. Chill for a minimum of 6 hours until the base cools to 40°F.
- In a separate bowl, lightly whip the chilled heavy cream until it just starts to thicken.
- Gradually fold the cooled chocolate base into the whipped cream until everything is combined and a smooth, silky texture is achieved.
- Pour the preparing blend into your ice cream maker. Churn following the manufacturer's guidelines.
- During the last 2 minutes of churning, mix in the dark chocolate chips.
- Move the ice cream to a freezer-safe container. Freeze for 4 hours until it is firm and ready to scoop.
Fixing Common Texture Issues
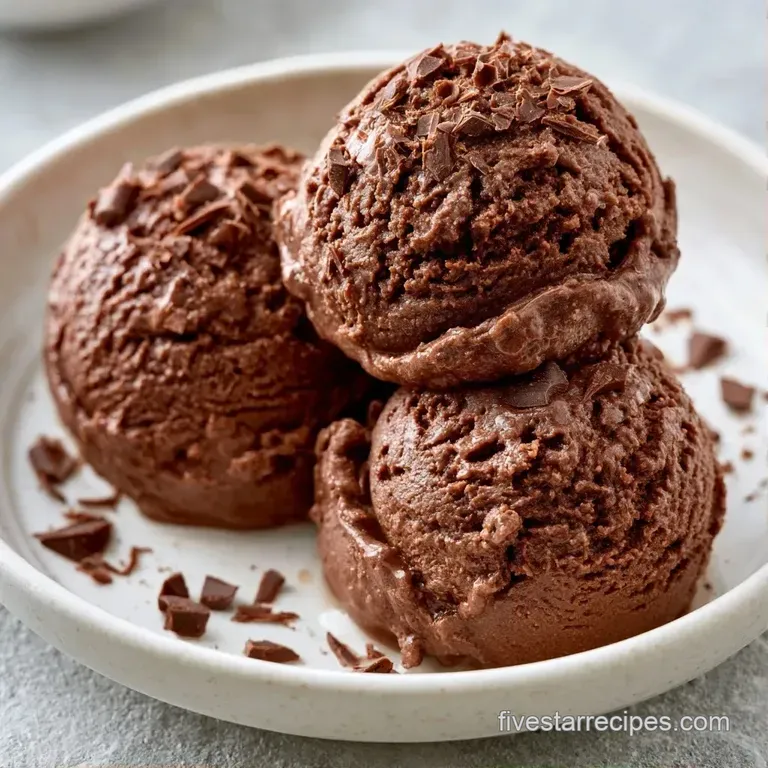
Fixing a Grainy Texture
If you feel grit on your tongue, it is usually undissolved cocoa powder or sugar. Always use a strainer after melting the chocolate. If it's already churned, you can't easily fix it, but next time, ensure the milk reaches a simmer before adding the chocolate.
When It Turns Icy
Ice crystals happen when there is too much water or not enough fat. Using low-fat milk is a common mistake here. High fat from the heavy cream acts as an anti freeze. If your batch is too icy, try mixing in a tablespoon of vodka or corn syrup next time to lower the freezing point. For a different approach, you might prefer my Creamy Vanilla Ice Cream which uses a similar high fat ratio.
Preventing the Base from Separating
Separation happens if the chocolate is added to boiling milk or if the cream is over whisked. Only whisk the cream until it thickens slightly, not until stiff peaks form. Fold the chocolate base in gently to keep the air pockets intact.
New Flavors to Explore
- Espresso Kick: Add 1 tablespoon of instant espresso powder to the dry ingredients. It makes the chocolate taste more intense.
- Orange Zest: Fold in 1 teaspoon of fresh orange zest during the last 2 minutes of churning.
- Salted Caramel: Swirl in salted caramel sauce as you transfer the ice cream to the container.
- Nutty Crunch: Swap the chocolate chips for toasted hazelnuts or almond slivers.
If you are in a rush and can't wait 10 hours, you can try this Cream in 25 Minutes recipe for a faster fix.
Adapting for Ninja Creami
For a Ninja Creami, skip the churning and whipping steps. Simply blend the melted chocolate base with the heavy cream and sugar, then freeze the mixture in the pint container for 24 hours. Use the "Ice Cream" or "Lite Ice Cream" setting.
Making Ice Cream Bars
Pour the churned mixture into silicone popsicle molds. Add a few extra chocolate chips to the bottom of each mold. Freeze for 6 hours, then dip the frozen bars into melted chocolate and sprinkle with sea salt.
Adjusting the Batch Size
Halving the recipe: Use a smaller saucepan to keep the milk from evaporating too rapidly. Shorten the simmering time by approximately 20%. As this is an eggless recipe, you can simply divide the liquid measurements in half.
Doubling the recipe: I advise against doubling the liquids in one pot, as it takes longer to heat up and is more prone to scorching. Instead, prepare two separate batches. Increase salt and spices to 1.5x initially, then taste and adjust; too much salt may clash with the bittersweet chocolate.
Dispelling Ice Cream Myths
The "Searing" Myth for Chocolate: Some believe you should "toast" cocoa powder in the pan first. While it adds a nutty flavor, it can easily burn and make the Dark Chocolate Ice Cream taste bitter. Whisking it into the milk is safer and more consistent.
The Air Myth: People think more air means a better texture. Actually, too much air makes the ice cream feel "foamy" rather than dense. The goal is a velvety mouthfeel, which comes from fat, not just air.
Storage and Waste Tips
Transfer your ice cream to a freezer-safe container with a lid. To keep ice crystals from forming, lay a piece of wax or parchment paper across the top before sealing. The treat remains fresh for about 2 weeks.
Avoid wasting the leftover chocolate streaks in your pan by adding a bit of hot milk and scraping up the remnants; it makes a perfect quick chocolate sauce for pancakes or fruit. For any remaining whipped cream, fold it into Greek yogurt for a fast mousse.
Best Ways to Serve
Leave the container out for 3 to 5 minutes for the perfect scoop. This gives the outer edges a chance to soften, making it easier to form a smooth, rounded ball.
Use chilled bowls to prevent the ice cream from melting too quickly. To balance the richness, add a pinch of flaky sea salt and a few fresh raspberries. A drizzle of warm ganache or some shards of dark chocolate bark also make excellent toppings.
Chef's Note: For a professional presentation, dip your scoop in hot water before each serving. This creates the clean, polished edges typically seen in ice cream shops.
Recipe FAQs
Is it true that dark chocolate ice cream is a healthy snack?
That's a myth. While bittersweet chocolate has some antioxidant benefits, the sugar and heavy cream make this a decadent dessert.
How to prevent lumps in the chocolate base?
Whisk sugar and cocoa powder together before adding any liquids. Then pour the final mixture through a fine-mesh strainer to remove any remaining bits.
Can I chill the base overnight?
You should chill the base for at least 6 hours. This ensures the mixture reaches 40°F for the best churning results.
Why use both cocoa powder and bittersweet chocolate?
This combination creates a deeper and more complex flavor profile. If you enjoyed balancing these rich tones, see how we use similar flavor depth in our vanilla bean ice cream.
Do I really need to whip the cream first?
Lightly whisking the cream until it thickens adds necessary air. Folding this into the chocolate base ensures the final result isn't too dense.
Where is the best place to store this?
Use an airtight freezer-safe container. Press parchment paper onto the surface of the ice cream to prevent ice crystals from forming.
Does the milk need to boil for the cocoa to dissolve?
No, and here's why. A gentle simmer is enough to integrate the cocoa without scorching the milk.
Dark Chocolate Ice Cream for 8 Servings