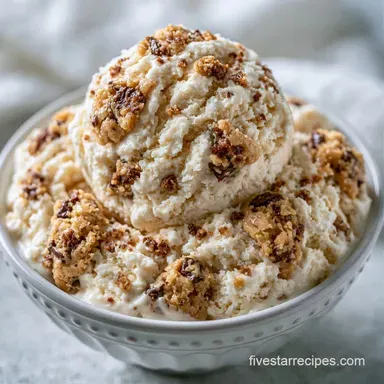
Classic Cookie Dough Ice Cream in 30 Minutes
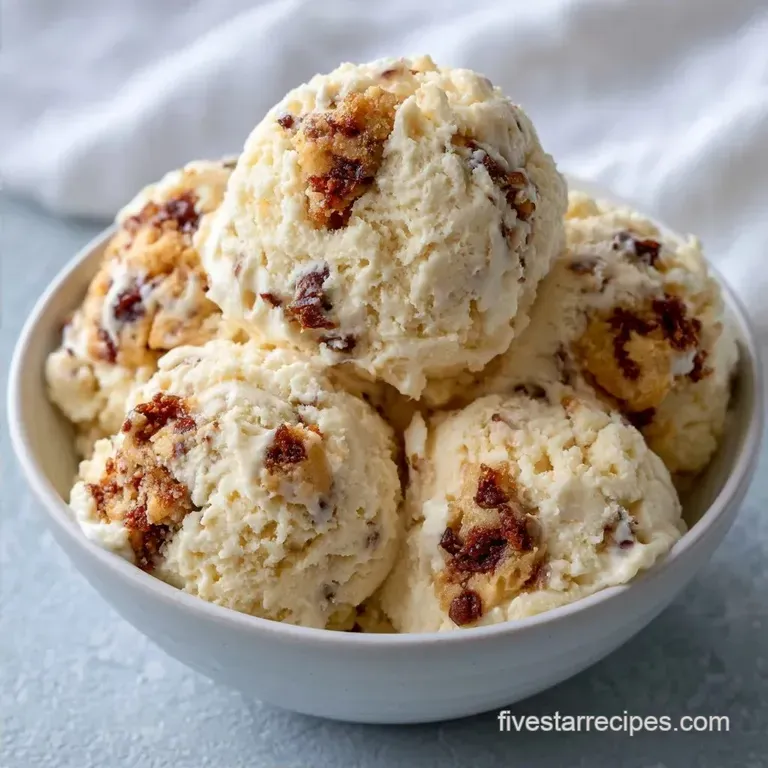
- Time: 25 min active + 5 hrs 20 min chilling/freezing
- Flavor/Texture Hook: Creamy vanilla with chewy, safe to eat dough chunks
- Perfect for: Summer parties or a gourmet treat at home
I can still hear the sound of the ice cream scoop cracking through that first frozen layer of cream. There is nothing quite like the contrast of a cold, smooth base hitting a chewy piece of chocolate chip dough. It is the kind of treat that makes you feel like a kid again, but a bit more precision in the kitchen.
I used to struggle with the dough bits. In one batch, I just stirred the dough in raw, and it turned into a grainy, muddy mess that tasted like wet flour. I also had a phase where the dough balls were too big and froze into rock hard pebbles that were nearly impossible to chew.
The trick is keeping the dough pieces small and freezing them before they ever touch the cream. This Classic Cookie Dough Ice Cream version gives you that professional scoop shop result without the guesswork. It takes some patience with the freezing times, but the payoff is worth every minute.
Classic Cookie Dough Ice Cream Specs
Getting the timing right is everything here. You can't rush the chill time, or the ice cream won't set with that smooth, dense texture.
- Prep time: 25 minutes
- Cook time: 5 minutes
- Total time: 5 hours 45 minutes
- Yield: 1.5 quarts
- Temperature: Flour must hit 160°F (71°C)
Why This Actually Works
I used to think raw flour was fine, but it can actually carry bacteria. Heating it isn't just about safety, it also changes how the dough feels in your mouth.
- Heat Treated Flour: Heating flour to 160°F kills bacteria and removes that raw, starchy taste.
- Pre Frozen Dough: Freezing the balls for 20 minutes stops them from melting or dissolving into the base during churning.
| Method | Time | Texture | Best For |
|---|---|---|---|
| From Scratch | 5 hrs 45 min | Dense and rich | Gourmet quality |
| Store Mix | 30 min | Airy and sweet | Quick cravings |
Essential Ingredients
You'll want the highest fat content possible for the cream and butter. Don't bother with low-fat swaps here, as they'll make the ice cream icy instead of creamy.
Ingredient Deep Dive
| Ingredient | What It Does | Best Swap |
|---|---|---|
| Heavy Cream | Provides the fat for a smooth texture | Full fat coconut cream (adds nuttiness) |
| Brown Sugar | Gives the dough a chewy, caramel note | Coconut sugar (slightly grainier) |
| All Purpose Flour | Creates the structure of the dough | Almond flour (denser, gluten-free) |
For the Edible Cookie Dough
- 1/2 cup (115g) unsalted butter, softened Why this? Provides the necessary fat for a soft bite
- 1/2 cup (100g) packed brown sugar (Swap: Dark brown sugar for more molasses flavor)
- 2 tbsp (30ml) whole milk (Swap: Heavy cream)
- 1 tsp (5ml) vanilla extract (Swap: Vanilla bean paste)
- 1 cup (125g) all purpose flour (Swap: gluten-free 1:1 blend)
- 1/4 tsp (1.5g) salt (Swap: Fine sea salt)
- 1/2 cup (85g) semi sweet chocolate chips (Swap: Dark chocolate chunks)
For the Vanilla Ice Cream Base
- 2 cups (480ml) heavy cream, chilled Why this? Ensures a rich, non icy consistency
- 1 cup (240ml) whole milk, chilled (Swap: Half and half for extra richness)
- 3/4 cup (150g) granulated sugar (Swap: Caster sugar for faster dissolving)
- 2 tsp (10ml) vanilla extract (Swap: Pure vanilla bean pods)
- 1/4 tsp (1.5g) salt (Swap: Kosher salt)
Tools for the Job
While you don't need professional equipment, a few items will simplify the process. A stand mixer, like a KitchenAid, is ideal for whipping the butter and sugar until light and fluffy.
- Ice cream maker: Required for the churning stage.
- Digital thermometer: Critical for ensuring the flour reaches 160°F.
- Microwave safe bowl: Used to heat-treat the flour.
- Airtight container: To keep out freezer burn.
- Parchment paper: To cover the surface of the finished ice cream.
Step-by-step Instructions
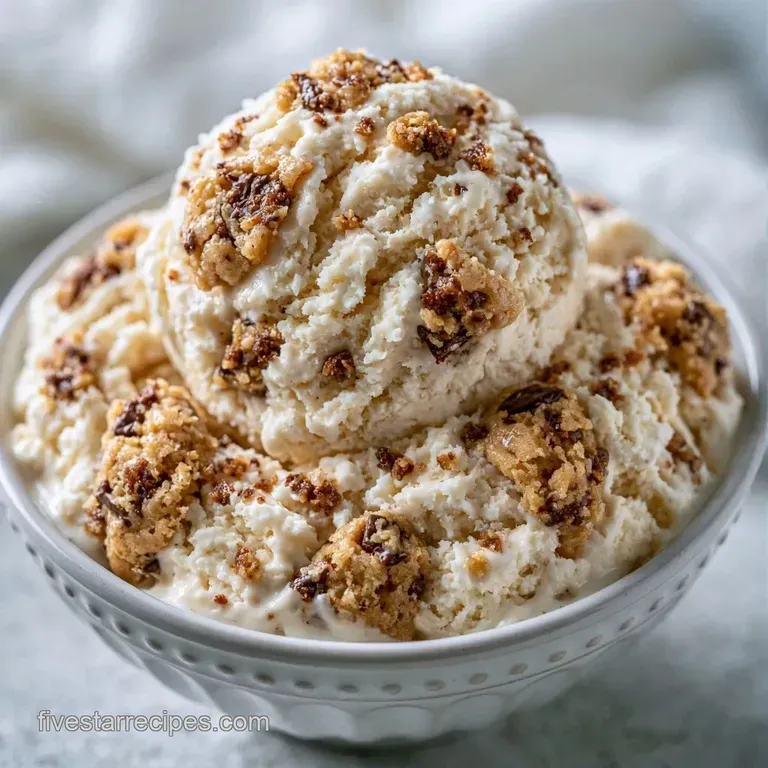
Now we can begin. Follow these directions in order, and be sure to respect the cooling times.
Phase 1: Preparing the Safe to Eat Dough
- Heat the flour in a microwave-safe bowl on high in 30-second intervals. Stir between bursts until it reaches 160°F (71°C). Let it cool entirely. Note: This kills bacteria and eliminates the raw taste.
- Cream together the softened butter and brown sugar until the mixture is pale and fluffy.
- Stir in the milk and vanilla extract until smooth.
- Gradually mix in the salt and cooled flour until a soft dough forms. Fold in the chocolate chips.
- Shape the dough into dime-sized balls and freeze them on a tray for 20 minutes.
Phase 2: Crafting the Creamy Base
- Whisk together the granulated sugar, salt, and whole milk until the sugar has fully dissolved.
- Gently stir in the vanilla extract and heavy cream. Chill the base in the refrigerator for 30 minutes. Note: A chilled base churns faster and smoother.
Phase 3: Churning and Folding
- Process the base in your ice cream maker for 20-25 minutes, or according to the manufacturer's instructions.
- During the final 2 minutes of churning, add the frozen cookie dough balls.
- Transfer the mixture to an airtight container, press parchment paper onto the surface, and freeze for 4 hours.
The Trick to Texture
If you want to change the outcome, you have to adjust the base. The ratio of fat to sugar determines whether you get a soft scoop or a hard block.
| Goal | What to change |
|---|---|
| Chewier Dough | Increase brown sugar by 1 tbsp |
| Richer Base | Swap milk for heavy cream |
| Softer Scoop | Add 1 tbsp vodka or corn syrup |
Fixing Common Texture Issues
It is easy to run into a few snags with this recipe. Most of them come down to temperature control.
Fixing a Grainy Base
If the sugar doesn't dissolve fully in the milk, you'll feel crystals on your tongue. Make sure you whisk the sugar and milk thoroughly before adding the cream. If it's still grainy, you can warm the milk slightly to melt the sugar before chilling it back down.
Preventing Crumbly Dough
Dough usually crumbles if the flour was over microwaved or if the butter was too cold. Ensure your butter is truly softened, not melted. If the dough is too dry to roll, stir in an extra teaspoon of milk.
Stopping Icy Crystals
Ice crystals form when air hits the surface of the cream. Pressing parchment paper directly onto the ice cream before closing the lid blocks the air. Also, make sure your container is shallow so the ice cream freezes evenly.
| Problem | Fix |
|---|---|
| Grainy Texture | Whisk sugar into milk longer |
| Crumbly Dough | Add a splash of milk |
| Icy Surface | Use parchment paper seal |
Storage and Waste Tips
Place your ice cream deep inside the freezer, far from the door. This prevents the temperature fluctuations that create pesky ice crystals.
The ice cream is best for about 2 weeks. Beyond that, the flavor may fade and it can absorb odors from other frozen items. If you have extra dough, bake it as cookies or freeze the dough balls for 3 months.
Because we use butter and heavy cream, you may have some fatty residue in your bowls. Rather than throwing it away, use the leftover cream to make homemade vanilla whipped cream for another dessert.
Creative Twists and Swaps
This vanilla base is a blank canvas, giving you plenty of room to experiment.
For a "Double Chocolate" version, substitute the vanilla extract for cocoa powder and mix dark chocolate chips into the dough. If you want a nutty crunch, fold in toasted pecans during the final two minutes of churning.
You can use a similar technique for the Ice Cream for 8 recipe by simply adding store-bought mix-ins. For those without a machine, a no-churn method involves folding the base into whipped cream, though the result will be more like a mousse than a dense ice cream.
Serving Suggestions
For the ideal scoop, leave the container out for 3-5 minutes. This softens the edges just enough to make gliding through the dough bits effortless.
I enjoy serving this in a waffle cone with a salted caramel drizzle. To go all out, add some fresh berries on top to balance the decadent dough. It also pairs perfectly with a glass of cold milk or a shot of espresso to temper the sweetness.
Recipe FAQs
Is it true that cookie dough ice cream is just vanilla with dough mixed in?
Surprisingly, no. The base is a specific blend of heavy cream, whole milk, sugar, salt, and vanilla crafted to complement the dough.
Tip: Chill the base for 30 minutes before churning for a smoother result.
How to treat the flour for safe consumption?
Heat the flour in a microwave-safe bowl on high in 30-second intervals until it reaches 160°F.
Tip: Stir between each interval to avoid hot spots.
What prevents the cookie dough from hardening in the freezer?
The high ratio of butter and brown sugar keeps the dough pieces tender even at low temperatures.
Tip: Roll the balls to dime-size so they distribute evenly without freezing into one block.
Why must the dough balls be frozen before mixing?
Freezing the balls for 20 minutes prevents them from melting or smearing into the ice cream during churning.
Tip: Use a tray to keep the balls separated while they chill.
Which fats create the richest base?
A combination of heavy cream and whole milk provides the necessary fat content for a professional mouthfeel.
Tip: This dessert pairs beautifully with a warm apple crisp for a decadent treat.
Does the churning process take less than 10 minutes?
No, this is a common misconception. Most machines require 20–25 minutes to properly incorporate air and freeze the base.
Tip: Add the cookie dough during the final 2 minutes of churning.
Where is the ideal spot for freezer storage?
Place the dish deep inside the freezer, far from the door, to maintain a consistent temperature.
Tip: Press parchment paper against the surface to stop ice crystals from forming.
Classic Cookie Dough Ice Cream: Creamy