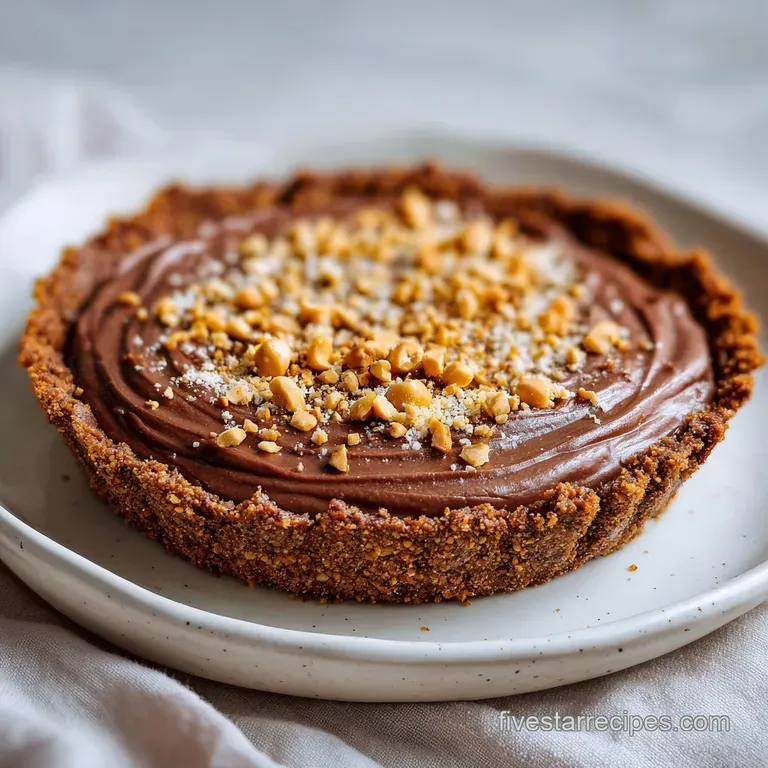
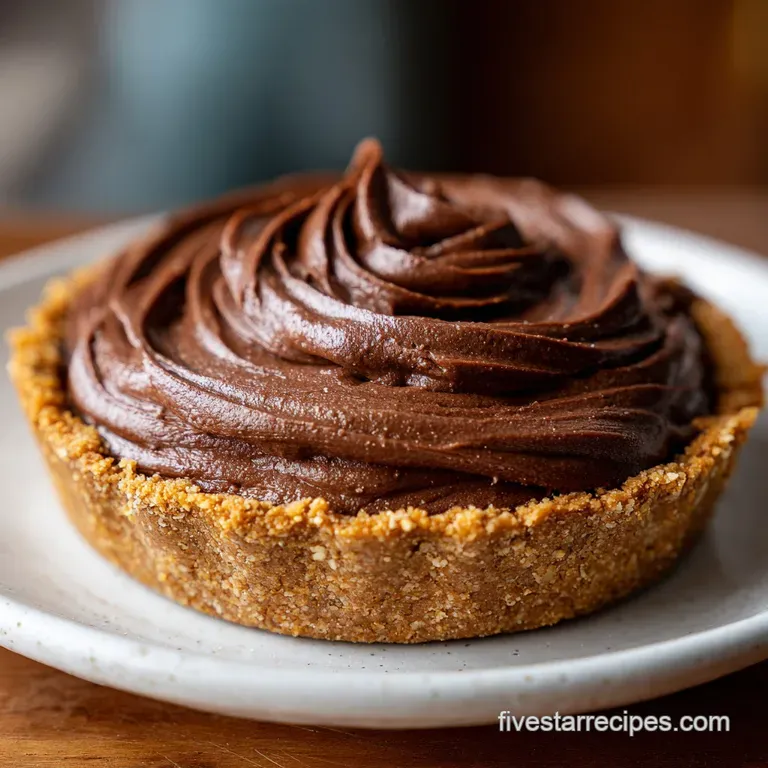
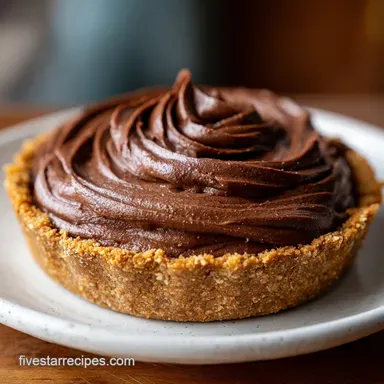
Chocolate Peanut Butter Pie: Silky Mousse
- Time: Active 20 minutes, Passive 3 hours 40 mins, Total 4 hours
- Flavor/Texture Hook: Shattering chocolate crust with velvety peanut butter clouds
- Perfect for: High end dinner parties or warm weather gatherings
- Mastering the Velvety Chocolate Peanut Butter Pie
- Preventing Structural Failure Through Precise Temperature Control
- Essential Metrics for Five Star Dessert Results
- Curating Premium Components for Maximum Flavor Impact
- Professional Tools for a Mirror Sheen Ganache Finish
- Executing the Layered Assembly with Culinary Precision
- Rectifying Texture Inconsistencies and Common Assembly Errors
- Modifications for Specialized Dietary Requirements and Preferences
- Preservation Strategies for Maintaining Optimal Mousse Texture
- Sophisticated Accompaniments to Enhance the Rich Profile
- Dispelling Common Kitchen Myths
- Recipe FAQs
- 📝 Recipe Card
Mastering the Velvety Chocolate Peanut Butter Pie
The first time I attempted this, I rushed the cream cheese. I thought "room temperature" was just a suggestion, but I ended up with a lumpy, grainy mess that looked nothing like the five star dessert I’d promised.
When you finally get that perfect, silky emulsion, the aroma of roasted peanuts hitting the dark cocoa base is enough to make you forget any kitchen struggle.
We’ve all seen the versions that are too heavy or cloyingly sweet, but this recipe focuses on a specific aeration technique. It’s about creating a structure that holds its shape while melting instantly on the tongue. If you've ever tried my Peanut Butter Cookies recipe, you know I’m obsessed with getting that balance of salt and fat exactly right.
This isn't just another no bake dessert; it’s a study in texture. You’re going to achieve a mirror like ganache that snaps slightly when the fork hits it, followed by a filling that feels like a chilled cloud. Let's look at the science to make sure your first try is a total success.
Preventing Structural Failure Through Precise Temperature Control
Fat Stabilization: The high fat content in the peanut butter and cream cheese acts as a structural scaffold, allowing the whipped topping to maintain its volume without weeping.
When these ingredients are emulsified at 68°F (20°C), they form a stable matrix that traps air bubbles effectively.
| Method | Texture Result | Best Use Case |
|---|---|---|
| Stovetop Crust | Crumbly and sandy | Quick preparation for immediate eating |
| Oven Baked Crust | Firm, shattering snap | Professional presentation and clean slices |
| No Bake (Chilled) | Soft and buttery | Maximum time efficiency |
A baked crust provides a much more gourmet experience because the sugar in the cookies caramelizes slightly, binding the crumbs into a solid, sturdy wall. While the stovetop method is faster, the oven baked version ensures your slices don't collapse when you move them from the pie plate to the dessert dish.
Essential Metrics for Five Star Dessert Results
Precision is the difference between a "good" home cook and a gourmet baker. To ensure this recipe is truly foolproof, you need to hit these three specific checkpoints during the process.
- Checkpoint 1: Ensure the cream cheese is exactly 68°F (20°C). If it is colder, the fat won't emulsify with the sugar, leading to a grainy texture.
- Checkpoint 2: Cool the chocolate ganache for exactly 15 minutes before pouring. If it's too hot, it will melt the peanut butter mousse; too cold, and it won't spread into a mirror like finish.
- Checkpoint 3: Chill the final assembly for a minimum of 3 hours. This allows the saturated fats in the peanut butter to fully recrystallize, providing the necessary structural integrity for clean slicing.
Curating Premium Components for Maximum Flavor Impact
- 24 chocolate sandwich cookies (265g): These provide the dark, bitter contrast to the sweet filling.
- 5 tbsp unsalted butter, melted (70g): The glue for our crust. Why this? Higher fat content than margarine ensures a firmer, more reliable set.
- 0.25 tsp fine sea salt: Crucial for cutting through the richness.
- 8 oz full fat cream cheese (225g): Must be room temperature for a velvety finish.
- 1 cup creamy peanut butter (250g): Use standard brands, not "natural" oil separating versions. Why this? Stabilizers in standard peanut butter prevent the filling from becoming oily.
- 1.5 cups powdered sugar, sifted (180g): Provides sweetness and structure.
- 1 tsp pure vanilla extract: Enhances the floral notes of the peanuts.
- 8 oz whipped topping (225g): Folded in for aeration.
- 0.5 cup semi sweet chocolate chips (90g): The base of our mahogany ganache.
- 0.33 cup heavy cream (80ml): Used to create a silky, pourable chocolate layer.
- 4 standard peanut butter cups (84g): For a professional, textured garnish.
| Original Ingredient | Substitute | Why It Works |
|---|---|---|
| Whipped Topping | Stabilized Whipped Cream | Similar aeration, though slightly less stable over 24 hours. |
| Chocolate Cookies | Graham Crackers | Changes the flavor profile to a honey nut base. |
| Heavy Cream | Full fat Coconut Milk | Provides a similar fat ratio for the ganache with a hint of coconut. |
If you are looking for a different texture profile, you might enjoy the density of my Peanut Butter Fudge recipe, which uses similar flavor components but focuses on crystallization rather than aeration.
Professional Tools for a Mirror Sheen Ganache Finish
Mastering the Cold Set Crust
You’ll need a high speed blender or food processor to turn those 24 cookies into a fine, uniform sand. If the crumbs are too large, the crust will crumble when sliced. A 9 inch deep dish pie plate is the standard here; the high walls help support the weight of the dense peanut butter filling.
For the Creamy Peanut Butter Filling
A stand mixer with a paddle attachment is your best friend. It beats the 8 oz of cream cheese and 1 cup of peanut butter into a homogenous paste without incorporating too much air too early.
For the final stage, a large silicone spatula is essential for folding in the whipped topping without deflating the air bubbles you've worked so hard to preserve.
For the Mahogany Ganache & Topping
A small heavy bottomed saucepan or a microwave safe glass bowl works for the ganache. Precision here requires a whisk to emulsify the 0.33 cup of heavy cream into the chocolate chips. A sharp chef's knife is the only way to get those 4 peanut butter cups chopped into clean, attractive shards for the garnish.
Executing the Layered Assembly with Culinary Precision
Crushing the Base
Pulverize 24 chocolate sandwich cookies into fine crumbs. Mix with 5 tbsp melted butter and 0.25 tsp sea salt. Press firmly into a 9 inch pie plate, using the bottom of a measuring cup to ensure the base is compact.
Bake at 350°F (180°C) for 8 minutes until the kitchen smells like toasted cocoa. Let it cool completely before filling.
Whipping the Cloud Filling
In your mixer, beat 8 oz cream cheese and 1 cup creamy peanut butter until the mixture is pale and perfectly smooth. Add 1.5 cups sifted powdered sugar and 1 tsp vanilla, mixing on low to avoid a sugar cloud.
Note: Sifting the sugar is non negotiable for a professional, grit free texture.
Layering for Visual Impact
Gently fold in 8 oz whipped topping using a "cut and fold" motion. You want to see the white streaks disappear into the tan base until the filling looks like a uniform, fluffy mousse. Spread this into your cooled crust, smoothing the top with an offset spatula.
Final Chilling and Garnish
Heat 0.33 cup heavy cream until it just begins to simmer, then pour over 0.5 cup chocolate chips. Let it sit for 2 minutes, then whisk until it transforms into a glossy, dark liquid. Pour over the pie and tilt the plate to coat the surface evenly. Top with 4 chopped peanut butter cups.
Chill for 3 hours until the ganache is set and the center is firm.
Rectifying Texture Inconsistencies and Common Assembly Errors
Why Your Filling is Grainy
This is almost always due to the cream cheese being too cold. When cold fat hits the sugar, it clumps instead of emulsifying. To fix this mid process, you can place your mixing bowl over a pot of simmering water for 30 seconds to gently warm the fat, then resume beating.
Why the Crust Falls Apart
If you don't press the crumbs hard enough, or if the 5 tbsp of butter wasn't fully incorporated, the crust loses its structural integrity. Always use a flat bottomed object to pack the crumbs. If it still crumbles, it might be that the crumbs were too coarse; aim for a sand like consistency next time.
| Problem | Root Cause | Solution |
|---|---|---|
| Broken Ganache | Cream was too hot | Whisk in a teaspoon of cold cream to bring the emulsion back. |
| Runny Filling | Natural peanut butter used | Use standard creamy peanut butter with stabilizers (like Jif or Skippy). |
| Soggy Crust | Filling added to hot crust | Ensure the baked base is 100% cold to the touch before assembly. |
Common Mistakes Checklist
- ✓ Never use low-fat or "spreadable" cream cheese from a tub; the water content is too high.
- ✓ Sift your powdered sugar to eliminate stubborn lumps that won't beat out.
- ✓ Allow the ganache to sit for 2 minutes before whisking to ensure even melting.
- ✓ Pat the peanut butter cups dry if they have any condensation before chopping.
- ✓ Use a hot knife (dipped in warm water and wiped dry) to get those clean, professional slices.
Modifications for Specialized Dietary Requirements and Preferences
If you're catering to a smaller crowd, you can easily scale this down. To make a "mini" version, halve all ingredients and use a 6 inch springform pan. Keep in mind that the chilling time will decrease by about an hour since there is less mass to cool.
For a larger party, you can double the recipe and use a 9x13-inch rectangular pan to create "Chocolate Peanut Butter Pie bars."
For the Shattering Cookie Crust
If you want to skip the baking, increase the butter to 6 tbsp. The extra fat helps lock the crumbs together when chilled. However, I truly recommend the quick 8 minute bake; it creates a much more gourmet, crispy texture that stands up to the heavy filling.
Swapping for Instant Pudding (The 5 Minute Hack)
While this recipe uses a cream cheese base for stability, you can use a "pudding method" if you're in a massive rush. Mix 1 box of instant vanilla pudding with 1.5 cups of milk and 0.5 cup of peanut butter. Fold in the whipped topping.
Note: This version will be much softer and won't hold its shape as well at room temperature.
Preservation Strategies for Maintaining Optimal Mousse Texture
You can store this Chocolate Peanut Butter Pie in the refrigerator for up to 5 days. Ensure it is tightly covered with plastic wrap or kept in a domed pie carrier to prevent it from absorbing "fridge smells." The ganache protects the filling, but the exposed edges of the crust can soften over time as they absorb moisture from the air.
For long term storage, this pie freezes beautifully. Wrap the entire pie plate in a double layer of plastic wrap and then a layer of aluminum foil. It will stay fresh for up to 3 months. When you're ready to eat, transfer it to the fridge to thaw for 4 hours.
Don't thaw it on the counter, or the ganache may sweat, ruining that mirror finish.
Zero Waste Tip: If you have leftover cookie crumbs from the crust, don't toss them! Stir them into vanilla ice cream or use them as a topping for yogurt. Leftover ganache can be reheated and drizzled over pancakes or used as a dip for strawberries.
Sophisticated Accompaniments to Enhance the Rich Profile
- Contrast the Salt: Serve each slice with a tiny pinch of Maldon flaky sea salt. It heightens the cocoa notes and balances the sugar.
- Acidic Balance: A side of fresh raspberries or a tart raspberry coulis cuts through the heavy lipids of the peanut butter and cream cheese.
- Cold Brew Pairing: The bitterness of a strong cold brew coffee is the perfect foil for the creamy, sweet profile of this dessert.
Chef's Note: For the most professional presentation, wait to add the chopped peanut butter cups until right before serving. This prevents the chocolate from blooming or the peanut butter center of the candy from drying out in the fridge.
If you find yourself with extra peanut butter after this project, you've got to try making a batch of Peanut Butter Fudge. It uses many of the same pantry staples and satisfies that same salty sweet craving in a bite sized format.
Dispelling Common Kitchen Myths
"Searing the crust seals in the moisture." This isn't true for a cookie crust. Baking the crust isn't about moisture; it’s about the Maillard reaction. This process browns the bits of flour in the cookies and caramelizes the sugar, creating a deeper flavor and a much harder, more stable structure.
"You must use natural peanut butter for the best flavor." In baking and no bake desserts, this is actually a myth. Natural peanut butter lacks the emulsifiers found in standard brands. Without them, the oil will eventually separate from the solids, leading to a greasy pie that feels heavy on the palate.
Standard creamy peanut butter is the secret to that foolproof, velvety texture.

Recipe FAQs
Is it necessary to bake the chocolate crust for this no bake pie?
No, baking is optional but highly recommended for texture. Baking the cookie crust for 8 minutes at 350°F caramelizes the sugars, creating a firmer, shattering structure that prevents crumbling when sliced.
How to ensure the peanut butter filling is perfectly smooth and not grainy?
Use room temperature cream cheese, specifically 68°F (20°C). Cold fat clumps when mixed with sugar, causing graininess; warming the cream cheese slightly ensures a stable, velvety emulsion.
What kind of peanut butter should I use to prevent the filling from separating?
Use standard, creamy peanut butter, not the natural separating kind. Standard brands contain stabilizers that prevent the oil from separating out, guaranteeing a structurally sound, non-greasy filling.
What is the absolute minimum chilling time required before slicing this pie?
Chill for a minimum of 3 hours to set the structure. This allows the fats in the peanut butter and cream cheese to fully recrystallize, providing the necessary integrity for clean, professional looking slices.
How do I achieve a mirror like, glossy finish on the top chocolate ganache layer?
Cool the ganache for precisely 15 minutes before pouring it over the filling. If it is too hot, it will melt the mousse below; too cool, and it won't spread evenly into that desirable mirror sheen.
Can I substitute the whipped topping with homemade whipped cream for lighter aeration?
Yes, but the homemade version will be less stable over time. If you master the aeration technique here to incorporate air gently, you can use homemade cream, similar to the gentle folding required in our No Bake Strawberry Cheesecake recipe.
What should I do if my ganache starts to look dull or separates after being refrigerated?
Gently reheat a small amount of heavy cream and whisk it slowly into the dull section. This slight introduction of heat and liquid can help re-emulsify the fats that have started to separate, restoring a smoother texture.
No Bake Peanut Butter Pie
Ingredients:
Instructions:
Nutrition Facts:
| Calories | 646 kcal |
|---|---|
| Protein | 10g |
| Fat | 43g |
| Carbs | 58g |
| Fiber | 3g |
| Sugar | 44g |
| Sodium | 360mg |
