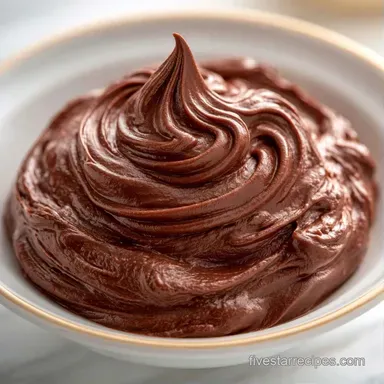
Homemade Chocolate Soft Serve: Bold Cocoa Flavor
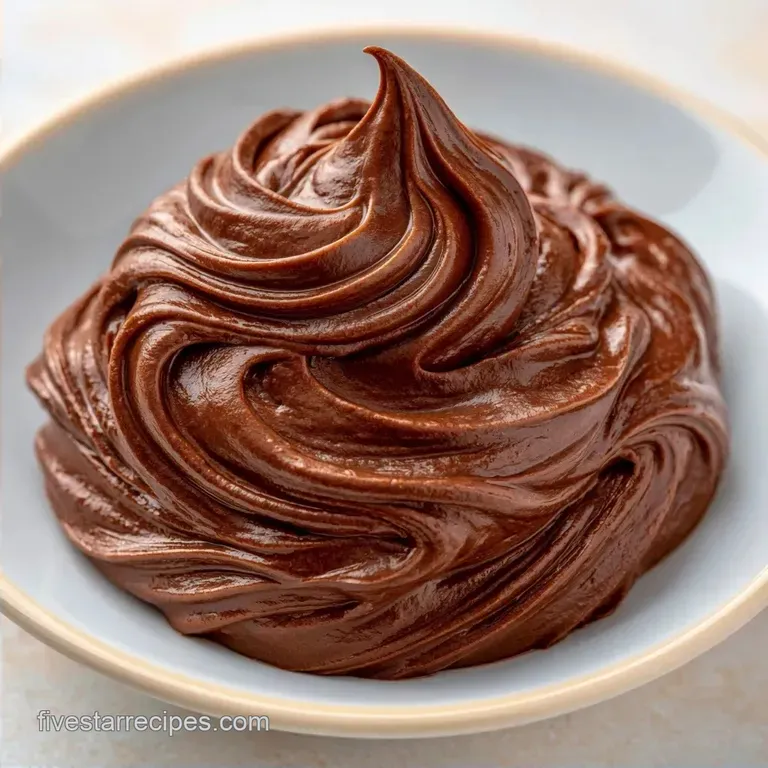
- Total Time: 10 minutes of prep and 2 hours to set
- The Highlight: Bold cocoa with a light, fluffy swirl
- Perfect for: Summer heat or a simple dinner party treat
Making the Best Chocolate Soft Serve
Ever wonder why store-bought soft serve has that specific airy pull that homemade ice cream lacks? Most home recipes end up too dense or turn into a frozen brick in the freezer. I spent way too long trying to figure out why my home batches felt more like frozen yogurt than that classic, swirling treat.
The trick is all about the air. When we churn a base with the right balance of heavy cream and milk, we trap tiny bubbles that keep the dessert light. This Chocolate Soft Serve doesn't rely on chemical additives, just the physics of fat and air.
You can expect a mahogany colored treat that holds its shape but melts quickly on the tongue. It's less about a slow freeze and more about capturing a specific moment of consistency. Let's get into how to get it right.
Quick Recipe Overview
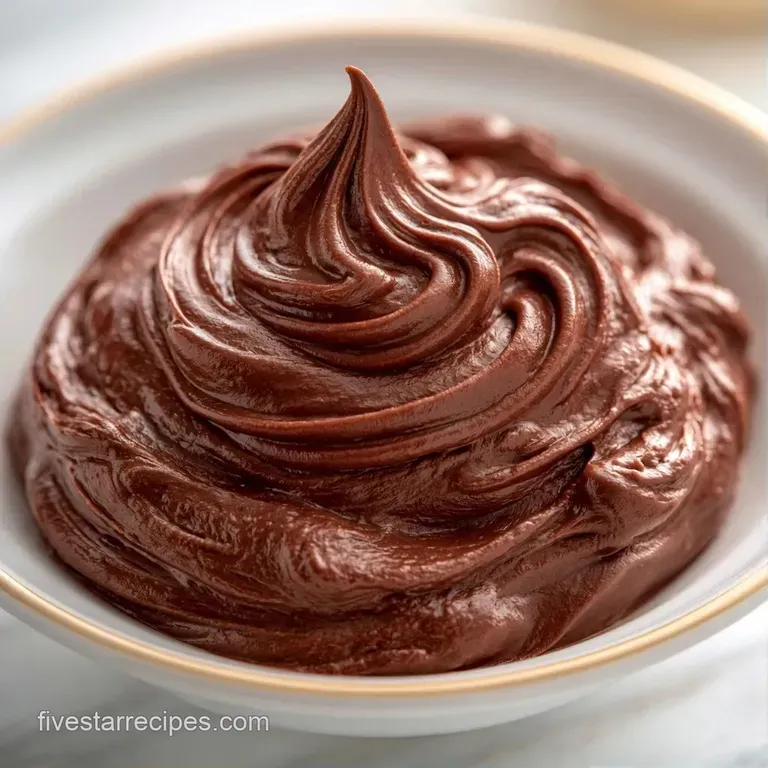
Getting the consistency right means knowing when to stop the machine. If you churn too long, you've just made regular ice cream. For this Chocolate Soft Serve, we stop the moment it looks like thick frosting.
The difference between this and a classic churn is primarily the temperature and the air incorporation. Traditional ice cream is often hardened in the freezer for hours, while this is meant to be eaten immediately.
| Feature | Fast Soft Serve | Classic Ice Cream |
|---|---|---|
| Texture | Airy and light | Dense and creamy |
| Churn Time | 15-20 minutes | 30-45 minutes |
| Serving Temp | Immediately after churn | Hardened in freezer |
| Best For | Immediate craving | Long-term storage |
Ingredient Deep Dive
The cocoa powder needs to "bloom" in the warm liquid to get the most flavor. If you just stir it into cold cream, you'll end up with tiny bitter clumps of powder. Heating the mix for 5 minutes unlocks a deeper, more chocolatey profile.
| Component | Purpose | Substitute Notes |
|---|---|---|
| Heavy Cream | Provides fat for air bubbles | Coconut cream: adds nutty flavor, slightly thinner |
| Whole Milk | Balances the richness | Almond milk: less creamy, may create icier texture |
| Cocoa Powder | Primary flavor and color | Melted dark chocolate: richer but denser result |
| Granulated Sugar | Lowers freezing point | Maple syrup: adds a woody flavor, increases moisture |
Choosing Your Cocoa
I prefer a high-quality Dutch processed cocoa because it's less acidic. This keeps the flavor mellow and the color dark.
The Role of Salt
A tiny bit of sea salt doesn't make it salty. It just stops the sugar from being one dimensional and makes the chocolate taste more intense.
Ingredients & Substitutes
- 2 cups heavy whipping cream Purpose: Creates a light, airy texture.
- 1 cup whole milk Purpose: Prevents the mixture from becoming too dense.
- 3/4 cup granulated sugar Purpose: Ensures a creamy consistency without ice crystals.
- 1/2 cup unsweetened cocoa powder Purpose: Forms the rich, chocolatey foundation.
- 1 tsp pure vanilla extract Purpose: Complements the deep chocolate flavor.
- 1/4 tsp fine sea salt Purpose: Brings out the intensity of the cocoa.
Essential Kitchen Tools
You'll need a medium saucepan and a whisk. A fine mesh strainer is non negotiable here. Cocoa powder is notorious for leaving small lumps that ruin the mouthfeel of a Chocolate Soft Serve.
An ice cream machine is the primary tool. Whether you have a compressor model or a bowl you freeze overnight, the goal is the same: constant movement during the freezing process.
How to Make It
- In a medium saucepan, stir together the sea salt, cocoa powder, and granulated sugar. Whisk well until no cocoa clumps remain.
- Add the heavy cream and whole milk.
- Set the pan over medium heat and whisk steadily for 3-5 minutes until the sugar has melted and the liquid is glossy. Note: This "blooms" the cocoa for better flavor.
- Take the pan off the heat and stir in the vanilla extract.
- Strain the liquid into a bowl to remove any leftover lumps.
- Cover and chill in the refrigerator for 2 hours until the base is completely cold.
- Transfer the cold liquid into your ice cream maker.
- Churn following the manufacturer's instructions.
- End the churning process after 15-20 minutes once the mix reaches a thick frosting consistency. Note: Stopping early preserves the soft serve texture.
Pro Tips and Pitfalls
The biggest issue most people face is the texture. If it feels grainy, the sugar didn't dissolve or the cocoa didn't hydrate. I once skipped the strainer and spent the whole dessert chewing on tiny cocoa pellets. It's not worth the risk.
Another common problem is the "icy" feel. This happens when the base isn't chilled enough before churning. The machine struggles to freeze the liquid evenly, leading to large ice crystals instead of tiny ones.
Fixing Grainy Texture
If you notice grit, you can blend the chilled base with an immersion blender for 30 seconds before pouring it into the machine. This breaks down any remaining clusters.
Preventing Ice Crystals
Make sure your freezer bowl is frozen for at least 24 hours. If the bowl is slightly warm, the Chocolate Soft Serve will freeze too slowly.
| Problem | Fix |
|---|---|
| Grainy mouthfeel | Use a fine mesh strainer and whisk longer |
| Too runny/liquid | Churn for another 5 minutes or chill base longer |
| Icy crystals | Ensure freezer bowl is frozen solid (24 hrs) |
| Bitter taste | Use Dutch processed cocoa instead of natural |
Customizing Your Treat
To tweak the flavor profile, stir one tablespoon of instant espresso powder into the dry ingredients. This intensifies the richness of the cocoa without adding a noticeable coffee flavor.
For a dairy-free alternative, you can substitute with full-fat coconut milk and coconut cream. This lends a slightly tropical note while maintaining a similar texture. If you're short on time, this quick soft serve is an excellent faster option.
For a thicker consistency, try soft serve with condensed milk, which modifies the sugar structure.
Scaling the Recipe
When preparing a half batch, use a smaller saucepan to keep the milk from evaporating too quickly during heating. Reduce the heating time by approximately 20%.
For a double batch, avoid doubling the salt and vanilla. Use about 1.5x the original amount of each to ensure they don't overwhelm the cocoa.
| Budget Option | Premium Option | Impact | Savings |
|---|---|---|---|
| Store brand Cocoa | Valrhona Cocoa | Deeper, fruitier chocolate notes | $5-10 |
| Whole Milk | Heavy Cream Mix | Higher fat, more stable air bubbles | $2-4 |
| White Sugar | Organic Cane Sugar | Subtle molasses undertone | $1-2 |
Common Dessert Myths
Some people think you need a special "soft serve machine" with a nozzle to get this texture. That's not true. Any standard churner works as long as you stop the process before the mix hardens.
Another myth is that adding cornstarch is necessary for thickness. While stabilizers help in commercial products, the fat in the heavy cream provides enough body for a home-made Chocolate Soft Serve.
Keeping It Fresh
This treat is best enjoyed right away. Freezing it will give it a firmer, traditional ice cream texture. To maintain a softer consistency, place it in a shallow, airtight container and lay a sheet of parchment paper across the top.
It can be kept frozen for up to 2 weeks. Should it become too firm, allow it to soften on the counter for 10 minutes before you scoop.
To avoid waste, stir any remaining chocolate base into a smoothie or mix it into your morning oatmeal for a luxurious breakfast.
Ways to Serve
While a wafer cone is the traditional choice, I prefer using a chilled glass bowl to prevent it from melting too quickly. Because the flavor is so rich, adding a slice of strawberry or a few fresh raspberries offers a refreshing acidic balance.
You can also try drizzling melted peanut butter over the top; the saltiness pairs perfectly with the dark cocoa.
The Gourmet Bowl
Put a scoop of Chocolate Soft Serve in a bowl and top it with toasted hazelnuts and a pinch of flaky sea salt. It elevates a basic dessert into a professional-grade indulgence.
Why This Texture Works
The key is the "overrun," which is just a fancy word for the air whipped into the mix. According to Serious Eats, the balance of fats and sugars determines how much air is trapped during churning.
By using a specific ratio of heavy cream to milk, we create a structure that supports air bubbles without becoming too stiff. The sugar lowers the freezing point, meaning the water in the milk doesn't freeze into hard shards, leaving you with a smooth, pourable consistency.
The heating process is also vital. By warming the cocoa and sugar, we ensure the particles are fully hydrated. This prevents the grit that often plagues homemade frozen desserts and ensures a silky finish.
Recipe FAQs
Is it true that soft serve requires chemical stabilizers?
False. A specific ratio of heavy cream and whole milk creates the necessary airy structure.
Tip: Avoid adding cornstarch or gelatin to keep the flavor clean.
What variations can be made to the chocolate base?
You can swap the cocoa for a creamy vanilla profile by removing the cocoa powder.
Tip: Increase the vanilla extract slightly if you omit the chocolate.
How to convert a regular ice cream churn into soft serve?
Stop the machine as soon as the mix reaches a thick frosting consistency.
Tip: This usually happens around 15–20 minutes, much sooner than hard ice cream.
Which technique softens store-bought ice cream into a soft serve consistency?
Warm the ice cream slightly in a microwave or let it sit at room temperature for several minutes.
Tip: Stir vigorously as it thaws to reintegrate air.
Why must the base refrigerate for two hours?
Chilling ensures the fats are cold enough to trap air during the churning process.
Tip: Use a shallow bowl to speed up the cooling process.
Does whisking the dry ingredients prevent cocoa clumps?
Whisking the cocoa, sugar, and salt together before adding liquids breaks up lumps.
Tip: Pouring the mix through a fine-mesh strainer afterward removes any remaining bits.
Do you need a professional machine to get this texture?
That's a myth. A standard home ice cream maker can achieve this if you stop it at the right consistency.
Tip: Serve immediately to prevent it from hardening in the freezer.
Chocolate Soft Serve in 15 Minutes