Best Fudgy Brownie from Scratch for Beginners with Cocoa Powder
- Time: Active 15 minutes, Passive 25 minutes, Total 40 minutes
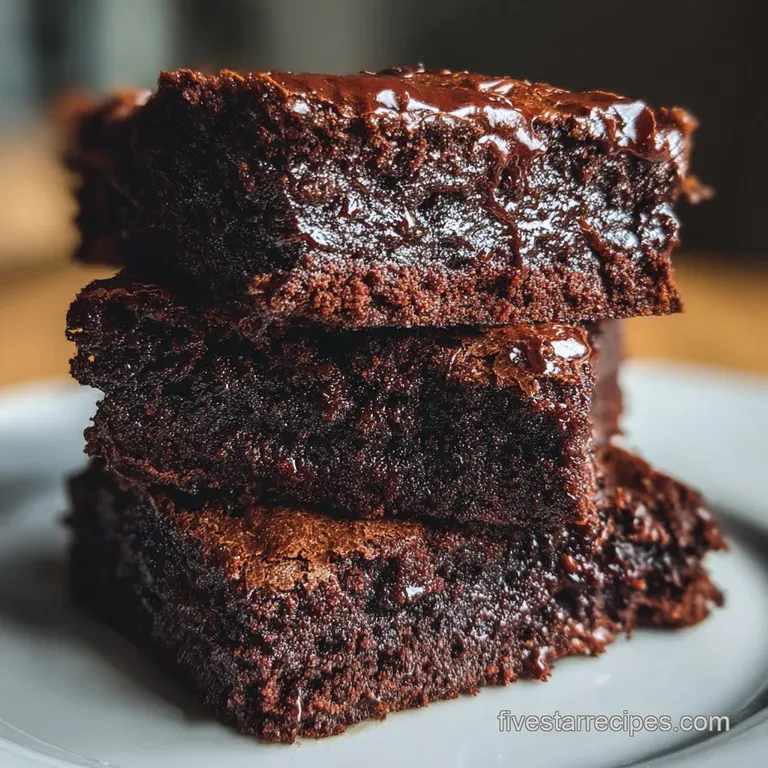
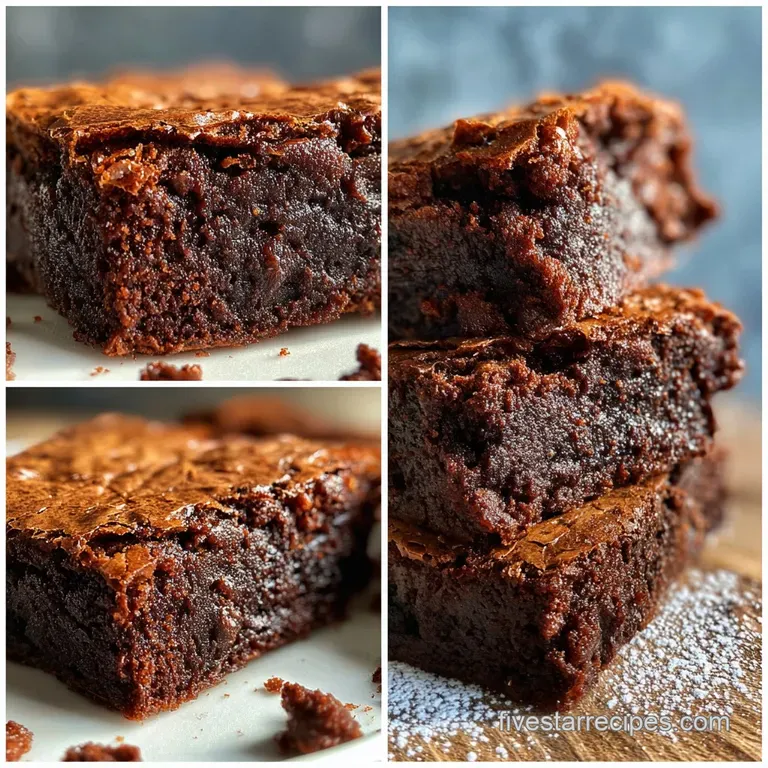
- Flavor/Texture Hook: Deep bittersweet cocoa with a velvety, molten crumb and shatter thin top.
- Perfect for: Beginner bakers who want professional results using simple cocoa powder.
- Master the Best Fudgy Brownie from Scratch for Beginners with Cocoa Powder
- Decoding the Chemistry of the Best Fudgy Brownie from Scratch for Beginners with Cocoa Powder
- Precision Metrics for a Foolproof Five Star Result
- Analyzing the Essential Components for Maximum Richness
- Tools Required for Achieving a Velvety Texture
- Step-by-Step Execution for a Gourmet Finish
- Expert Techniques to Avoid Common Baking Errors
- Tailoring Your Dessert for Specific Flavor Profiles
- Preserving the Structural Integrity of Your Leftovers
- Complementary Flavors for an Enhanced Gourmet Experience
- Debunking Baking Misconceptions
- Recipe FAQs
- 📝 Recipe Card
Master the Best Fudgy Brownie from Scratch for Beginners with Cocoa Powder
The air in my kitchen turned thick with the scent of bittersweet chocolate the moment that hot butter hit the cocoa powder. It wasn't just a smell; it was a promise of something far better than the dry, cakey squares I used to make.
I remember my first attempt at brownies from scratch where I accidentally whipped too much air into the batter, ending up with a chocolate sponge cake rather than the dense, gooey slab I was after. This article shares the recipe for the best fudgy brownie from scratch for beginners using cocoa powder.
We are moving away from the guesswork of box mixes and into the precision of gourmet baking. You don't need to melt expensive bars of chocolate over a double boiler to get a professional result.
By understanding how sugar dissolves and how proteins in eggs create structure, you'll produce a tray of brownies that rivals any high end bakery. The goal here is a specific kind of decadence - one where the center stays slightly under baked and the top shatters like fine porcelain under your teeth.
Forget what you've heard about "easy" baking being messy or imprecise. To get that five star finish, we're going to treat our kitchen like a small lab. It's about the chemistry of the ingredients coming together in a specific order to control gluten development and moisture retention.
If you've ever struggled with brownies that are too dry or too greasy, you're in the right place to fix those issues once and for all.
Decoding the Chemistry of the Best Fudgy Brownie from Scratch for Beginners with Cocoa Powder
The Physics of the Crinkle Top
That tissue paper thin crust on top of a brownie isn't luck - it's a meringue. When you whisk the granulated sugar with the room temperature eggs for an extended period, you're actually dissolving the sugar and creating a stable foam that rises to the surface during the bake.
This foam dehydrates in the oven heat, forming that iconic shattering layer.
- Fat to Flour Ratio: High fat and low flour content prevents the formation of a strong gluten network, ensuring a velvety texture instead of a bready one.
- Sugar Solubilization: Using hot butter helps dissolve the granulated sugar crystals, which leads to a smoother crumb and a shinier, more uniform top.
- The Maillard Reaction: The combination of sugars and proteins from the eggs at 325 degrees creates the deep, complex flavors that define a gourmet brownie.
- Starch Gelatinization: Minimal flour means the starch quickly absorbs the moisture from the eggs and butter, "locking" the fudge structure in place without drying it out.
When choosing your cooking environment, the stability of the heat source determines the consistency of the fudge. While some modern methods suggest alternative appliances, the traditional oven remains the gold standard for structural integrity.
| Method | Prep Time | Resulting Texture | Heat Consistency |
|---|---|---|---|
| Conventional Oven | 15 minutes | Fudgy center, crisp edges | High - Best for even rise |
| Convection Oven | 15 minutes | Drier edges, very crisp top | Very High - Reduce temp by 25°F |
| Stovetop (Water Bath) | 20 minutes | Steamed, cake like | Low - Lacks the meringue top |
Choosing the right heat application ensures the internal temperature reaches the necessary 180°F to 190°F for food safety while keeping the starches hydrated and soft. Trust the process of a steady, dry heat for the most reliable results.
Precision Metrics for a Foolproof Five Star Result
To achieve professional consistency, we must adhere to specific numeric checkpoints. Baking is the one area of cooking where "eyeballing" ingredients leads to failure. We are targeting a yield of 16 servings from an 8x8 inch square pan, which provides the ideal depth for the heat to penetrate the center without overcooking the edges.
Our active prep time is exactly 15 minutes, provided your ingredients are organized and your butter is prepped. The bake time is a strict 25 minutes. If you leave them in for 30 minutes, you've transitioned from a fudgy brownie to a dry biscuit.
We are looking for the "toothpick with crumbs" stage, not a clean toothpick. A clean toothpick means the brownie is over baked and the moisture has evaporated.
Chef's Tip: Freeze your butter for 10 minutes before melting it on the stove. This slight chill ensures it doesn't separate too quickly, allowing for a more stable emulsion when you whisk in the sugars.
Analyzing the Essential Components for Maximum Richness
The magic of this recipe lies in the "Component Analysis." Every ingredient has a functional role that goes beyond flavor. For example, we use two types of sugar because they perform different chemical tasks during the baking process.
| Ingredient | Science Role | Pro Secret |
|---|---|---|
| Unsalted Butter | Fat & Moisture | Use "hot" melted butter to bloom the cocoa powder instantly. |
| Granulated Sugar | Structure & Crust | Essential for creating the meringue style crackle on the surface. |
| Light Brown Sugar | Humectant | The molasses content keeps the center moist for days. |
| Cocoa Powder | Acidic Element | Sift it twice to prevent "pockets" of dry powder in the fudge. |
Each component must be handled with care to maintain the delicate balance of the batter. We are essentially creating a thick emulsion of fat and sugar that is barely held together by a small amount of flour.
For the Wet Base
- 3/4 cup unsalted butter, melted and hot: Why this? Provides the fat needed for a velvety mouthfeel and melts the sugars.
- 1 cup granulated sugar: Why this? Creates the crisp, shiny top and provides structural sweetness.
- 1/2 cup light brown sugar, packed: Why this? Adds moisture and a slight caramel undertone.
- 2 large eggs, room temperature: Why this? Acts as the binder and creates the meringue top structure.
- 2 tsp vanilla extract: Why this? Aromatics that deepen the chocolate flavor profile.
For the Dry Mix
- 1/2 tsp fine sea salt: Why this? Sharpens the cocoa notes and balances the heavy sugar content.
- 3/4 cup unsweetened cocoa powder, sifted: Why this? The primary flavor driver; sifting ensures no bitter lumps.
- 1/2 cup all purpose flour: Why this? Just enough gluten to hold the fudge together without becoming bready.
- 1/2 cup chocolate chips: Why this? Provides pockets of molten texture throughout the square.
Tools Required for Achieving a Velvety Texture
You don't need a high tech kitchen, but specific tools change the outcome of the crumb. A heavy duty whisk is non negotiable for the egg sugar stage. If you use a fork, you won't incorporate enough air to create the meringue top.
An 8x8 inch metal baking pan is superior to glass for this recipe. Metal conducts heat faster, giving you those sought after crispy edges while the center remains gooey. Glass takes longer to heat up and retains heat longer after being pulled from the oven, which often leads to over baked centers even after you've set the pan on the counter.
Chef's Tip: Line your pan with parchment paper, leaving an overhang on two sides. This allows you to lift the entire block out for precision slicing once cooled.
step-by-step Execution for a Gourmet Finish
Phase 1: Blooming and Dissolving
- Preheat your oven to 325 degrees and line an 8x8 inch pan with parchment paper.
- Melt the 3/4 cup unsalted butter in a small saucepan until it is hot and bubbling.
- Pour the hot butter into a large mixing bowl containing the 1 cup granulated sugar and 1/2 cup light brown sugar.
- Whisk the butter and sugars vigorously for 1 minute until the mixture looks like wet sand. Note: The heat from the butter starts the sugar dissolution process early.
Phase 2: Creating the Meringue Structure
- Add the 2 large room temperature eggs and 2 tsp vanilla extract to the sugar mixture.
- Whisk by hand for exactly 2 full minutes until the batter turns pale and slightly fluffy. Note: This is the most critical step for achieving the crackle top.
- Stir in the 1/2 tsp fine sea salt and 3/4 cup sifted cocoa powder until no dry streaks remain.
Phase 3: Folding and Baking
- Gently fold in the 1/2 cup all purpose flour using a spatula until just combined. Note: Stop mixing the moment the flour disappears to avoid toughening the brownie.
- Fold in the 1/2 cup chocolate chips and pour the batter into the prepared pan.
- Bake for 25 minutes until the edges are set and the top has shattered.
Expert Techniques to Avoid Common Baking Errors
Even with a foolproof recipe, small variables can alter the outcome. The most common issue beginners face is the "cakey" brownie, which usually happens because of too much flour or over beating the batter after the flour is added.
Why Your Brownies Are Greasy
If you see a pool of oil on top of your brownies, the emulsion has broken. This happens if the butter was too hot when the eggs were added, effectively "scrambling" the proteins before they could bond with the fats.
Ensure you whisk the sugars into the hot butter first to lower the temperature slightly before the eggs hit the bowl.
| Problem | Root Cause | Solution |
|---|---|---|
| Dry/Crumbly | Too much flour | Use a kitchen scale for exactly 65g (1/2 cup) of flour. |
| No Crackle Top | Under whisked eggs | Whisk eggs and sugar for a full 2 minutes by the clock. |
| Raw Center | Pan material | If using glass, increase bake time by 5 minutes. |
Common Mistakes Checklist
- ✓ Never use cold eggs; they will seize the melted butter and ruin the emulsion.
- ✓ Sift your cocoa powder; lumps of cocoa will not dissolve during the short bake time.
- ✓ Don't skip the salt; without it, the brownies will taste flat and overly sweet.
- ✓ Avoid checking the oven too often; opening the door drops the temperature and ruins the rise.
- ✓ Let the brownies cool completely (at least 2 hours) before slicing to allow the fudge to set.
Tailoring Your Dessert for Specific Flavor Profiles
If you want to scale this recipe, you have to be careful with the chemical balance. For a larger crowd, doubling the recipe into a 9x13 inch pan is common, but you must adjust the baking dynamics.
To Scale Up (2x): Use a 9x13 inch pan. Use 1.5x the salt and spices rather than doubling them to avoid an overpowering flavor. Reduce the oven temperature by 25°F and extend the bake time to 35-40 minutes. To Scale Down (1/2): Use a loaf pan.
For the eggs, beat one egg in a bowl and use half of it by weight (approx 25g) plus one yolk to maintain the fat content.
| Original Ingredient | Substitute | Why It Works |
|---|---|---|
| Light Brown Sugar | Dark Brown Sugar | More molasses. Note: Result will be even fudgier and darker. |
| All Purpose Flour | 1:1 gluten-free Blend | Rice flour base. Note: May result in a slightly grittier texture. |
| Unsalted Butter | Virgin Coconut Oil | Solid at room temp. Note: Adds a distinct tropical flavor. |
Enhancing with Espresso Powder
One of my favorite tricks for a gourmet touch is adding 1 teaspoon of instant espresso powder to the dry ingredients. It doesn't make the brownies taste like coffee; instead, it acts as a flavor amplifier for the cocoa powder, making the chocolate notes taste more intense and sophisticated.
Preserving the Structural Integrity of Your Leftovers
Storage is where most people lose the velvety texture of their brownies. Because these are high fat and high sugar, they are prone to absorbing odors from the fridge if not sealed correctly.
- Room Temperature: Store in an airtight container for up to 4 days. Place a piece of parchment between layers to prevent sticking.
- Freezing: These brownies freeze beautifully. Wrap individual squares in plastic wrap and then foil. They will last for 3 months. To eat, let them thaw at room temperature for 30 minutes.
- Zero Waste: If you end up with dry edges or "crumbs," don't toss them. Pulse the leftover bits in a food processor to create a gourmet "dirt" for ice cream sundaes or fold them into a vanilla cheesecake batter.
Chef's Tip: For the cleanest slices, put the cooled brownies in the fridge for 30 minutes before cutting. Use a large chef's knife and wipe the blade with a warm, damp cloth between every single cut.
Complementary Flavors for an Enhanced Gourmet Experience
To truly lean into the five star experience, think about how to contrast the heavy fudge of the brownie. A sprinkling of flaky sea salt (like Maldon) over the top immediately after they come out of the oven provides a crunch that breaks up the richness.
If you are serving these for a special occasion, a side of tart raspberry coulis or a dollop of crème fraîche offers an acidic counterpoint to the bittersweet cocoa. The tannins in a glass of cold milk or a dark roast coffee also help cleanse the palate between bites of the dense, chocolatey center.
Debunking Baking Misconceptions
Myth: You need baking powder for a good brownie. Truth: Fudgy brownies rely on the aeration of eggs, not chemical leaveners. Adding baking powder creates air pockets that lead to a cake like texture, which is the opposite of the dense fudge we are targeting.
Myth: Overmixing doesn't matter since there's so little flour. Truth: Even with only 1/2 cup of flour, you can develop enough gluten to make the brownies tough. The "folding" technique is vital once the dry ingredients are added.
Myth: Brownies are better the day they are baked. Truth: Like a good stew, the flavors in a cocoa based brownie actually improve after 24 hours. The moisture redistributes, and the cocoa notes become more pronounced as the sugars stabilize.

Recipe FAQs
What is the most crucial step for achieving the signature crackle top?
Whisk eggs and granulated sugar for exactly 2 minutes. This process dissolves the sugar and creates a stable meringue structure that dries into the thin, shattering crust during baking.
How do I prevent my brownies from becoming cakey instead of fudgy?
Use minimal flour and avoid overmixing after adding it. A fudgy texture requires a high fat to flour ratio, and mixing flour activates gluten, which builds unwanted cake structure.
Should I use bar chocolate or cocoa powder for the fudgiest result?
Cocoa powder is recommended for this specific beginner recipe. This recipe uses the precision of hot melted butter blooming the cocoa powder to develop deep flavor without the technique required for melting solid chocolate.
How do I know when the brownies are perfectly done and not overbaked?
Pull them when a toothpick inserted in the center comes out with moist crumbs attached. A clean toothpick indicates the interior moisture has evaporated, resulting in a dry, overcooked texture.
How long should I whisk the room temperature eggs with the sugar?
Whisk the mixture for exactly two full minutes by a timer. This ensures maximum air incorporation and proper sugar solubilization, which is essential for the meringue layer on top.
Is it true that brownies taste better the next day?
Yes, the flavor profile develops significantly after 24 hours. Storing them airtight allows the moisture to redistribute evenly throughout the batter, intensifying the bittersweet cocoa notes.
How should I cut the brownies for the cleanest, professional looking squares?
Chill the fully cooled brownies for 30 minutes before slicing. Use a large, sharp chef's knife, wiping the blade completely clean and warm between every single cut to ensure precise edges.
Fudgy Brownies From Scratch Cocoa

Ingredients:
Instructions:
Nutrition Facts:
| Calories | 211 kcal |
|---|---|
| Protein | 2.5 g |
| Fat | 11.6 g |
| Carbs | 27.8 g |
| Fiber | 1.8 g |
| Sugar | 21.8 g |
| Sodium | 100 mg |
