Apple Hand Pies with Laminated Crust
- Time: Active 35 minutes, Passive 25 minutes, Total 60 minutes
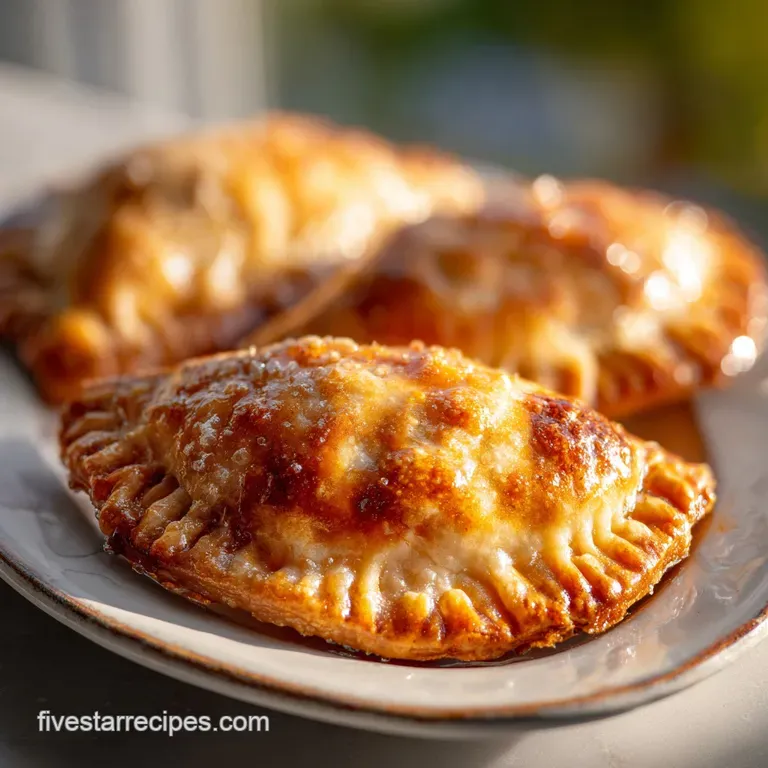
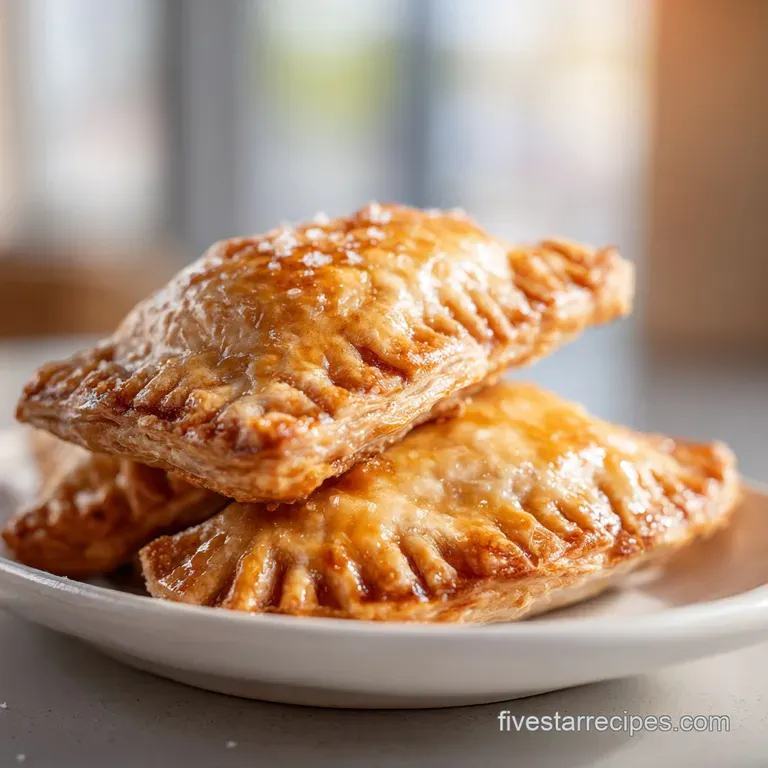
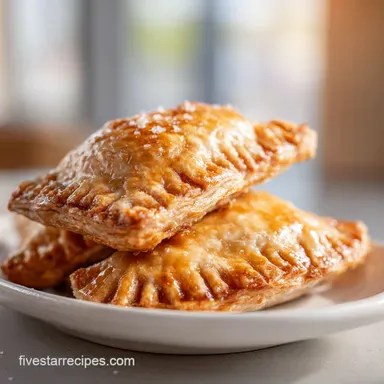
- Flavor/Texture Hook: Flaky crust with a spiced, velvety apple center
- Perfect for: Outdoor gatherings, meal prep, or beginner friendly gourmet baking
- Engineering the Perfect Flaky Apple Hand Pies
- Scientific Factors for Pastry Success
- Molecular Analysis of Core Components
- Essential Ingredients and Smart Swaps
- Precision Tools for Better Results
- Systematic Guide to Assembly
- Preventing Critical Failures and Errors
- Precise Calculations for Larger Batches
- Creative Flavor and Spice Adjustments
- Thermal Guidelines for Long Storage
- Serving Strategies for Maximum Impact
- Debunking Traditional Baking Misconceptions
- Storage and Waste Reduction Methods
- Recipe FAQs
- 📝 Recipe Card
Engineering the Perfect Flaky Apple Hand Pies
The first time I attempted these, I made a classic amateur mistake. I figured that more filling meant more flavor, so I stuffed my pastry rounds until they looked like over inflated balloons. Ten minutes into the bake, I heard a rhythmic hiss from the oven.
The seams had burst, and a river of syrupy apple juice was carbonizing on the baking sheet, filling my kitchen with a sharp, burnt sugar smell. It was a mess, and the resulting pies were hollow shells of their former selves.
I realized then that Apple Hand Pies are less about volume and more about the structural integrity of the dough and the viscosity of the filling. You aren't just making a small pie; you’re building a pressurized steam chamber.
If the dough isn't laminated correctly, or if the apples release too much liquid too quickly, the whole thing collapses. This recipe is designed to prevent those exact failure points, using specific ratios of fat and starch to keep the juices locked inside while the crust shatters upon impact.
We’ve moved past the idea that pastry is a "dark art." It’s actually just thermodynamics and hydration. If you follow the gram based measurements and the temperature cues, you will get a professional result every single time.
There is something incredibly satisfying about the way a properly baked hand pie feels the weight is light, the edges are golden brown, and the sound of that first bite is a distinct, audible crunch.
Scientific Factors for Pastry Success
The Physics of the Flaky Shatter
Cold butter chunks release steam during baking, forcing the dough layers apart to create distinct flakes. Meanwhile, the cornstarch stabilizes the fruit juices to prevent a soggy base.
- Fat Lamination: Keeping butter at 4°C ensures it remains solid until the oven’s heat triggers a sudden steam release, lifting the flour layers.
- Starch Gelatinization: Cornstarch acts as a thickening agent, trapping apple moisture in a gel like matrix that won't leak through the crust seams.
- Acid Inhibition: Lemon juice prevents the apples from oxidizing while simultaneously breaking down some pectin for a softer, velvety filling texture.
| Method | Bake Time | Texture Profile | Best Scenario |
|---|---|---|---|
| Traditional Oven | 25 minutes | Ultra flaky, golden | Best overall flavor |
| Air Fryer | 15 minutes | Extremely crispy | Quick single servings |
| Deep Fried | 6 minutes | Bubbly, rich | Fairground style |
Choosing your method depends on the desired texture. While the air fryer provides a rapid, high intensity crunch, the traditional oven allows for the deep caramelization that makes these Apple Hand Pies truly gourmet. If you are looking for a different spin on fruit desserts, you might also enjoy my Cherry Crisp Recipe, which uses a similar fruit to starch ratio.
Molecular Analysis of Core Components
| Component | Scientific Role | Pro Secret |
|---|---|---|
| Frozen Butter | Steam production | Grate it while frozen to keep pieces distinct and cold. |
| Cornstarch | Moisture stabilization | Mix with sugar first to prevent clumping in the hot filling. |
| Ice Water | Gluten control | Use a spray bottle to hydrate the flour without over working. |
| Granny Smith Apples | Structural integrity | Their high acidity ensures they hold their shape during the bake. |
Understanding the "why" behind these ingredients helps prevent common errors. For instance, using warm butter isn't just a minor slip; it fundamentally changes the dough from a flaky pastry to a crumbly shortbread because the fat coats the flour molecules instead of forming layers.
Essential Ingredients and Smart Swaps
- 315g all purpose flour: The structural foundation. Why this? Provides enough protein for structure without being as tough as bread flour.
- 225g unsalted butter, frozen and cubed: The leavening agent. Why this? High fat content creates the "shatter" effect when the water evaporates.
- 15g granulated sugar: Adds a hint of sweetness to the crust.
- 5g kosher salt: Essential for balancing the sweetness of the filling.
- 90ml ice water: Binds the dough. Why this? Cold temperature prevents the butter from melting during mixing.
- 500g Granny Smith apples, peeled and diced small: The tart, firm heart of the pie.
- 50g brown sugar: Provides a deep, molasses like sweetness.
- 5g ground cinnamon: The classic aromatic pairing for apples.
- 15ml lemon juice: Brightens the flavor and prevents browning.
- 8g cornstarch: The "glue" that keeps the filling from leaking.
- 1 large egg: Used for the egg wash to achieve a golden shine.
- 10g turbinado sugar: For a crunchy, sparkling finish.
| Original Ingredient | Substitute | Why It Works |
|---|---|---|
| Unsalted Butter | Lard (same weight) | Higher melting point; creates even flakier, though less buttery, layers. |
| Granny Smith Apples | Honeycrisp | Sweeter and slightly softer; reduces the need for added sugar. |
| All Purpose Flour | store-bought puff pastry | Faster alternative. Note: Result will be much lighter and airier than traditional crust. |
If you find yourself with extra apples, you can use them in a Warm Homemade Apple recipe for a different texture profile that requires much less assembly time.
Precision Tools for Better Results
Precision is the difference between a "good" bake and a "five star" bake. Using a digital scale to measure your 315g of flour is much more accurate than using measuring cups, which can vary by up to 20% depending on how tightly the flour is packed.
A pastry cutter is helpful, but if your hands are cold, you can rub the butter in manually.
Chef's Tip: Put your mixing bowl and flour in the freezer for 15 minutes before you start. A cold environment is your best friend when working with high fat dough.
You will also need a rolling pin and a 10cm circular cutter (or a large glass) to ensure all your pies are the same size, which guarantees they cook at the same rate. A pastry brush is necessary for applying a thin, even layer of egg wash.
Without it, you risk "pooling" the egg in the crevices, which can lead to burnt spots or an unpleasantly "eggy" flavor on the crust.
Systematic Guide to Assembly
Phase 1: Creating the Laminated Dough
- Combine solids. Whisk 315g all purpose flour, 15g granulated sugar, and 5g salt in a cold bowl.
- Incorporate fat. Add 225g frozen cubed butter to the flour. Use a pastry cutter until the butter pieces are the size of small peas.
- Hydrate slowly. Drizzle in 90ml ice water, one tablespoon at a time. Mix with a fork until the dough just holds together when squeezed.
- Chill thoroughly. Shape into a disk, wrap in plastic, and refrigerate for at least 30 minutes. Note: This allows the gluten to relax and the flour to fully hydrate.
Phase 2: Concentrating the Fruit Filling
- Prep fruit. Toss 500g diced apples with 15ml lemon juice, 50g brown sugar, 5g cinnamon, and 8g cornstarch.
- Sauté briefly. Cook the mixture in a pan over medium heat for 5 minutes until the apples soften and the liquid thickens into a glossy glaze. Let this cool completely before using.
Phase 3: Assembly and the "Double Seal"
- Roll out. On a floured surface, roll dough to 3mm thickness. Cut into 10cm circles.
- Fill. Place 1-2 tablespoons of cold filling in the center of each circle.
- Seal. Fold the dough over the filling. Press the edges with a fork until the tines leave deep, visible indentations.
Phase 4: The Golden Bake
- Finish and Bake. Brush with beaten egg and sprinkle with turbinado sugar. Bake at 200°C for 25 minutes until the crust is deep golden and the filling is bubbling through the vents.
Preventing Critical Failures and Errors
Why Your Crust is Tough
Toughness is almost always caused by over working the dough or using too much water. When you stir flour and water together, gluten develops. If you knead it like bread, those gluten strands become strong and elastic, leading to a leathery texture instead of a flaky one.
Always use a light touch and stop mixing as soon as the dough stops looking "shaggy."
Why the Filling Leaked
If your hand pies burst, the steam had nowhere to go, or the seal wasn't strong enough. Always cut a small vent (a "X" or a few poke holes) in the top of each pie. This acts as a chimney, allowing internal pressure to escape safely without blowing out the sides of your Apple Hand Pies.
| Problem | Root Cause | Solution |
|---|---|---|
| Soggy Bottom | Filling was too wet/warm | Cool filling completely and use cornstarch to bind juices. |
| Greasy Texture | Butter melted before baking | Chill the assembled pies for 10 minutes before putting them in the oven. |
| Pale Crust | Oven temp too low | Ensure your oven is fully preheated to 200°C before baking. |
Common Mistakes Checklist
- ✓ Ensure the butter is truly frozen, not just "fridge cold."
- ✓ Never skip the chilling step; it prevents the dough from shrinking.
- ✓ Don't overfill leave a 1cm border around the edge for the seal.
- ✓ Use a fork to "dock" the edges twice if the dough feels springy.
- ✓ Make sure the filling is cold; warm filling melts the butter in the crust instantly.
Precise Calculations for Larger Batches
Scaling pastry isn't always a 1:1 ratio because of how flour absorbs moisture in larger volumes. If you are doubling this recipe to make 20 servings, you should be cautious with the water.
- To Scale Up (2x): Double the flour, butter, and fruit. However, only increase the ice water by about 1.7x to start. Large mounds of flour tend to trap moisture more effectively, and it's easier to add a teaspoon of water later than it is to fix a sticky dough.
- To Scale Down (0.5x): You can easily halve the ingredients for 5 servings. Use half an egg for the wash by whisking it first and measuring out 2 tablespoons.
- Baking Multiple Trays: If you are baking 20 pies at once, rotate your trays halfway through the 25 minutes to ensure even browning, especially if your oven has "hot spots."
Creative Flavor and Spice Adjustments
While the old-fashioned Apple Hand Pies are a classic, you can easily tweak the profile. If you're a fan of the "sweet and salty" combo, try adding 50g of sharp cheddar cheese to the flour before adding the butter. The cheese melts into the crust, creating a savory sweet balance that is common in Vermont style baking.
For those who want a deeper, more complex spice profile, swap the cinnamon for a "Chai" blend: 2g ginger, 1g cardamom, 1g cloves, and 1g black pepper. This pairs beautifully with the acidity of the Granny Smith apples. If you prefer a more traditional large format dessert, you can apply these spice blends to my Apple Crisp Pie recipe.
Thermal Guidelines for Long Storage
Proper storage is the only way to maintain that "shatter" texture we worked so hard to achieve. Humidity is the enemy of pastry.
- Fridge: Keep baked pies in an airtight container for up to 4 days. They will soften slightly, so a quick re toast is recommended.
- Freezing: These are perfect for "bake from frozen." Assemble the pies but do not bake or egg wash them. Freeze on a tray until solid, then transfer to a bag. They will keep for 3 months.
- Reheating: Avoid the microwave; it makes the crust rubbery. Use an oven or toaster oven at 175°C for 8-10 minutes. This draws the moisture back out of the crust, restoring the original crunch.
Serving Strategies for Maximum Impact
These pies are designed to be "handheld," but that doesn't mean you can't dress them up. If you're serving them at a dinner party, a small drizzle of salted caramel over the warm pie creates a beautiful visual contrast against the turbinado sugar crust.
For a classic pairing, serve them alongside a scoop of high-quality vanilla bean ice cream. The temperature contrast between the sizzling hot apple filling and the freezing cream is a sensory delight. If you’re taking them on a picnic, let them cool completely on a wire rack first.
If you bag them while they are even slightly warm, the residual steam will turn the crispy crust soft in minutes.
Debunking Traditional Baking Misconceptions
One common myth is that you must use "pastry flour" for a flaky result. In reality, all purpose flour is more than sufficient as long as you control the fat temperature. Another myth is that the "egg wash" is just for color.
Actually, the proteins in the egg whites provide a structural "glaze" that helps the sugar stick and prevents the crust from drying out too much during the over high heat bake.
Finally, many believe you shouldn't sauté the apples beforehand. However, apples contain a lot of air and water. If you put raw apples in the pie, they shrink as they cook, leaving a large empty gap between the filling and the top crust.
Sautéing them first (and using cornstarch) ensures your Apple Hand Pies stay plump and full after they leave the oven.
Storage and Waste Reduction Methods
Don't throw away those dough scraps! You can gather the leftover bits, press them together (don't knead!), roll them out, and sprinkle them with cinnamon sugar. Bake these "pie fries" for 10 minutes for a quick snack.
For apple peels and cores, you can simmer them with a bit of water and sugar to create a simple apple syrup. This can be drizzled over the pies or used to sweeten tea. If you find yourself with leftover filling, it makes a fantastic topping for oatmeal or yogurt the next morning.
Waste in a kitchen is just a lack of imagination, and with a recipe this precise, every gram of ingredient can be utilized effectively.

Recipe FAQs
What kind of crust is best for hand pies?
A laminated, high fat shortcrust pastry is best for optimal flakiness. The key is keeping the butter cold so that steam forces the layers apart during baking, preventing a heavy, bread like texture.
What apples are best for hand pies?
Granny Smith apples are highly recommended due to their tartness and firm structure. Their high acidity prevents them from turning to mush and provides a necessary contrast to the sweet crust.
Why are they called hand pies?
They are called hand pies because they are designed to be eaten without cutlery. They are sealed completely around the edges, forming a self contained, portable single serving dessert.
How do you prevent a soggy bottom on hand pies?
Cook the filling briefly beforehand and use cornstarch to thicken the juices. Briefly sautéing the apples forces out excess moisture, and the cornstarch traps what remains into a stable glaze during the final bake.
Is it true that I should not fill my hand pies with raw apples?
No, this is a common misconception. Filling with raw apples causes them to shrink during baking, creating a large air gap between the filling and the top crust. Always pre-cook the filling until it thickens.
How do I get a very shiny, golden brown egg wash finish?
Whisk one whole egg with a teaspoon of water and brush it on thinly before baking. Ensure you apply an even coat; pooling the wash can lead to burnt, sticky spots rather than a uniform golden glaze.
What is the most crucial step for achieving a flaky crust?
Keep all fats and liquids extremely cold throughout the entire mixing process. The rapid vaporization of water trapped in cold butter chunks creates the steam needed to push dough layers apart, achieving maximum flakiness.
Flaky Apple Hand Pies
Ingredients:
Instructions:
Nutrition Facts:
| Calories | 341 kcal |
|---|---|
| Protein | 4.2 g |
| Fat | 19.2 g |
| Carbs | 39.1 g |
| Fiber | 1.8 g |
| Sugar | 11.5 g |
| Sodium | 215 mg |
