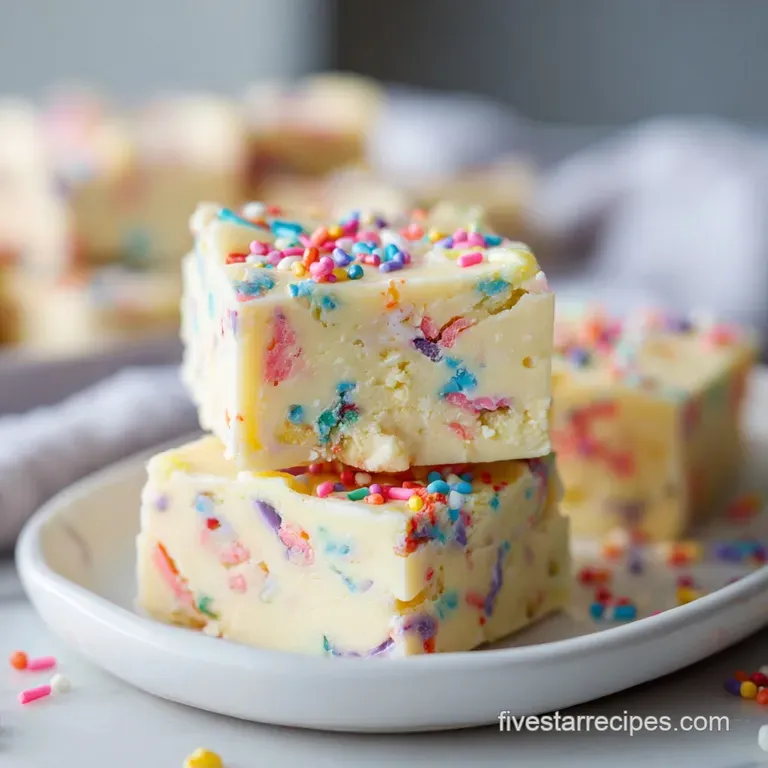
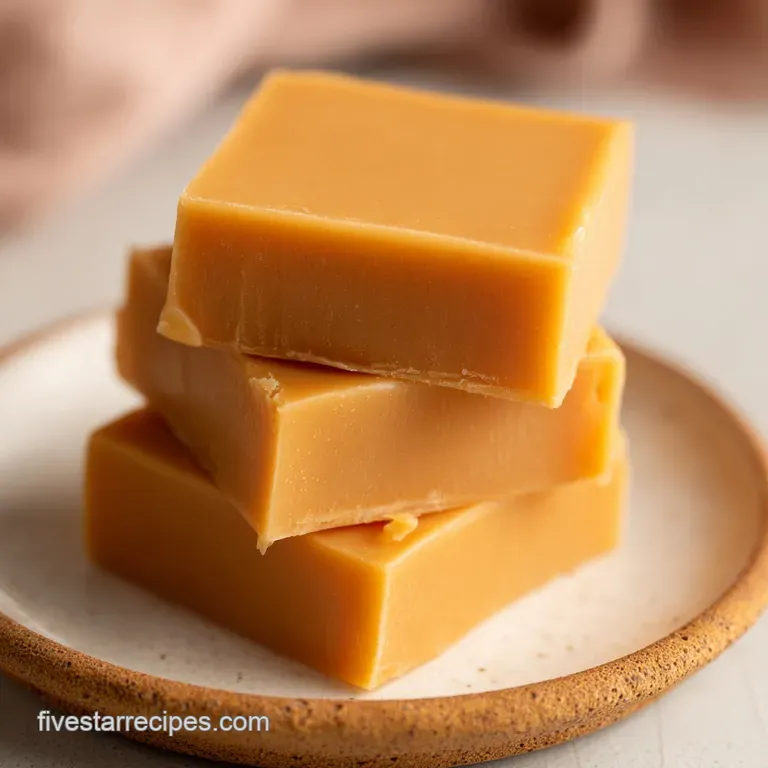
Condensed Milk Fudge: Velvety Chocolate
- Time: Active 10 minutes, Passive 2 hours, Total 2 hours 10 mins
- Flavor/Texture Hook: Deeply chocolatey with a velvety, melt on-the tongue finish
- Perfect for: Holiday gifting, beginner friendly dessert platters, or a low stress gourmet treat
- The Science of Creating Condensed Milk Fudge
- Technical Recipe Specifications
- Molecular Analysis of Ingredients
- Precision Tools for Best Results
- Executing the Five Star Method
- Correcting Technical Setback Errors
- Creative Gourmet Flavor Variations
- Storage and Preservation Guidelines
- Serving and Presentation Techniques
- Laboratory Myths Debunked
- Recipe FAQs
- 📝 Recipe Card
The Science of Creating Condensed Milk Fudge
I remember standing in my kitchen years ago, staring at a bubbling pot of sugar and water, clutching a candy thermometer like it was a detonator. I was trying to make "real" fudge, and let me tell you, it was a disaster. One degree too high and I had a chocolate brick, one degree too low and it was soup.
It was frustrating and honestly, a bit of a waste of expensive cocoa.
Then I discovered the magic of using sweetened condensed milk as a base. The first time I tried it, the velvety mixture slid out of the pan with this beautiful, glossy sheen that I thought was only possible in high end candy shops. It changed everything for me.
Now, whenever I need a reliable, five star treat for a party or a gift, this is my go to. It's foolproof because the science is already done for you inside the can.
The Physics of the Set
Sugar Concentration: The pre evaporated milk provides a stable matrix of dissolved sugars that prevents the formation of large, gritty crystals during cooling. This ensures a consistent, buttery mouthfeel every single time you indulge.
| Cook Method | Time | Texture | Best For |
|---|---|---|---|
| Stovetop (Low Heat) | 10 minutes | Maximum Gloss | Complete control over melting |
| Microwave (Intervals) | 5 minutes | Slightly Firmer | When you need speed and less cleanup |
| Slow Cooker | 1 hours | Very Soft/Smooth | Large batches for holiday gifting |
While the microwave method is undeniably fast, the stovetop offers a level of precision that I prefer for a truly gourmet result. You can see the exact moment the fats and sugars emulsify into a single, cohesive mass. If you are looking for another quick treat, you might enjoy my Peanut Butter Fudge recipe which uses a similar logic for a salty sweet balance.
Technical Recipe Specifications
When we talk about precision in the kitchen, we aren't just being fussy. For this specific recipe, the ratios are calculated to ensure the fat from the butter and the solids in the chocolate chips create a permanent bond.
If you deviate too far from the 510g of chocolate chips, the structure might collapse or become unpleasantly hard.
I always suggest weighing your ingredients rather than using volume alone. A "cup" of chocolate chips can vary significantly depending on the size of the chips, but 510g is always 510g. This level of accuracy is what separates a "good" home cook from someone who consistently produces five star results.
Molecular Analysis of Ingredients
Each component in this Condensed Milk Fudge plays a specific role in the final architecture of the candy. We aren't just mixing things for flavor; we are building a stable emulsion that stays solid at room temperature while melting instantly upon contact with your tongue.
| Ingredient | Science Role | Pro Secret |
|---|---|---|
| Chocolate Chips (510g) | Structural Base | Use semi sweet to balance the high sugar in the milk |
| Condensed Milk (14 oz) | Emulsifier/Sweetener | Never substitute for evaporated milk, which lacks sugar |
| Unsalted Butter (56g) | Lipid Lubricant | Cold, cubed butter integrates more smoothly than melted |
| Fine Sea Salt (1/4 tsp) | Flavor Enhancer | Salt suppresses bitterness and heightens chocolate notes |
Using a high-quality vanilla extract is non negotiable here. Since we aren't "baking" the alcohol out, the floral notes of the vanilla remain prominent. I’ve found that adding the vanilla at the very end, once the heat is off, preserves those delicate aromatic compounds that would otherwise evaporate.
Precision Tools for Best Results
You don't need a lab full of equipment, but a few specific items will make your life much easier. First, an 8x8 inch square baking pan is the standard for this volume. Using a larger pan will result in thin, sad looking squares that lack that satisfying "bite" you want from a premium fudge.
Chef Tip: Line your pan with parchment paper, leaving an overhang on two sides. This creates a "sling" that allows you to lift the entire block out once it's set, ensuring clean, sharp edges when you slice.
A heavy bottomed saucepan is also vital. Thin pots create "hot spots" that can scorch the chocolate before the rest of the mixture has even begun to melt. If you smell even a hint of burning chocolate, it’s game over the flavor will permeate the entire batch.
Executing the Five Star Method
Follow these steps with a focus on temperature control. We are aiming for a slow, gentle melt rather than an aggressive boil.
- Prepare the vessel. Line an 8x8 inch pan with parchment paper. Note: This prevents sticking and allows for professional grade slicing later.
- Combine the core. Place 510g semi sweet chocolate chips, 14 oz sweetened condensed milk, and 56g cubed butter in your saucepan.
- Apply gentle heat. Set your burner to low and stir constantly with a silicone spatula until the chips are 90% melted.
- Finalize the emulsion. Remove from heat and continue stirring until the mixture is completely smooth and glossy.
- Incorporate aromatics. Fold in 5ml pure vanilla extract and 1.5g fine sea salt. Note: Adding these last protects the volatile flavor oils.
- Transfer the mass. Pour the warm mixture into your prepared pan.
- Level the surface. Use an offset spatula to smooth the top until it reflects light like a dark mirror.
- Initial cooling. Let the pan sit at room temperature for 30 minutes.
- Final set. Refrigerate for at least 2 hours until the center feels firm to a light touch.
- Slice and serve. Use the parchment sling to remove the block and cut into 24 even squares.
| Original Ingredient | Substitute | Why It Works |
|---|---|---|
| Semi sweet Chips | Dark Chocolate (60%+) | Provides a deeper, more bitter profile. Note: May set firmer. |
| Unsalted Butter | Salted Butter | Works well, but omit the extra 1.4 tsp of sea salt. |
| Vanilla Extract | Espresso Powder (1 tsp) | Chocolate and coffee share flavor compounds; it intensifies the cocoa. |
If you find the mixture is too thick to spread, don't panic. This often happens if the chocolate chips have a high cocoa butter content. A tiny splash (no more than a teaspoon) of extra condensed milk can help loosen the texture without ruining the set.
Correcting Technical Setback Errors
Even with a foolproof recipe, variables like humidity or stovetop calibration can cause hiccups. The most common issue people face with this Condensed Milk Fudge is the texture either it’s too soft or it starts to look "oily."
Why Your Fudge Is Oily
If you see beads of fat on the surface, the mixture has "split." This usually happens because the heat was too high, causing the cocoa butter to separate from the solids. You can often fix this by vigorously stirring in a teaspoon of room temperature condensed milk off the heat to bring the emulsion back together.
Why Your Fudge Is Grainy
Graininess is the result of sugar crystals regrowing. This rarely happens with condensed milk versions, but if it does, it's likely because you scraped the sides of the can too aggressively or used old chocolate chips with "bloom" (that white dusty coating).
| Problem | Root Cause | Solution |
|---|---|---|
| Soft/Sticky | Under chilled or too much liquid added | Freeze for 30 mins, then slice while cold. |
| Seized Chocolate | Water or steam hit the pot | Add 1 tsp of neutral oil and stir rapidly to smooth. |
| Dull Finish | Overheated the chocolate | Stir in the butter at the very end to restore gloss. |
Common Mistakes Checklist
- ✓ Never let a single drop of water enter the pan (it will cause the chocolate to seize).
- ✓ Avoid high heat; a low and slow melt ensures a velvety texture.
- ✓ Don't skip the salt; it is the chemical key to balancing the sugar.
- ✓ Let the fudge reach room temperature for 15 minutes before eating for the best flavor release.
- ✓ Use a sharp, thin bladed knife dipped in hot water for those clean, "shatter"-free edges.
Creative Gourmet Flavor Variations
Once you’ve mastered the base, you can start experimenting with textures and infusions. Since this is a "no bake" style, you have a lot of flexibility with what you can fold in at the very end.
- Textural Contrast: Fold in 1/2 cup of toasted walnuts or crushed pretzels. The crunch against the velvety fudge is a classic sensory win.
- The "Midnight" Version: Use 510g of 70% dark chocolate and add a tablespoon of cocoa powder to the condensed milk before melting. This creates an incredibly intense, adult style treat.
- Salted Caramel Swirl: Drop small dollops of warm caramel on top of the smoothed fudge and use a toothpick to swirl them in before the fudge sets.
If you are feeling extra fancy, you can serve these squares with a dollop of my Whipped Cream Recipe on the side. The light, airy cream cuts through the dense richness of the fudge perfectly.
Storage and Preservation Guidelines
Because of the high sugar content and the stability of the fats, this fudge has a fantastic shelf life. However, it is sensitive to odors. Chocolate is like a sponge it will soak up the smell of whatever else is in your fridge (looking at you, leftover onions).
Fridge Storage: Store in an airtight container with parchment paper between layers. It will stay fresh and velvety for up to 2 weeks.
Freezer Instructions: This fudge freezes beautifully. Wrap the entire slab (or individual squares) tightly in plastic wrap, then place in a freezer bag. It will last for 3 months. To eat, thaw in the fridge overnight.
Do not thaw on the counter, as condensation can form on the surface, making the fudge sticky.
Zero Waste Tip: If you have "scraps" from trimming the edges to make them straight, don't toss them! Chop them into tiny bits and store them in the freezer. They make an incredible topping for vanilla bean ice cream or can be folded into brownie batter for a "fudge stuffed" surprise.
Serving and Presentation Techniques
To get those five star, professional looking squares, timing is everything. Don't try to cut the fudge the moment you take it out of the fridge. It will be too hard and might "shatter" or crack unevenly.
Let the slab sit on the counter for about 10 minutes. Use a long, sharp chef's knife. Between every single cut, wipe the blade clean with a warm, damp cloth and then dry it. This is the secret to those perfectly smooth, mirror like sides that look like they came from a luxury chocolatier.
For a final touch, a very light dusting of flaky Maldon sea salt right before serving adds a beautiful visual element and a sharp contrast to the deep cocoa flavors. Arrange them on a white ceramic platter to let the dark, rich color of the fudge really pop.
Trust me, your friends will think you spent hours over a candy thermometer, but we'll know the truth it was all in the science of the milk!
Laboratory Myths Debunked
Myth: You must boil the mixture to make it set. Truth: In this specific recipe, heat is only used to melt the chocolate and butter into the milk. Sweetened condensed milk is already "reduced," so further boiling is unnecessary and can actually make the fudge tough or burnt.
Myth: "Bloom" on chocolate chips means they are spoiled. Truth: That white film is just cocoa butter migrating to the surface due to temperature changes. It will disappear completely once melted and won't affect the final flavor or safety of your dessert.
Myth: low-fat condensed milk works just as well. Truth: Fat is a critical structural component in this fudge. Using a low-fat or "light" version will result in a grainy, soft set that won't hold its shape at room temperature. Stick to the full fat version for that gourmet mouthfeel.

Recipe FAQs
How do you make fudge with condensed milk?
Melt chocolate, butter, and condensed milk together over low heat. Stir constantly until 90% melted, then remove from heat and continue stirring until perfectly smooth and glossy. Pour into a lined pan and chill for two hours until firm.
Can sweetened condensed milk be used in fudge?
Yes, this recipe requires it. Sweetened condensed milk is the base, providing the necessary high sugar concentration to prevent crystallization, which is the key to foolproof fudge.
How to get fudge to set with condensed milk?
Refrigerate the poured mixture for a minimum of two hours. The cooling process solidifies the fats and stabilizes the sugar matrix created by the evaporated milk, resulting in a firm texture.
How long is fudge made with sweetened condensed milk good for?
It keeps well for up to two weeks at room temperature or three months frozen. Store it tightly wrapped in an airtight container to prevent it from absorbing surrounding food odors.
Is it true that using evaporated milk instead of condensed milk will ruin the fudge?
No, this is a common misconception, but it will ruin the fudge texture. Evaporated milk lacks the high sugar content needed for a proper set, resulting in a soft, grainy mixture that will not firm up correctly.
What is the best way to achieve a smooth, non-grainy fudge texture?
Stir gently and avoid excessive heat during the melting process. The goal is to melt the chocolate completely off the heat, utilizing residual warmth to create a stable emulsion without creating large sugar crystals.
Should I cut the fudge while it is still cold from the refrigerator?
No, let it temper on the counter for about ten minutes first. Cutting it rock hard causes shattering; letting it warm slightly allows the knife to glide through cleanly for professional looking squares.
Condensed Milk Fudge Recipe
Ingredients:
Instructions:
Nutrition Facts:
| Calories | 175 kcal |
|---|---|
| Protein | 2.2 g |
| Fat | 9.3 g |
| Carbs | 22.4 g |
| Fiber | 1.5 g |
| Sugar | 20.1 g |
| Sodium | 48 mg |
